
Position your pool equipment 20-40 feet from the pool’s edge on a level concrete pad that’s slightly above water level. You’ll need a 4’x6′ pad for basic setups or 8’x8′ for full features. Install components with proper clearances: 1-foot behind motors, 30 inches between units, and complete walk-around access. Configure plumbing with 45-degree elbows for ideal flow and maintain proper ventilation gaps. Following these core principles sets the foundation for an extensive equipment layout strategy.
Determining the Ideal Equipment Location
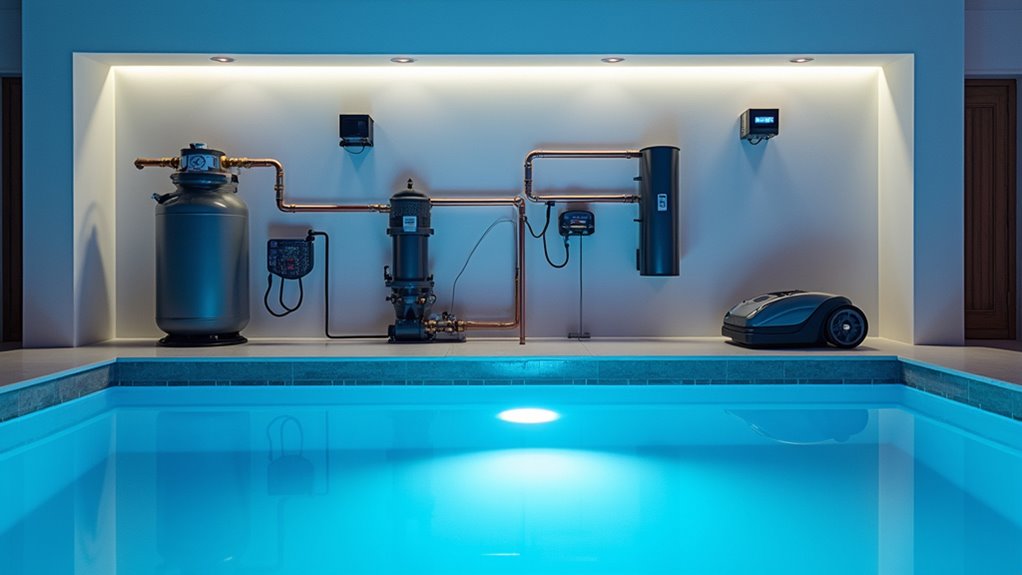
When planning your pool equipment layout, determining the best location requires careful consideration of multiple technical factors that directly impact system performance and maintenance accessibility. Position your equipment’s proximity to water source at or slightly below pool level to optimize pump efficiency and prevent unnecessary strain on circulation components. A sunny spot promotes better equipment health and operational efficiency compared to damp, shady areas. A standard concrete pad provides the most stable and durable foundation for pool equipment.
You’ll want to locate equipment near your home’s electrical panel to minimize wiring costs and reduce installation complexity. Consider installing recessed pump pits to enable the use of flooded suction pumps for optimal performance. Ensure you’ve got sufficient clearance for maintenance, at least one foot behind pump motors and adequate space for complete access around all components. When mounting methods are considered, create a layout that follows the natural water flow path through your filtration system. Remember, proper ventilation and heat dissipation are vital for equipment longevity, so don’t compress components into tight spaces.
Measuring and Planning Your Equipment Pad
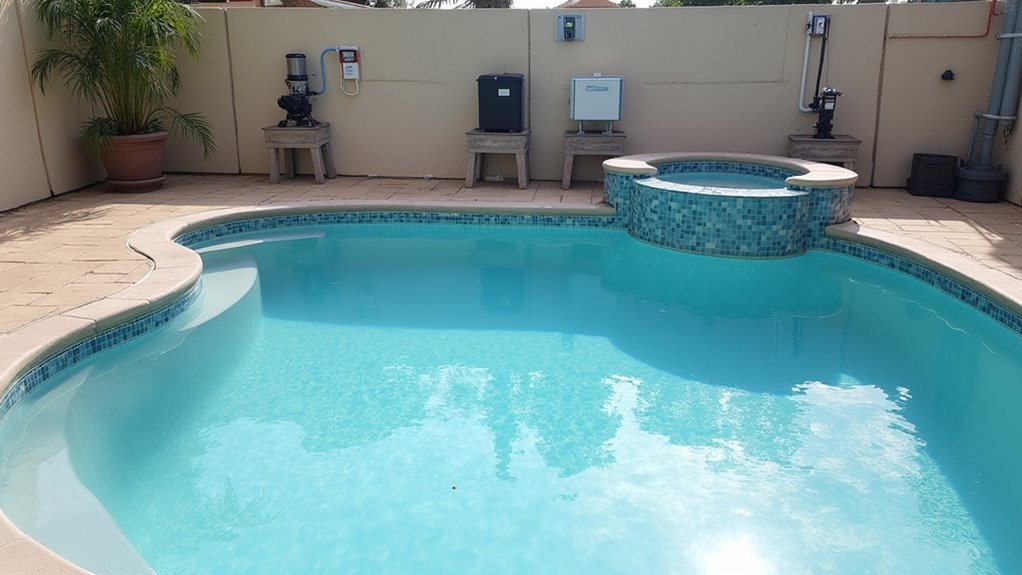
Proper measurement and planning of your equipment pad serves as the foundation for a well-functioning pool system. You’ll need to consider the equipment’s size, electrical connections, and concrete base preparation for optimal placement. The pad should be installed 20 to 40 feet from the pool’s edge for optimal performance. For enhanced online security, consider monitoring and protecting remote pool equipment control systems from cyber attacks.
| Equipment Type | Minimum Pad Size | Clearance Needed |
|---|---|---|
| Basic Setup | 4′ x 6′ | 1′ per side |
| With Heater | 4′ x 8′ | 2′ ventilation |
| Compact System | 4′ x 4′ | 1′ service area |
| Full Features | 8′ x 8′ | 3′ workspace |
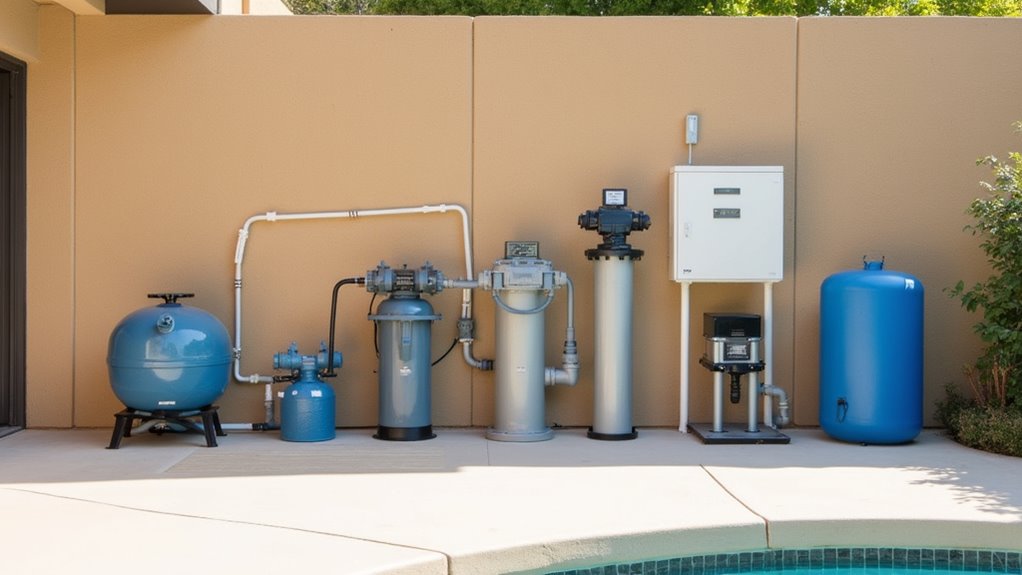
Position your pad approximately one foot above pool water level to guarantee proper drainage while maintaining pump efficiency. When preparing the concrete base, make certain it’s level and properly compacted. Plan your layout to accommodate future additions, keeping components in logical sequence: pump, filter, heater, and sanitizing systems. Allocate adequate space for maintenance access and ventilation between equipment pieces.
Essential Component Positioning Guidelines
Strategic component positioning directly impacts your pool system’s efficiency and longevity. When planning your equipment layout, guarantee pumps and heaters have at least one foot of clearance behind motors for proper ventilation and energy efficiency considerations. Position valves at the front of your pad for easy access, with electrical boxes mounted on the sides rather than behind equipment.
To meet maintenance accessibility requirements, you’ll need complete walk-around access for servicing operations. Keep your equipment at or below pool level to prevent strain on the pump system. Install components within 5 meters of your pool to optimize performance and reduce installation costs. Proper ventilation is essential, ensure adequate airflow around all equipment to prevent heat buildup and extend system lifespan.
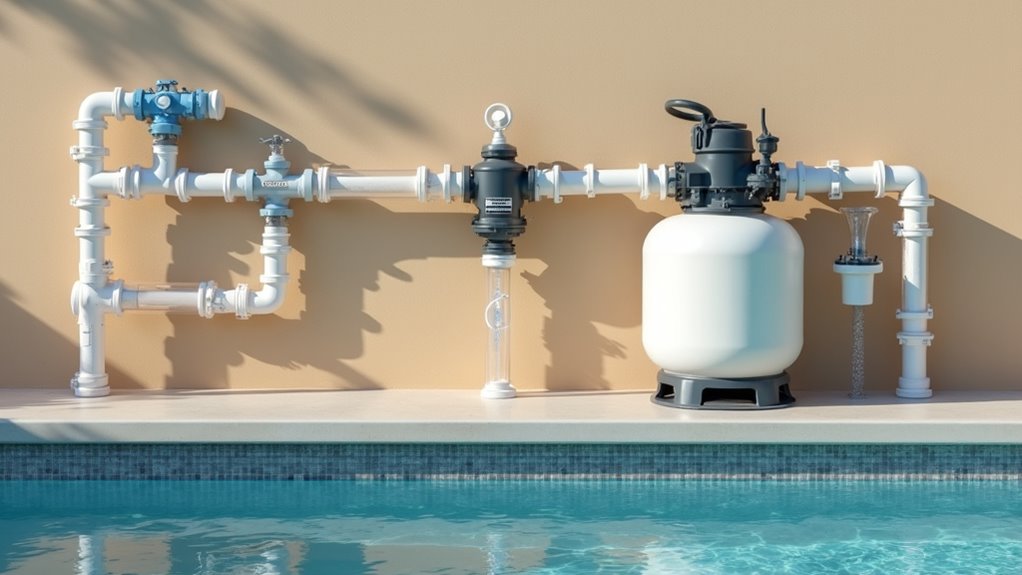
Plumbing Configuration Best Practices
Begin your valve placement strategy by installing the spa circuit valve initial on the suction side, followed by the vacuum line as your primary suction connection. You’ll need to configure your skimmer and main drain valves to maintain the critical 75/25 flow ratio that optimizes circulation efficiency. Installing pipes at minimum 18 inches below ground protects the plumbing system from damage. When planning flow direction, position your inlets away from skimmers to prevent short-circuiting while ensuring each circuit can be isolated for maintenance and winterization procedures. For optimal system performance, use 45-degree plumbing elbows instead of 90-degree fittings wherever possible to reduce water friction and improve flow rates.
Valve Placement and Control
Effectively managing your pool’s water flow requires a thorough understanding of valve placement and control strategies. Your three-way valves should be positioned strategically to maximize water balancing techniques and chemical dosage adjustment through proper flow distribution. Fingernail polish or marker can be used to clearly label pipes and valves for easier identification.
Keep your skimmer valves fully open and main drain valves half-open during normal operation to maintain balanced suction. When you’re vacuuming or performing specialized maintenance, adjust valve positions to redirect flow where needed. For instance, closing secondary lines increases suction power through remaining openings, enhancing cleaning efficiency.
Always follow directional indicators on valve handles to prevent equipment damage. Don’t position “off” markings toward your pump, as this can cause cavitation or dangerous pressure spikes. For peak performance, maintain all ports open during standard operation to guarantee proper water pressure distribution across suction lines.
Flow Direction Strategy
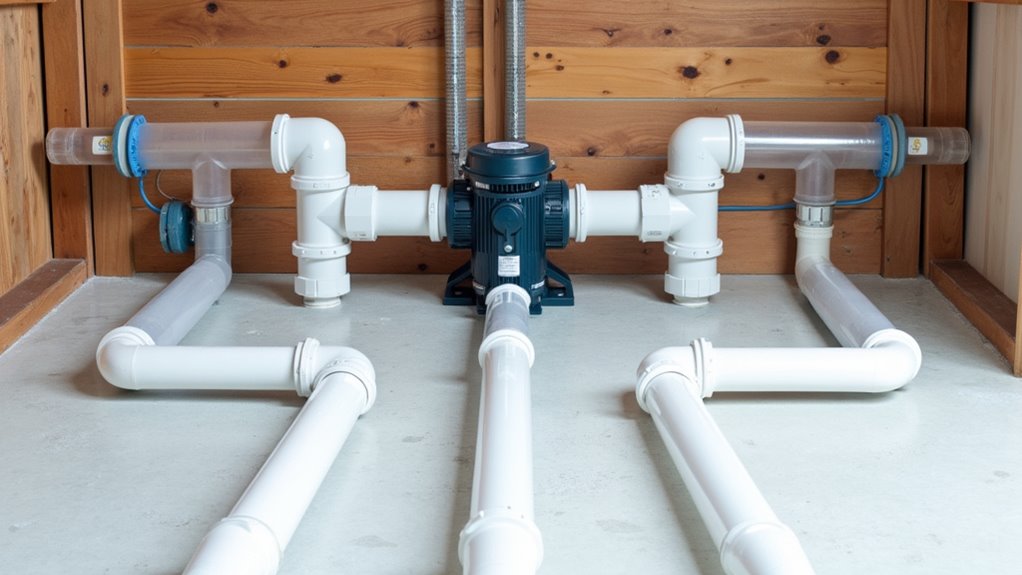
Three fundamental principles guide ideal pool plumbing configuration: direct flow paths, minimal friction points, and balanced water distribution. To achieve water velocity optimization, you’ll want to design straight-line plumbing routes whenever possible, as each bend creates resistance that impacts system performance. Ball valve placement at key junction points allows for precise flow control and system isolation during maintenance.
When addressing fluid dynamic challenges, replace 90-degree elbows with 45-degree alternatives where straight runs aren’t feasible. You’ll maintain better flow rates and reduce strain on your pump system. Using Schedule 40 PVC pipe as your primary material ensures reliable pressure handling and durability. Strategic return jet positioning and split-main configurations allow you to fine-tune water movement throughout your pool’s volume.
Remember to integrate both surface skimmers and bottom drains to ensure complete circulation. Your system should achieve full water turnover every 6 hours, so maintaining efficient flow paths from equipment pad to pool is vital for peak performance.
Safety and Code Requirements
Since pool safety directly impacts liability and compliance, understanding barrier requirements represents a critical initial step in equipment layout planning. You’ll need to meet fence height requirements of 48 inches minimum, with proper gate latch positioning on the interior side. Proper barrier installation can reduce a child’s risk of drowning by up to 83%. Pool enclosures must include self-latching devices on all gates for maximum protection.
| Safety Element | Requirement |
|---|---|
| Barrier Height | 48″ minimum |
| Gate Operation | Self-closing |
| Bottom Gap | 4″ maximum |
| Latch Height | 54″ minimum |
Your equipment layout must account for door and window safety features, including self-closing mechanisms and alarm systems. When planning barrier installations, guarantee all horizontal members face the pool side when rails are under 45 inches apart. Recall that chain link material isn’t permitted, and any decorative elements can’t exceed 1¾ inches in spacing.
Equipment Spacing and Access Requirements
When planning your pool equipment layout, you’ll need to maintain minimum clearances of 30 inches between major components and 36 inches for service pathways to guarantee proper maintenance access. Your equipment positioning must account for manufacturer-specified ventilation gaps, typically 12-18 inches from walls and adjacent units, to prevent heat buildup and encourage air circulation. You’ll also want to establish clear service corridors that allow technicians to access all sides of critical equipment while accommodating future component replacements or upgrades. For safety compliance, ensure that all metal equipment enclosures are properly bonded to the pool’s grounding system.
Minimum Component Clearance Distances
Proper clearance distances between pool components serve as critical safety requirements while guaranteeing ideal system performance and maintenance accessibility. You’ll need to maintain specific spacing requirements for electrical components: service receptacles must be positioned at least 10 feet from the pool’s edge, while switches require a 6-foot minimum clearance. For equipment sizing requirements, guarantee a standard 4’x4′ pad with adequate workspace around components.
When planning your layout, consider accessibility and clearance needs for maintenance personnel. You can position properly bonded equipment directly adjacent to the pool, but GFCI-protected components must maintain the 10-foot setback. Remember to include at least one 125v receptacle between 6 and 20 feet from the pool wall. These clearances aren’t just code requirements—they’re essential for safe operation and efficient servicing.
Service Path Dimensions
Establishing clear service path dimensions around pool equipment safeguards efficient maintenance access while maximizing system performance. You’ll need to maintain at least one foot of clearance behind pump motors and guarantee complete walkable perimeter access for service tasks. Modern pools like long course pools require extra clearance space due to their substantial 50-meter length and sophisticated equipment requirements.
Equipment positioning advantages include strategic placement that allows technicians to kneel, stand, and move freely between components. Your pad construction importance comes into play when creating unobstructed sight lines and approach routes to all valve assemblies and control panels. Keep equipment elevated on the pad to prevent water infiltration while staying within one foot of pool water level for ideal priming.
Position junction boxes at least four inches above the deck surface, and maintain a minimum ten-foot distance between equipment and the pool’s edge to safeguard safe, efficient servicing of all components.
Ventilation Space Requirements
The effective ventilation system for pool equipment requires strategic spacing and extensive access considerations to maintain safety and operational efficiency. You’ll need to install supply air delivery systems that provide 4-6 air changes per hour for recreational pools and 6-8 ACH for competition facilities.
Ensure your equipment room maintains a minimum ceiling height of 7’6″ for proper ventilation flow and accessibility. When planning your layout, incorporate corrosion resistant materials like polypropylene fans and PVC ductwork to combat chemical exposure. Position exhaust intakes strategically based on chemical vapor densities, low placement for chlorine storage and high placement for acid storage areas. Design your mechanical ventilation to deliver 2 CFM per square foot of floor area, with a 10% excess exhaust rate to maintain negative pressure in pool spaces. A properly designed ventilation system must maintain at least 1 CFM per square foot as recommended by building codes.
Professional Installation Checklist
Professional pool equipment installation requires six critical verification steps to safeguard ideal performance and safety compliance. Start by confirming all equipment wiring considerations, including dedicated 230-volt lines and proper grounding. Next, verify your pump and filter alignments match existing pool fittings while maintaining optimal suction distances. Third, ascertain heater placement provides adequate ventilation and safe distances from flammable materials.
Fourth, check that all pipe connections are airtight and properly sealed to prevent leaks. Fifth, validate automation system integration with sensors and control panels for energy efficiency improvements. Ultimately, verify chemical storage arrangements meet temperature control requirements and separation protocols. Don’t forget to document your equipment layout and establish a maintenance schedule to protect your investment and guarantee continued optimal performance.
Frequently Asked Questions
How Often Should Pool Equipment Components Be Replaced or Upgraded?
You’ll need to follow specific preventative maintenance schedules for each component of your pool system. Replace your pool pump every 8-12 years, sand filters every 5-7 years, and cartridge filters every 2-4 years. Consider equipment lifespan considerations like heaters lasting 5-10 years and salt chlorine cells needing replacement every 3-5 years. It’s best to upgrade during off-season months to avoid disrupting your pool usage and secure better pricing.
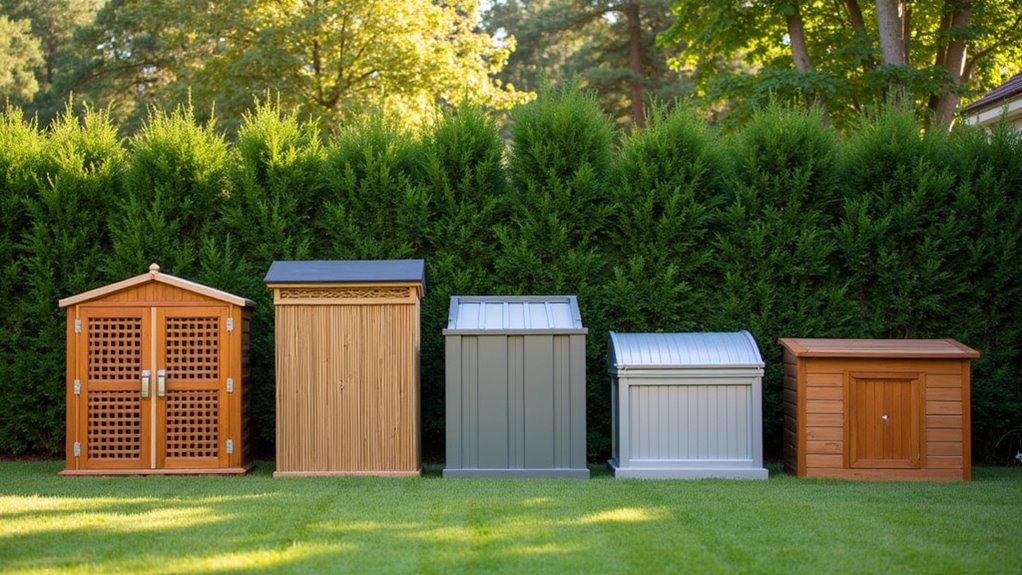
What Weather Protection Measures Are Necessary for Outdoor Pool Equipment?
You’ll need thorough shielding from elements to protect your outdoor pool equipment. Install weather-resistant enclosures or dedicated equipment sheds with proper ventilation. Consider location considerations like positioning equipment on raised platforms to prevent flooding and away from direct sunlight. Add protective covers during extreme weather, and guarantee proper drainage around equipment areas. Don’t forget to implement freeze protection systems in cold climates and UV shields in hot regions.
Can Pool Equipment Be Installed in an Existing Garden Shed?
You can install pool equipment in an existing garden shed, but you’ll need to evaluate several critical factors initially. Guarantee your shed has adequate ventilation, proper electrical circuits, and sufficient equipment space considerations for maintenance access. You’ll need to reinforce the foundation to support heavy equipment and modify the structure for proper plumbing access. If underground installation options aren’t feasible, you must upgrade the shed’s weatherproofing and verify compliance with local building codes.
Does Pool Equipment Noise Level Vary Between Different Brands?
Yes, you’ll notice significant noise variations between pool equipment brands. Pentair and Hayward lead the pack with their ultra-quiet models operating below 45 decibels. To optimize noise reduction strategies, consider variable speed pumps, which can run 25% quieter than single-speed alternatives. You can further minimize sound by implementing equipment insulation options like noise-dampening pads or enclosures. For the quietest operation, Pentair’s IntelliFlo series consistently outperforms other brands in noise tests.
What Backup Power Options Are Available for Pool Equipment During Outages?
You’ve got several reliable backup power options for your pool equipment. Traditional backup generators (2,500-3,500W) will keep your pumps running during outages, but you’ll need to account for startup surge requirements. Portable power stations with sufficient capacity offer a cleaner, quieter alternative. For thorough protection, consider installing a hybrid system that combines solar panels with battery storage, automatically switching between power sources to maintain continuous operation during extended outages.