You’ll need to create a pool payment table through five key steps: determine your budget range ($14,000-$135,000), investigate financing options like home equity loans, select quality materials such as hardwood frames and slate surfaces, calculate spatial requirements (minimum 17’4″ x 13’11” for standard tables), and customize features to match your preferences. Following these steps systematically will guarantee you’ve covered all essential aspects of your pool table investment before making the final commitment. Additionally, it’s important to explore the best payment methods for pools to ensure you’re making a financially sound choice. Consider options like staggered payments or specialized financing plans that align with your budget.
Planning Your Pool Table Layout and Dimensions

Setting up a pool table requires painstaking attention to spatial requirements and dimensions. You’ll need to match your room size to proper table clearance requirements based on standard measurements. For a traditional 4×8 table, plan for at least 17’4″ x 13’11” of space when using a 58″ cue stick. Following the 2-to-1 ratio ensures proper gameplay dimensions and optimal ball movement.
Consider spatial arrangement constraints carefully when positioning your table. Center it in a rectangular room, keeping it away from walls and doorways to prevent cue stick collisions. You’ll want a minimum ceiling height of 7 feet to accommodate standing players and natural shooting motions. If you’re working with limited space, consider a smaller 7-foot bar box table, which requires 16’8″ x 13’6″ of clearance. Remember, these dimensions assume standard cue lengths; shorter cues can reduce spatial needs by 6-24 inches. An Accu-Mat placement test can help determine if your chosen table size will fit comfortably in your space.
Selecting Materials and Construction Features
Every pool table’s performance hinges on five critical material components: the frame, playing surface, cushions, pockets, and finishes. When selecting materials, you’ll need to balance quality with budget while considering long-term durability. One-piece leg designs offer superior stability compared to jointed versions, while surface leveling requirements differ between slate and MDF options. The recommended three-piece slate construction allows for more precise leveling adjustments on any floor surface.
- Solid hardwood frames with double main beams provide ideal structural support and weight distribution, perfect for professional-grade tables
- Slate playing surfaces deliver unmatched flatness and consistency, though they require professional leveling and shimming
- Premium cushions made from rubber or urethane guarantee precise ball response, with thickness affecting speed and rebound characteristics
The natural gum cushions deliver superior bounce and durability compared to synthetic alternatives. Consider these material choices carefully, as they’ll directly impact your table’s playability, maintenance needs, and longevity.
Calculating Budget and Installation Requirements

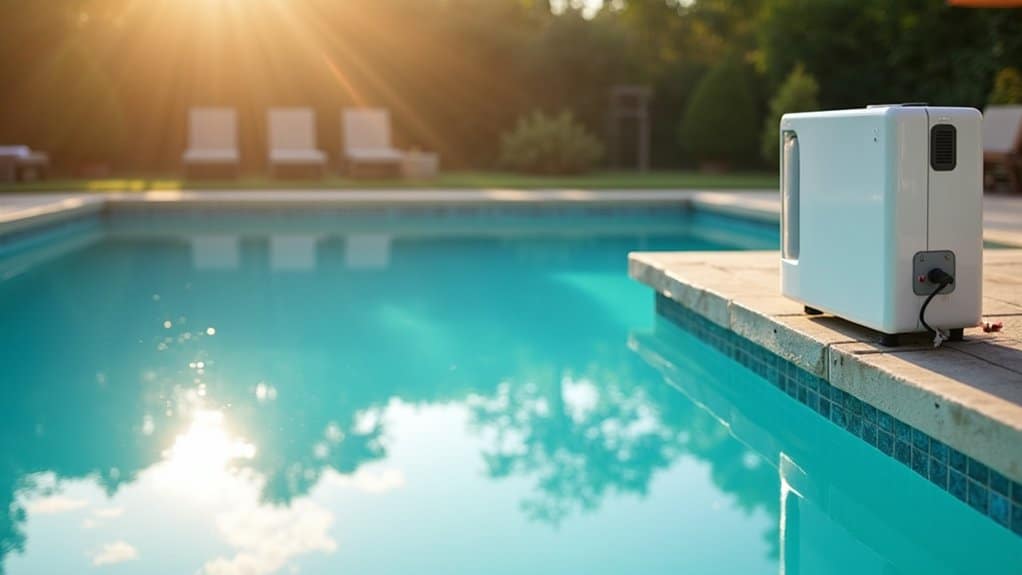
While material selection determines your pool’s quality, careful financial planning will shape its reality. Start by identifying your budget range based on pool type: $14,000-$135,000 for inground pools, with specific variations for fiberglass, vinyl, or concrete options. Factor in your location’s weather impact considerations and budgeting timeline requirements, as installation typically spans 3-6 months. For added security, some pool financing websites may require verification through security solutions to protect against online attacks. A vinyl liner pool typically costs between $20,000-$40,000 for a complete installation. When estimating pool installation costs, it’s essential to consider not just the materials and labor but also ongoing maintenance expenses and potential utility increases.
Create a detailed payment structure by comparing financing options like home equity loans or manufacturer-specific packages. You’ll need to account for permits ($1,000+), professional labor, and essential equipment placement near power sources. Don’t forget to allocate 10-15% for annual maintenance and include a contingency fund. Use online calculators and gather multiple contractor quotes to develop an accurate cost assessment that aligns with your property’s specifications and local regulations.
Choosing Customization Options and Finishes
Your pool’s visual appeal and functionality hinge on selecting the right combination of customization options and finishes. From sleek geometric designs to freeform shapes, you’ll need to ponder how each element contributes to your overall vision. Modern pool automation features can transform your swimming experience while decorative accents like glass tiles and mosaic patterns add distinctive character. The infinity edge style works beautifully for properties with scenic views, creating a seamless blend with surrounding landscapes. Adding soothing water features like waterfalls can create a more luxurious and relaxing atmosphere.
- Choose between concrete, fiberglass, or vinyl-lined construction, keeping in mind that concrete offers the highest level of customization for shapes and finishes
- Contemplate advanced features like LED lighting systems, integrated spas, and tanning ledges to improve both aesthetics and functionality
- Select surface finishes that match your style, from smooth plaster to textured aggregates, and incorporate perimeter tile details for a polished look
Securing Professional Assembly and Maintenance

Professional pool assembly and maintenance call for careful attention to technical requirements and safety protocols. You’ll need to start by focusing on licensed contractor selection, ensuring they have proven experience with pool construction and renovations. Begin with a thorough feasibility study of your site and secure all necessary permits through the permit compliance process. It’s essential to avoid scheduling installation during windy conditions to prevent safety hazards and potential damage.
Your contractor should assign a dedicated project manager who’ll oversee the critical installation phases, including site leveling, panel assembly, and PVC liner waterproofing. They’ll need to properly install and test all plumbing and electrical systems, ensuring your pump, filter, and heater work efficiently. The entire process typically takes six to 12 weeks to complete, depending on your pool type and design choices. Make sure your contract includes warranty clauses and establish a regular maintenance schedule for equipment servicing, leak inspections, and debris management to protect your investment.
Frequently Asked Questions
How Long Does the Pool Table Felt Typically Last Before Needing Replacement?
Your pool table felt’s durability largely depends on how often you use it and its quality. With frequent play (4+ times weekly), you’ll need replacement every 2-5 years, while occasional use can extend felt life to 5-15 years. Standard felt quality typically lasts 3-5 years, but premium materials offer longer lifespans. If you’re running a commercial setting like a cafe, you’ll need more frequent replacements every 6-12 months due to heavy usage.
Can Pool Tables Be Safely Moved Between Different Rooms After Installation?
While you can move your pool table between rooms, it’s critical to approach this task systematically. Moving a pool table carefully requires complete disassembly to protect its components. You’ll need to remove the rails, felt, and slate pieces separately. When relocating a pool table properly, always use furniture dollies and gather multiple helpers to manage the heavy slate sections. For best results, consider hiring professional movers to prevent damage and guarantee proper reassembly.
What Maintenance Schedule Is Recommended for Professional-Grade Pool Tables?
You’ll need to maintain your professional pool table through a structured schedule. Daily, brush and vacuum the felt, wipe rails, and check for loose components. Weekly, inspect felt condition, clean leather trim, and verify table leveling. Monthly, perform deep cleaning of rails and polish wooden parts. Seasonally, conduct thorough felt inspections and apply protective finishes. Don’t forget regular surface cleaning to prevent chalk buildup and maintain ideal playing conditions.
Do Climate Conditions Affect the Performance of Slate Pool Tables?
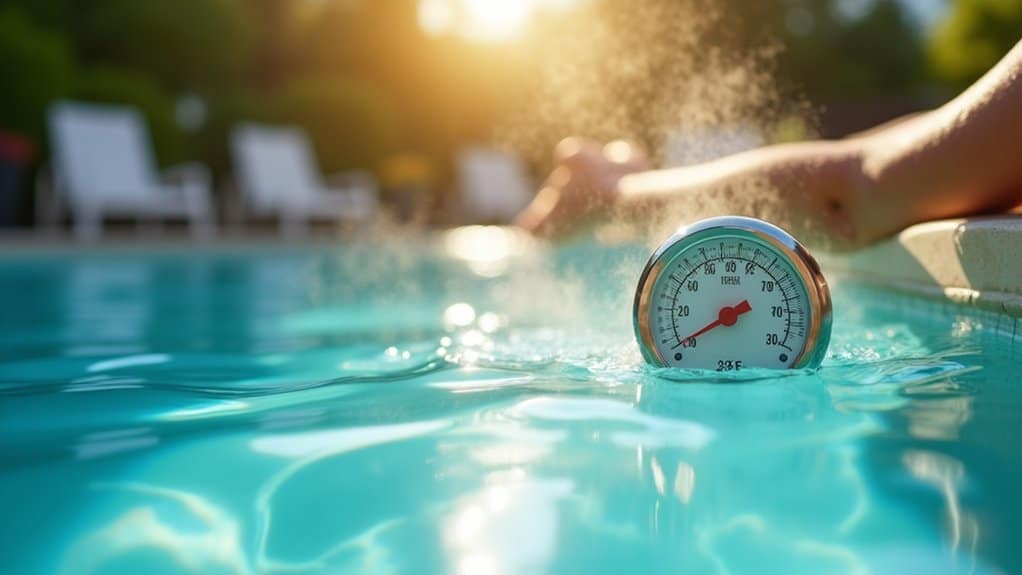
Yes, climate conditions do affect your slate pool table’s performance, though slate tables offer superior durability compared to non-slate alternatives. While the slate itself remains stable, you’ll notice that temperature and humidity changes primarily impact the table’s felt and cushions. Your table performs best between 68°F-74°F with 40-60% humidity. You’ll experience slower ball movement in high humidity and increased deflection in dry conditions. Rapid temperature shifts can cause slate “sweating,” temporarily affecting play.
Are Antique Pool Tables Worth Restoring Compared to Buying New Ones?
When considering antique table investment, you’ll find restoration is often worthwhile if the table has a quality slate bed and solid frame. While you’ll spend $1,500-$2,500 on extensive restoration, a comparable new slate table costs $3,000-$7,000. Table restoration compared to new purchases offers better value, especially since antiques maintain or increase in worth. You’re also preserving unique craftsmanship and historical value that you can’t replicate with modern manufacturing.