After your gunite shell cures for 7-10 days, you’ll move into the critical phases of pool construction. Your builder will install the plumbing system with Schedule 40 PVC pipes, set up the equipment pad, and integrate essential components like skimmers and main drains. Next comes waterproof tile installation and your chosen interior finish application. The final phase includes equipment hookups and decking installation. Understanding each phase’s timeline helps guarantee your pool’s structural integrity and lasting beauty.
Essential Curing Period for Gunite Pool Shell
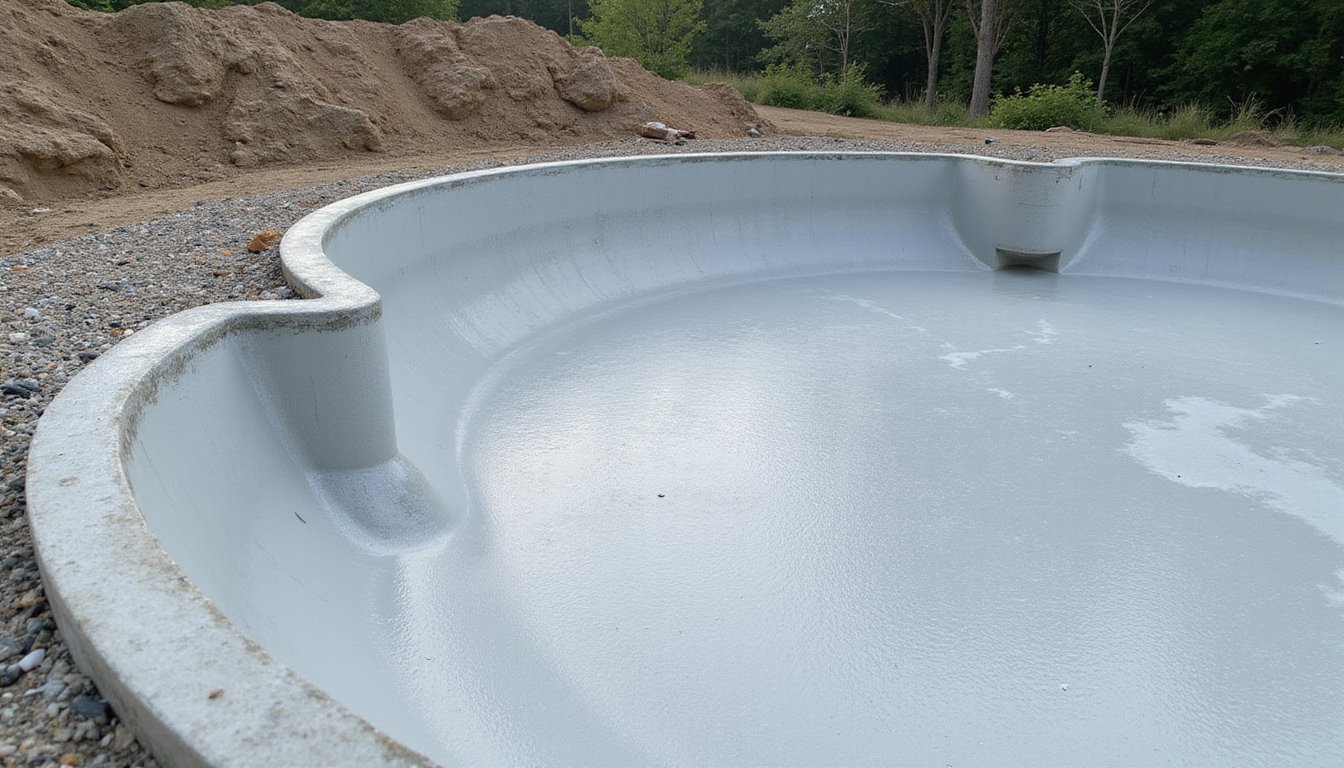
After your pool builder completes the gunite application process, proper curing becomes absolutely critical for long-term structural integrity. You’ll need to allow a full 28 days for maximum structural strength development, though initial phases can begin after 7-10 days of curing.
In Missouri, water pressure levels vary between municipalities, which can affect concurrent construction activities that require water usage during the curing period.
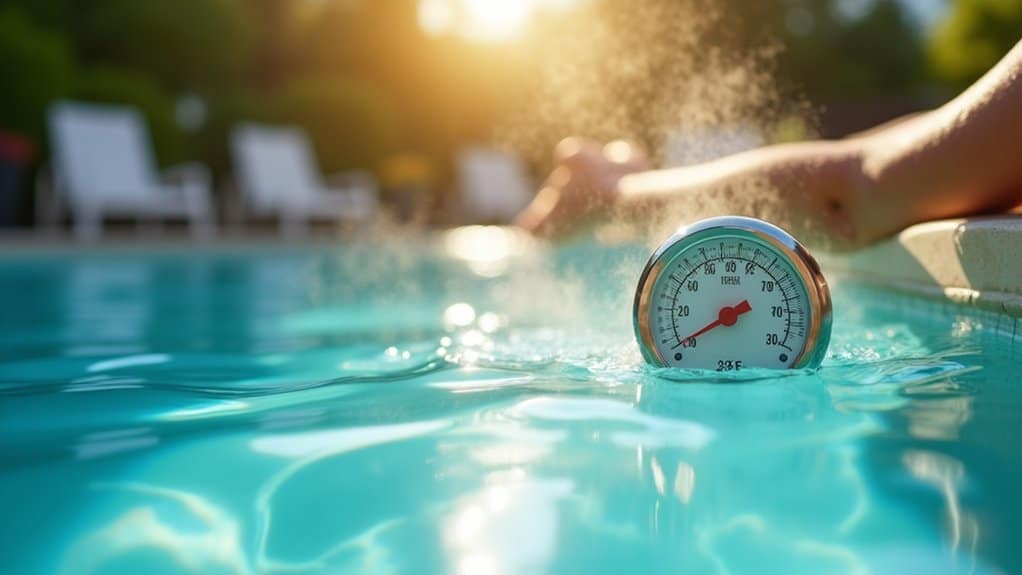
Weather impact on curing plays a significant role, as temperature, humidity, and rainfall can affect the timeline and final quality. The process typically requires 1-2 days for initial gunite application before the extended curing phase begins. You’ll need to guarantee proper drainage of any rainwater to prevent structural compromise. Professionals recommend daily water misting of the gunite surface to enhance curing strength. The importance of quality control during this phase can’t be overstated; while small surface cracks are normal, larger issues require immediate builder attention.
During the curing period, your builder can proceed with concurrent tasks like tile installation and plumbing tests, maximizing construction efficiency while safeguarding your pool shell develops proper strength for decades of performance.
Professional Tile Selection and Installation Process
Professional tile selection and installation demands painstaking attention to detail and precise execution for your pool project’s success. Your choice of waterproof tile adhesive selection must align with specific pool requirements, while grouting considerations should account for underwater exposure and chemical resistance. Using a pressure washer system thoroughly cleans and prepares the surface for optimal tile adhesion. Mix thinset to consistency that matches peanut butter texture for ideal workability.
- Start with thorough surface preparation, including cleaning and waterproofing primer application
- Choose high-quality pool-rated tiles with appropriate slip resistance ratings
- Apply swimming pool-specific adhesive using proper notched trowel techniques
- Guarantee complete cure times between installation phases
You’ll need to maintain consistent spacing and level installation throughout the process. The final grouting phase requires waterproof materials with augmenting additives for heightened durability. Allow proper curing time between each step, and perform quality checks to verify proper adhesion and joint consistency before pool filling.
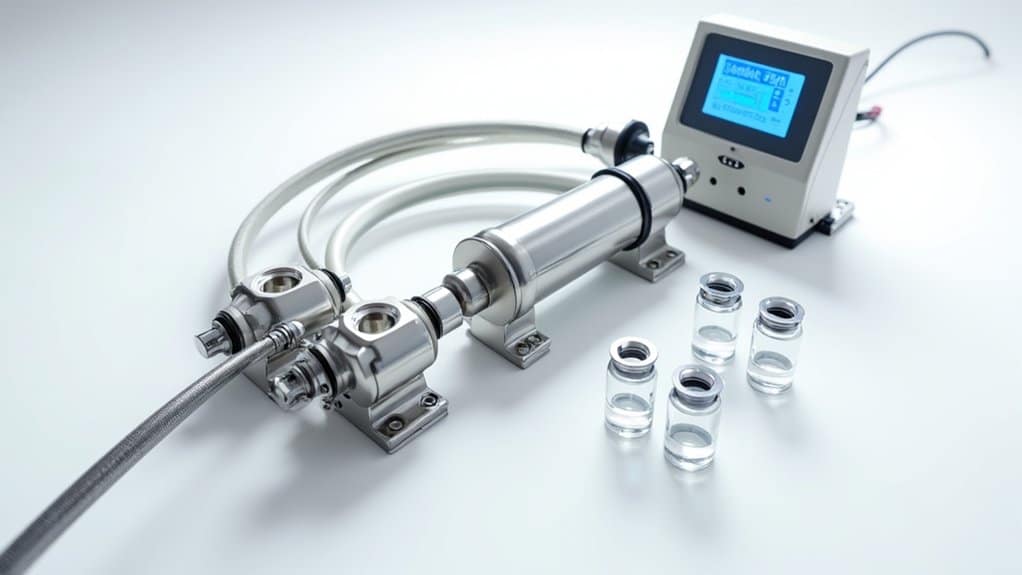
Equipment and Plumbing System Integration
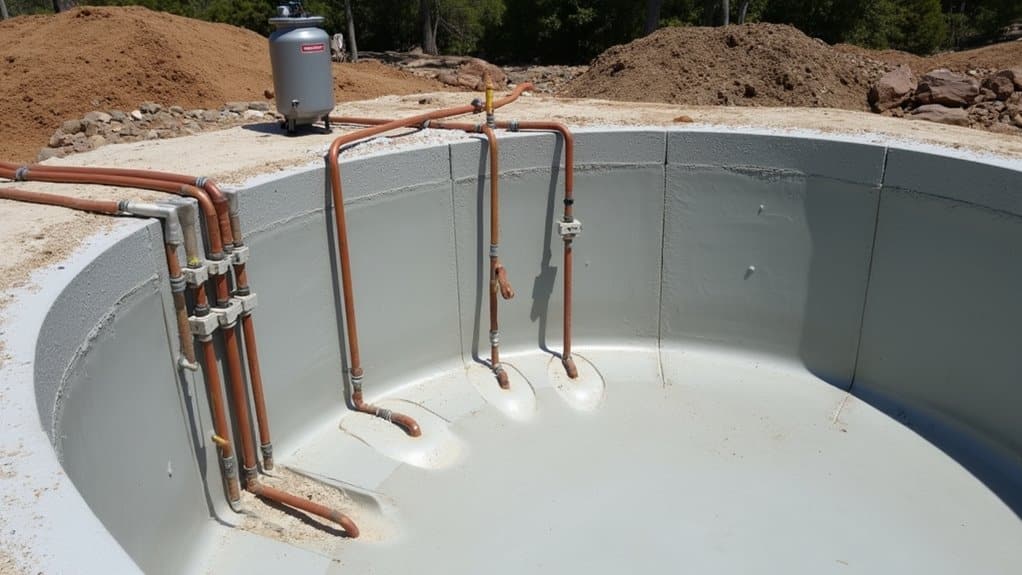
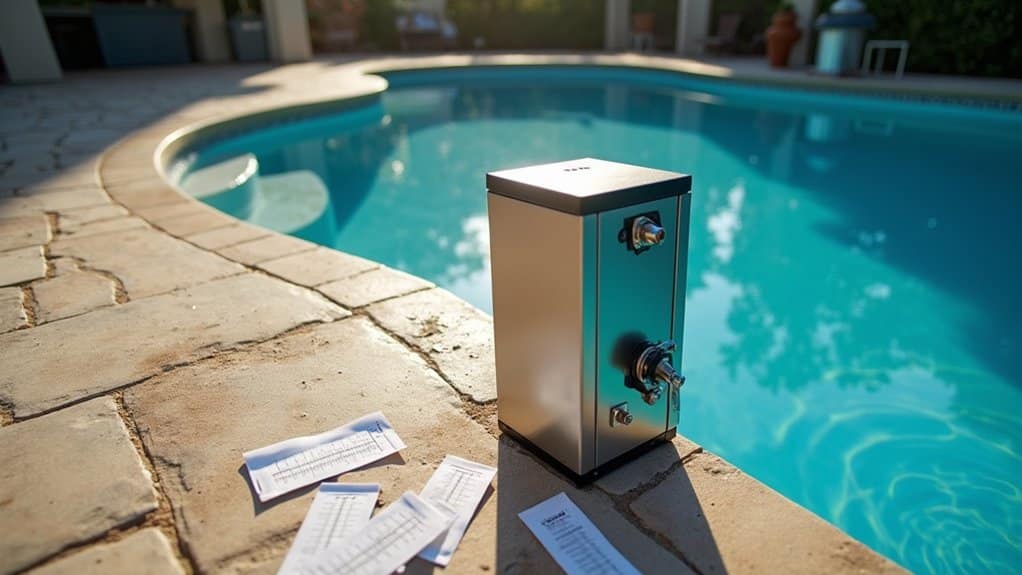
Integrating pool equipment and plumbing systems demands precise coordination of multiple components to guarantee ideal water flow and filtration. You’ll need to position your equipment pad strategically, measuring distances to all connection points including skimmers, main drains, and returns. Install main drains at least 3 feet apart, setting them in concrete-filled holes before the bond beam phase. Use Schedule 40 PVC pipe as the standard choice for your plumbing system installation.
Connect your skimmer systems through pre-cut wall panel openings, using Teflon tape and silicone sealant to prevent leaks. When implementing valve adjustment strategies, utilize three-way Jandy valves to control flow between skimmers and main drains. You’ll perform water flow efficiency tests through both suction and pressure side valves to detect potential clogs. Remember to allow adequate clearance around valves for future maintenance access.
Pool Interior Finish Applications
The selection of your pool’s interior finish represents a major decision point following plumbing system completion. You’ll need to weigh plaster finish limitations against aggregate finish characteristics to determine the best surface for your investment. The timeless appearance of classic white marcite remains a popular choice among traditionalists. Ceramic and porcelain tiles are common tile options that provide versatile customization possibilities.
- Traditional white plaster offers the most economical choice at $4/sq ft but requires vigilant pH maintenance and typically lasts only 5-10 years
- Aggregate finishes, while more expensive at $5/sq ft, deliver 12-30 years of service life with boosted durability
- QuartzScapes and JewelScapes provide superior color retention and dimensional sparkle effects for premium aesthetics
- Polished marble and glass aggregate combinations create sophisticated, smooth surfaces ideal for modern pool designs
Your finish selection impacts both maintenance requirements and long-term costs, with aggregates commanding higher upfront investment but offering extensively extended durability compared to traditional plaster options.
Final Construction Steps and Pool Startup
Following gunite application and interior finish selection, your pool construction enters its final essential phases that transform the shell into a fully operational aquatic system. You’ll see plumbing connections established with schedule 40 PVC pipes, followed by equipment installation including circulation and filtration systems. Custom features like waterfalls and fountains can be integrated during this stage to enhance your pool’s aesthetics. Skilled craftsmen will complete the tile and decking within approximately seven days to create your pool’s decorative perimeter. A special mastic expansion joint is installed about two weeks after completion to prevent deck cracking.
Your pool’s startup phase begins with comprehensive thorough testing of all mechanical components and eye-ball fitting installations. A technician will verify proper operation of pumps, timers, and circulation systems. Water chemistry balancing marks a pivotal step, involving careful monitoring of chemical levels over several days.
The path to project completion includes obligatory building inspections at key stages. Once inspectors approve the work, you’ll receive a fully functional pool system after final cleanup and removal of construction materials from your property.
Frequently Asked Questions
Can I Change Tile Selections After Construction Has Already Started?
Yes, you can make tile modification options, but timing is imperative. You’ll face higher costs and potential delays if you request changes after initial installation. For ideal design alteration considerations, make your changes before tile work begins, ideally during the pre-installation phase. If you’ve already started construction, consult your contractor immediately to assess feasibility, as late-stage changes will impact your project timeline and budget extensively.
What Happens if It Rains Heavily During the Gunite Curing Process?
If heavy rain occurs during gunite curing, you’ll face potential delays in curing beyond the standard 28-day timeline. You’re also at risk of structural damage if excessive rainwater saturates the surrounding soil, potentially causing the ground to shift or sink. You’ll need to guarantee proper drainage and might have to halt construction until the site dries completely. While small surface cracks are normal, monitor for larger cracks that could indicate serious structural issues.
How Long Should I Wait Before Swimming After Final Startup?
You’ll need to wait 7-10 days after final startup before swimming, though the specific waiting period before use depends on your pool’s interior finish and chemical stabilization. Guarantee your maintenance schedule recommendations are followed precisely during this time, test chemicals daily, run filtration 24/7, and maintain proper pH levels. Don’t rush this process, as proper stabilization secures safe swimming conditions and protects your pool’s long-term durability.
Will Winter Weather Affect the Installation Timeline for Outdoor Pools?
Yes, winter weather will tremendously impact your pool installation timeline. You’ll face seasonal weather delays that can extend the typical 8-12 week construction period, especially in regions with freezing temperatures. You’ll need to anticipate contractor coordination challenges as crews adapt their schedules around weather conditions. While milder winter regions like North Texas may allow continuous progress, you’ll still encounter slower material curing times and potential work stoppages during extreme weather events.
Are Building Permits Required for Adding Water Features After Initial Construction?
Yes, you’ll typically need building permits for supplementary water features after initial pool construction. Even post-installation modifications require regulatory approvals, particularly for structural changes, electrical work, or plumbing alterations. You must submit detailed plans showing the new feature’s specifications, location, and integration with existing systems. Don’t skip this step, unpermitted supplementary features can result in fines and forced removal, plus they may invalidate your property insurance coverage.