Converting your fiberglass pool to a saltwater system involves careful steps to guarantee safety and compatibility. Start by evaluating your pool’s condition, ensuring it’s free from cracks and your plumbing and electrical systems are salt-resistant. Gather tools like a salt chlorinator and test kit, ensuring proper safety gear is worn. Drain the pool using a submersible pump, then clean the surfaces with non-abrasive tools while wearing protective gear. Install the salt chlorine generator securely, and add salt according to specifications. Regularly test and balance the water chemistry parameters to maintain quality. Detailed insights on each step can help refine the process further.
Assessing Pool Compatibility
Before converting your fiberglass pool to a saltwater system, it’s crucial to assess pool compatibility to guarantee a smooth changeover and long-term durability.
Begin by evaluating the pool condition, focusing on the surface integrity and presence of existing damage. Check for cracks, chips, or delamination that might compromise your pool’s ability to handle saltwater.
Next, analyze compatibility factors, ensure the pool’s plumbing, fittings, and equipment, such as pumps and heaters, are resistant to salt corrosion.
Verify that your pool’s components, including electrical systems, are rated for saltwater use.
Conducting a thorough inspection mitigates risks, enhancing safety and performance.
If in doubt, consult a pool professional to confirm your pool’s suitability for conversion and address any potential issues beforehand.
Gathering Necessary Tools
Before starting the conversion, make certain you have an extensive equipment checklist to guarantee no tools are missing.
Prioritize selecting tools that are specifically designed for fiberglass pools, as using the wrong equipment can cause damage and pose safety risks.
Always wear protective gear and follow manufacturer guidelines to prevent accidents during installation.
Essential Equipment Checklist
To successfully convert your fiberglass pool to a salt water system, you must gather essential equipment, confirming each tool is readily available and in good condition.
Start by acquiring the correct equipment types: a salt water chlorinator, pool water testing kit, and salt mix specific to pool use. Check for compatibility with your fiberglass pool to prevent damage.
Maintenance tools are vital; include a pool brush, skimmer net, and vacuum to keep the pool clean and functioning at its best.
Verify electrical tools, like a power drill, are grounded and in safe working order.
Safety is paramount, so wear protective gear, such as gloves and goggles, to shield against chemical exposure.
With this checklist, you’re prepared to proceed safely and effectively.
Tool Selection Tips
When selecting the necessary tools for converting your fiberglass pool to a salt water system, focus on quality and compatibility to confirm the best results. Prioritize well-known tool brands like DeWalt, Makita, or Bosch, making sure each tool type fits the task at hand. Here’s a handy table outlining essential tools:
| Tool Type | Recommended Brand | Purpose |
|---|---|---|
| Cordless Drill | DeWalt | Create mounting holes |
| Adjustable Wrench | Crescent | Secure fittings |
| Pipe Cutter | Ridgid | Cut PVC pipes |
Always wear safety gear, such as goggles and gloves, to protect yourself from debris and sharp edges. Check that each tool operates smoothly and is free of defects. Proper preparation confirms your conversion project proceeds efficiently and safely.
Draining the Pool
Draining a fiberglass pool for conversion to a salt water system requires careful planning and adherence to safety protocols.
First, assess the pool water level and choose suitable draining techniques. Utilize a submersible pump, making certain it’s correctly positioned at the pool’s lowest point.
Begin by slowly reducing the water level to prevent structural stress. Monitor the pump closely to avoid over-draining, which could damage the pool shell.
Ascertain that the discharge point is compliant with local regulations, directing water away from structures and landscaping.
Turn off all pool equipment before initiating the drainage process to prevent electrical hazards. Always use protective gear, and never leave the draining process unattended.
Once drained, prepare for the next steps in your salt water conversion process.
Cleaning the Pool Surface
Thoroughly cleaning the pool surface is an essential step in converting your fiberglass pool to a salt water system. Begin by selecting appropriate pool cleaning tools. Use a soft-bristle brush to avoid damaging the surface. Employ these surface preparation techniques: scrub the pool walls and floor with a non-abrasive cleaner to remove algae and debris. Rinse thoroughly with a hose, making certain no residue remains. Prioritize safety by wearing gloves and goggles.
| Task | Tool Needed | Safety Precaution |
|---|---|---|
| Scrubbing walls | Soft-bristle brush | Wear gloves |
| Cleaning floor | Non-abrasive cleaner | Use goggles |
| Rinsing | Garden hose | Maintain firm footing |
Carefully inspect for cracks or damage before proceeding to the next step. This guarantees a smooth shift to a salt water system.
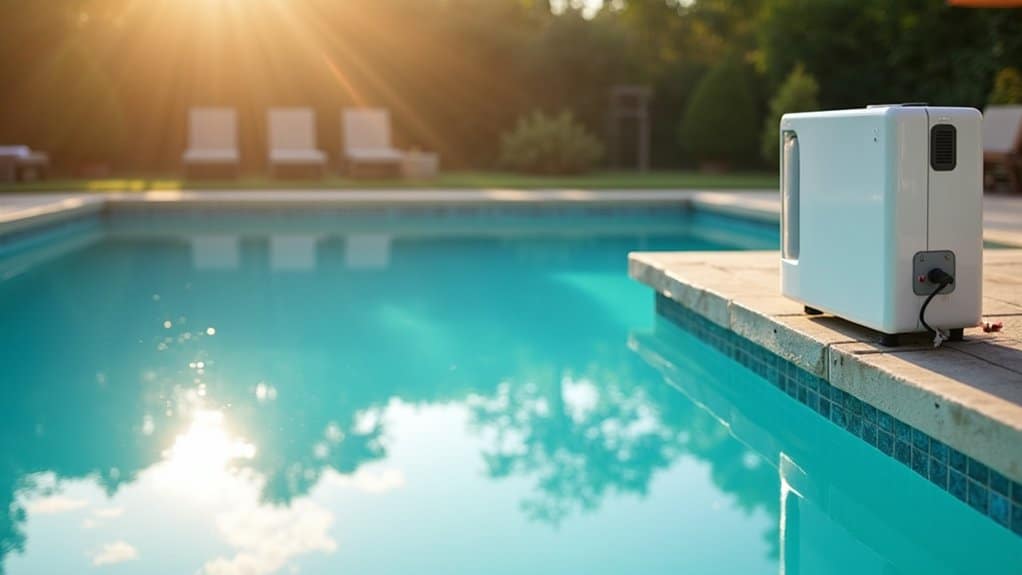
Installing Salt Chlorine Generator
With the pool surface clean and inspected for any damages, you’re ready to install the salt chlorine generator, an integral component of your new salt water system.
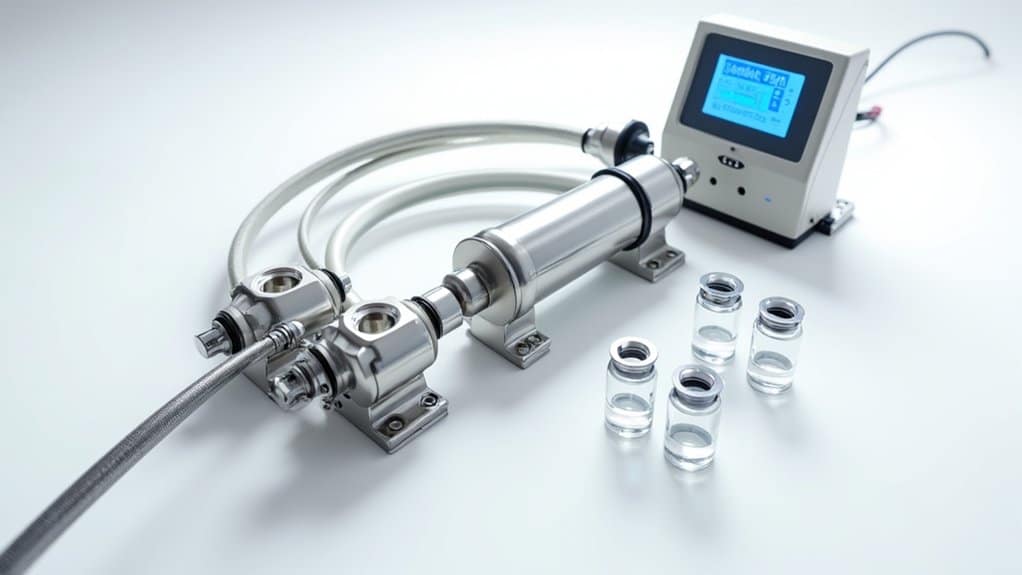
First, choose from various salt generator types, such as inline or offline models. Confirm compatibility with your pool’s existing plumbing.
For installation, locate the generator near the pool’s return line, post-filter. Cut the PVC piping and attach the generator unit, using PVC cement for a watertight seal.
Follow the manufacturer’s installation tips, confirming all electrical connections are secure and grounded. Use a dedicated circuit breaker for safety.
Test the unit by turning it on and checking for leaks. Don’t forget to follow all local electrical codes and guidelines to confirm a safe installation.
Adding Salt to the Water
To begin adding salt to your pool, calculate the required salt quantity based on your pool’s volume and the manufacturer’s guidelines.
Distribute the salt evenly by pouring it around the pool perimeter while the pump is running to guarantee thorough mixing.
Always follow safety protocols by wearing protective gloves and goggles during this process to prevent skin and eye irritation.
Salt Quantity Calculation
Calculating the precise amount of salt required for your fiberglass pool is essential for ensuring ideal system performance and water quality.
Start by determining the pool’s volume in gallons. Use salt dosage estimation to calculate the required salt, considering your current salinity level and the manufacturer’s recommended concentration, typically around 3,000 parts per million (ppm).
Employ salinity testing techniques such as handheld meters or test strips to measure current salt levels accurately.
Safety is paramount. Wear protective gloves and eyewear when handling salt.
Gradual addition is key, add salt incrementally, allowing for thorough mixing and accurate re-testing to prevent over-salting.
Monitor the water’s salinity closely, adjusting as necessary to maintain optimal levels and avoid corrosion or equipment damage.
Follow these steps to achieve balanced salinity in your pool.
Even Distribution Methods
Once you’ve calculated the necessary salt amount for your fiberglass pool, it’s important to focus on even distribution for peak performance.
Start by turning off your pool pump and filter system to prevent undissolved salt from entering sensitive equipment. Gently broadcast the salt around the perimeter of the pool, making sure it’s not concentrated in one area.
Use a pool brush to help dissolve the salt, brushing it towards the deeper end for effective salt dispersion. After adding the salt, wait 24 hours before turning the pump back on, allowing the salt to fully dissolve.
For safety, avoid swimming during this time to guarantee proper chemical balance. Employing these even distribution methods guarantees top performance of your salt water system.
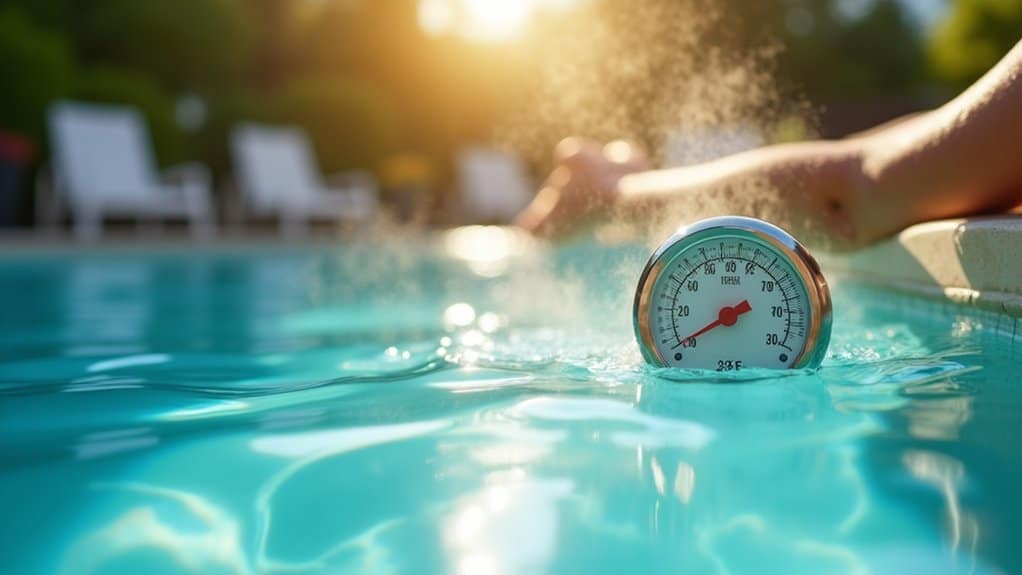
Balancing Water Chemistry
Balancing water chemistry in a fiberglass pool converted to a saltwater system is essential to secure safe and enjoyable swimming conditions.
Begin by conducting water testing to measure pH, alkalinity, calcium hardness, and chlorine levels. Use a reliable test kit for accurate results. Ideal pH should be between 7.2 and 7.6, while alkalinity should range from 80 to 120 parts per million (ppm).
Adjust pH with muriatic acid or sodium carbonate as needed. Maintain calcium hardness between 200 and 400 ppm to protect the fiberglass surface. Ascertain chlorine levels are consistently between 1 and 3 ppm.
If chemical adjustments are required, follow manufacturer guidelines for safe handling and dosage. Regularly test and adjust to maintain balanced water chemistry.
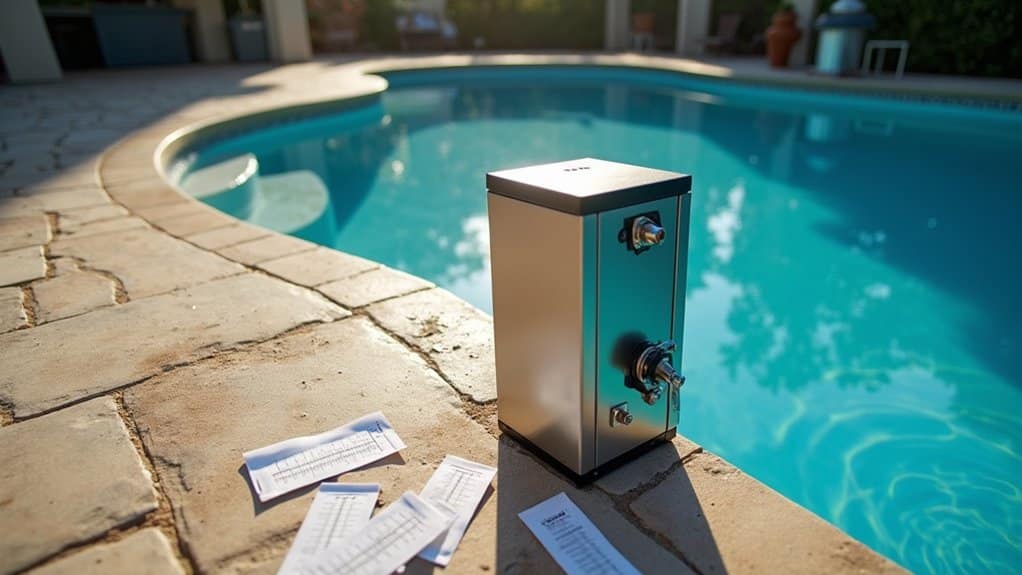
Monitoring and Maintenance
Proper monitoring and maintenance of your fiberglass pool’s saltwater system assures longevity and safety.
Begin by conducting regular water testing to guarantee balanced chemistry, preventing corrosion and scaling. Follow these steps to maintain an ideal environment:
- Weekly Water Testing: Utilize a reliable water testing kit to check pH, chlorine levels, and total alkalinity. Adjust as needed to maintain perfect levels.
- Routine Checks: Inspect the salt cell every two weeks. Look for calcium deposits and clean it according to manufacturer instructions to assure efficient operation.
- Salt Level Monitoring: Keep salt concentrations within recommended ranges. Excessive salt can damage pool equipment, while too little affects chlorine production.
- Filter and Pump Maintenance: Clean filters regularly and check pump operation. This assures proper water flow and filtration, maintaining overall pool health.
Frequently Asked Questions
How Does the Saltwater Affect Pool Equipment Longevity?
When you switch to a saltwater system, you’ve got to take into account saltwater corrosion and its impact on equipment longevity.
Saltwater can accelerate corrosion in metal components, so it’s vital to conduct regular equipment maintenance. Inspect and clean metal parts frequently to prevent damage.
Confirm your pool’s grounding and bonding are intact for safety. Using sacrificial anodes can help protect vulnerable equipment from corrosion, prolonging the life of your pool’s systems.
What Are the Cost Implications of Converting to a Saltwater System?
Imagine a serene retreat in your backyard. To transform your pool into a saltwater haven, consider installation expenses and maintenance costs.
Installing a saltwater system entails purchasing a generator, which can cost $1,500 to $2,500, plus professional installation fees.
Maintenance costs are generally lower than traditional chlorine pools, as salt cells need periodic cleaning and replacement every 3-7 years.
Prioritize safety by ensuring equipment is compatible with saltwater systems.
Can Saltwater Systems Be Used in Cold Climates?
Yes, you can use saltwater systems in cold climates, but you need to guarantee saltwater compatibility and proper winter maintenance.
Start by checking your pool equipment for compatibility with saltwater. Before winter, lower the water level below the skimmer, drain and clean the saltwater generator, and add a winterizing chemical kit.
Always disconnect power to the system to prevent electrical hazards. Cover the pool securely to protect against debris and ice damage.
Are There Health Benefits to Swimming in Saltwater Pools?
Swimming in saltwater pools offers several health benefits.
You’ll experience skin benefits as the saltwater can help to naturally exfoliate and hydrate your skin.
Additionally, saltwater pools can contribute to allergy reduction because they don’t use harsh chemicals like chlorine, reducing potential irritants.
When enjoying these benefits, make certain the salt concentration is correctly maintained for safety.
Regularly test the water and adjust the salt levels as needed to maximize health benefits.
How Does Saltwater Conversion Impact Pool Aesthetic Features?
You might worry that saltwater conversion could alter your pool’s appearance negatively.
However, it actually enhances the aesthetic features. With proper aesthetic maintenance, saltwater pools maintain a pristine look, reducing the harshness of chlorine that can fade liners and tiles.
Guarantee you monitor salt levels carefully to prevent any damage. Regularly check for corrosion on metal parts, and your pool will remain visually appealing and safe for use.