
Repairing damaged fiberglass pool steps requires precision and patience. Initially, drain water below the damaged area and thoroughly clean the surface. Remove loose fiberglass before sanding with progressive grits. Apply catalyzed resin and fiberglass cloth in layers, allowing proper curing between applications. Fill cracks with marine-grade filler, then sand smooth. Match and apply gel coat color before sealing with polyurethane waterproofing. Perform final sanding and wait 24-48 hours before refilling. These proven steps will guarantee your repair lasts for years to come.
Assessing Damage and Gathering Necessary Materials
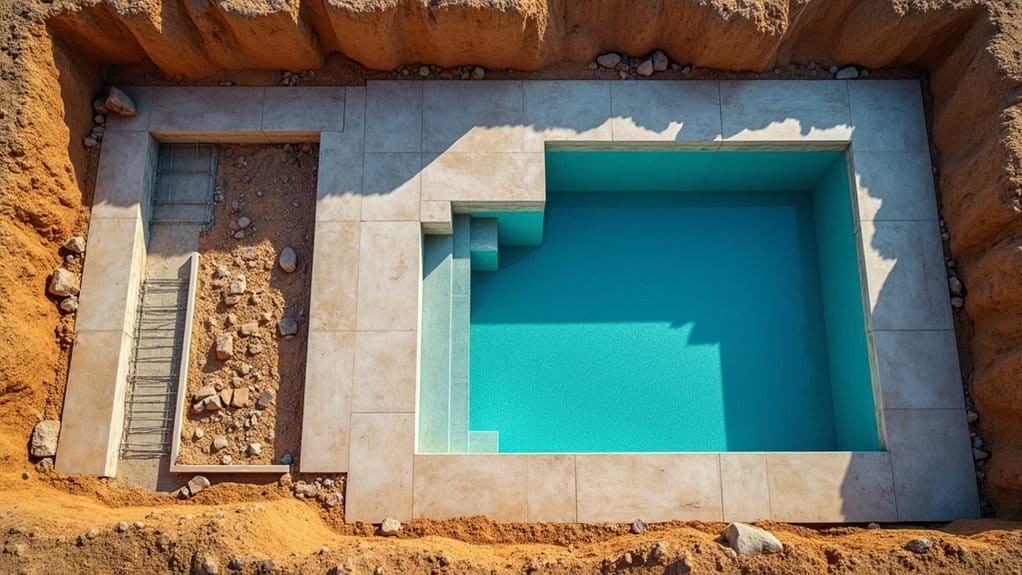
Before beginning any fiberglass pool step repair, you’ll need to thoroughly assess the extent of damage and prepare appropriate materials. Start your damage assessment by draining water below the affected area and allowing the surface to dry completely. Examine for cracks, chips, delamination, or structural weakness, measuring each damaged section precisely.
For proper material selection, gather fiberglass repair supplies based on damage severity: fiberglass resin and hardener, fiberglass mat or cloth, gelcoat matching your pool color, mixing containers, sandpaper (80-220 grit), protective equipment (gloves, respirator, eye protection), masking tape, and application tools. Small chips require less extensive materials than structural cracks. Purchase slightly more materials than your estimated needs to avoid interruptions during the repair process.
Draining and Preparing the Pool Area
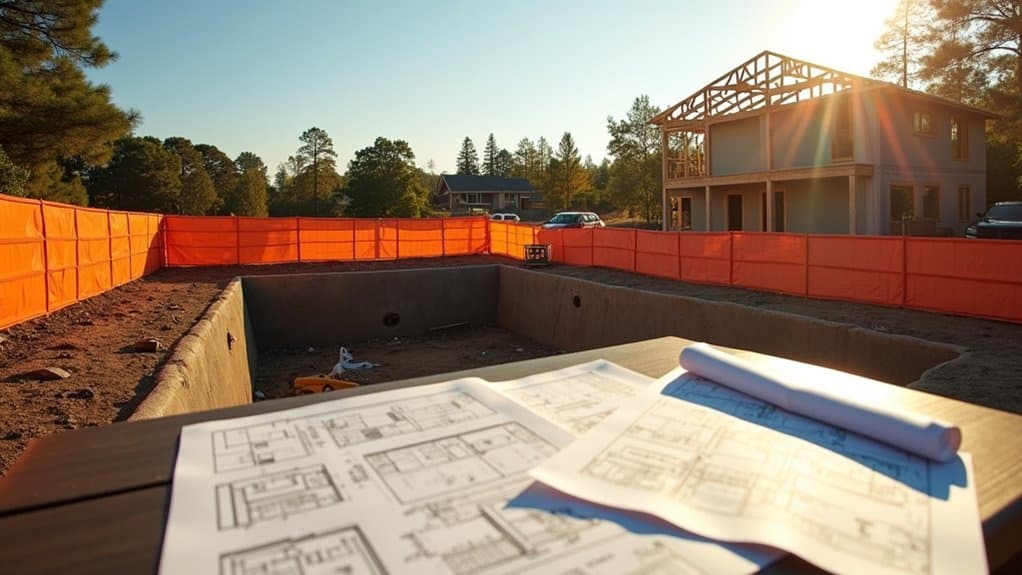
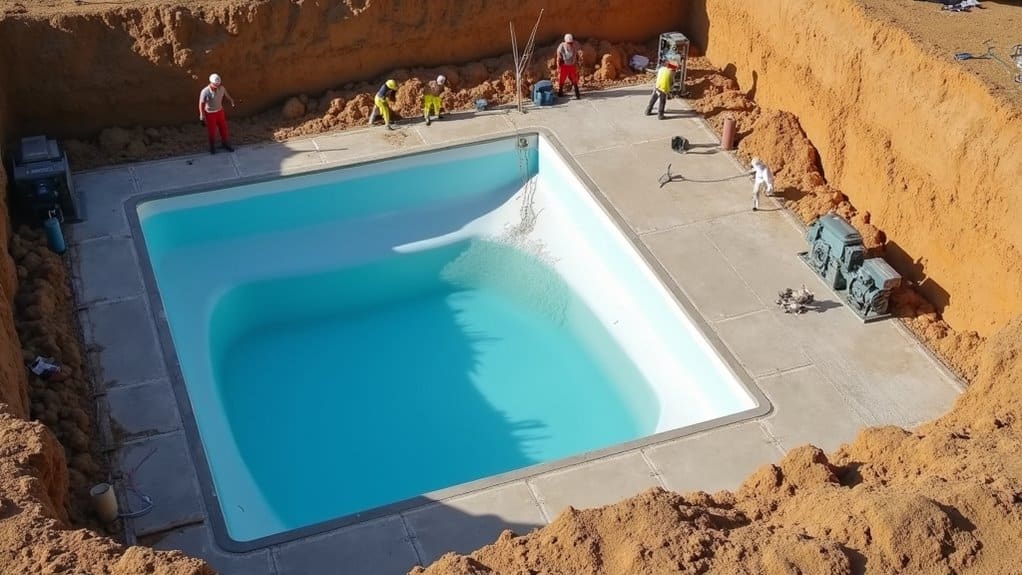
Once you’ve gathered all necessary materials, proper drainage and preparation of the pool area become critical for a successful fiberglass step repair. You’ll need to lower the water level below the damaged steps, which requires understanding basic pool maintenance principles to avoid equipment damage during drainage.
Preparation is non-negotiable for quality repairs, drain below the damaged area and protect your equipment.
- Lower water level using your submersible pump or the pool’s drain valve, ensuring it’s at least 12 inches below the damaged area to provide adequate working space
- Clean the surrounding area thoroughly with a non-abrasive cleaner to remove algae, calcium deposits, and debris that could interfere with repair adhesion
- Test and balance water chemistry before draining to prevent staining on fiberglass surfaces, particularly checking pH and chlorine levels
After drainage, allow the steps to dry completely for 24-48 hours before beginning repair work.
Cleaning and Removing Loose Fiberglass
Before handling damaged fiberglass, you’ll need to wear protective gloves, goggles, and a respirator to prevent inhaling harmful particles. Scrub the damaged area with a stiff-bristled brush and a mixture of trisodium phosphate to remove all traces of algae, dirt, and loose material that could compromise your repair. After scrubbing, vacuum or use a shop-vac to collect all debris, ensuring the surface is completely clean and ready for the next repair phase.
Preparation and Safety
Proper preparation serves as the foundation for a successful fiberglass pool step repair. Before beginning any work, verify your workspace is clean, well-ventilated, and free of debris. You’ll need a thorough safety gear and preparation checklist to protect yourself from harmful chemicals and dust particles.
- Personal Protection – Wear chemical-resistant gloves, safety goggles, respiratory mask with appropriate filtration, and clothing that covers your skin completely.
- Workspace Setup – Set up proper ventilation using fans, open windows, or specialized equipment. Isolate the repair area with plastic sheeting to contain dust and resin particles.
- Materials Organization – Arrange all repair materials in a logical sequence of use. Keep MSDS (Material Safety Data Sheets) for all chemicals readily accessible in case of emergency.
Scrubbing Techniques
With safety measures and workspace preparation complete, the actual repair process begins with thorough cleaning and removal of compromised materials. Using fine-grit (180-220) sandpaper, gently abrade the damaged area to remove loose fiberglass strands and deteriorated gel coat. Work in circular motions, maintaining consistent pressure.
Next, prepare a cleaning solution of trisodium phosphate (TSP) mixed with warm water at a 1:4 ratio. Apply this solution using specialized scrubbing tools like a non-abrasive nylon brush to remove oils, algae, and contaminants that could compromise adhesion. For stubborn residue, a plastic putty knife can help without scratching the surrounding fiberglass.
Rinse thoroughly with clean water and allow the surface to dry completely before proceeding. Test for dryness by pressing white tissue against the area.
Debris Removal Methods
Once the initial sanding exposes damaged materials, you’ll need to implement thorough debris removal techniques to create an ideal bonding surface. Different debris types require specific approaches to guarantee complete elimination before applying any repair compounds.
- Vacuum extraction – Use a wet/dry shop vacuum with a narrow nozzle attachment to remove loose fiberglass particles, dust, and fine grit. Hold the nozzle approximately one inch from the surface to optimize suction efficiency.
- Solvent wiping – Apply acetone or denatured alcohol with lint-free microfiber cloths to dissolve and lift embedded contaminants. Work in small sections, changing cloths frequently to prevent redeposition.
- Compressed air cleaning – Direct controlled bursts of compressed air (30-40 PSI) across the surface to dislodge particulates from crevices inaccessible to vacuums. Use proper eye protection and respiratory equipment when using these removal tools.
Sanding and Smoothing the Damaged Surface
After thoroughly cleaning the damaged area, you’ll need to create a smooth, uniform surface through proper sanding techniques. Begin with 80-grit sandpaper to remove any jagged edges and major imperfections. Work in circular motions, applying even pressure to prevent gouging the fiberglass further.
Progress to 120-grit sandpaper for intermediate smoothing methods, focusing on blending the damaged area with surrounding surfaces. Ultimately, use 220-grit for finishing touches. Always sand underwater or keep the surface wet to prevent fiberglass dust from becoming airborne.
Feel the surface with your fingertips to detect any remaining rough spots. The area should shift seamlessly from damaged to undamaged portions. This careful preparation guarantees proper adhesion of repair materials and a professional-looking result.
Applying Fiberglass Resin and Cloth Reinforcement
The properly sanded surface now needs structural reinforcement to restore the step’s integrity. Cut fiberglass cloth pieces that extend 2-3 inches beyond the damaged area to guarantee adequate overlap with the undamaged surface. Mix your catalyzed resin according to manufacturer specifications, noting that working time is typically limited to 15-20 minutes.
Proper reinforcement requires precise fiberglass cloth placement and timely resin application within the 15-20 minute working window.
- Apply a thin base coat of resin to the prepared surface using a disposable brush, ensuring complete coverage
- Lay the pre-cut fiberglass cloth over the wet resin, pressing gently to remove air bubbles and guarantee proper adhesion
- Saturate the cloth with extra resin, working from the center outward to eliminate air pockets
Allow the resin application to cure fully before proceeding to the finishing steps. Temperature affects cure time considerably.
Filling and Leveling Major Cracks and Chips
While the fiberglass reinforcement provides structural integrity, major cracks and chips require further filling to restore the step’s smooth surface. You’ll need to assess different crack types before proceeding, hairline cracks need minimal filling, while structural cracks demand thorough treatment.
For ideal repair techniques, apply marine-grade polyester filler in thin layers rather than one thick application. Press the filler firmly into cracks using a plastic spreader, extending slightly above the surface. Allow each layer to cure for 2-4 hours depending on temperature and humidity. For chips deeper than ¼ inch, build up multiple layers, letting each harden before adding the next. Slightly overfill the damaged area to compensate for shrinkage during curing, which provides sufficient material for proper sanding and finishing later.
Sanding and Finishing the Repaired Surface
Once the polyester filler has completely cured, proper sanding becomes your next task in achieving a seamless repair. You’ll need to gradually work through multiple grits to guarantee a smooth shift between the repaired area and surrounding fiberglass.
- Start with 80-grit sandpaper to remove excess filler and rough edges, working in circular motions while keeping the surface wet to prevent dust dispersion.
- Progress to 120-grit, then 220-grit sandpaper for intermediate sanding, feathering the edges where repair meets original surface.
- Finish with 400-grit wet sanding for final smoothing, preparing the surface for gelcoat application.
These progressive sanding techniques create the foundation for finishing touches that will make your repair virtually undetectable. Don’t rush this process, careful sanding determines the quality of your final result.
Matching and Applying Gel Coat Color
Achieving a perfect color match represents one of the most challenging aspects of fiberglass pool step repair, as even minor variations will make your repair work conspicuous. Purchase gel coat from your pool manufacturer whenever possible to guarantee proper color matching. If unavailable, select a white base gel coat and add pigments incrementally until you achieve the closest match.
Test your color mixture on a small, inconspicuous area before full application. You’ll need to mix the gel coat with MEKP catalyst at a 100:1 ratio. Apply the colored gel coat using a foam brush in thin, even layers. Allow each layer to cure for 30-60 minutes between applications. You’ll typically need 3-4 layers for proper opacity and UV protection. Sand between layers with 400-grit sandpaper for ideal adhesion.
Sealing and Waterproofing the Repaired Steps
Once the gel coat repair has cured, you’ll need to apply a marine-grade polyurethane sealant specifically formulated for underwater applications to guarantee complete waterproofing of your fiberglass steps. Allow the sealant to dry for a minimum of 24-48 hours before water exposure, following manufacturer’s temperature and humidity guidelines for ideal curing. You should inspect the sealed areas quarterly and reapply sealant annually to prevent water infiltration beneath the repair, which can compromise both structural integrity and aesthetics.
Sealant Types and Application
Three critical sealant options exist for waterproofing your repaired fiberglass pool steps: epoxy-based, polyurethane, and silicone-based products. Each type offers specific benefits depending on your pool’s conditions. When selecting a sealant, consider durability, chemical resistance, and flexibility requirements.
For proper application techniques, follow these essential steps:
- Clean the repaired surface thoroughly with acetone to remove any dust, oils, or contaminants that could prevent adequate adhesion.
- Apply the sealant using a caulking gun with steady pressure, maintaining a 45-degree angle to guarantee complete coverage of joints and seams.
- Smooth the sealant with a plastic putty knife or wet finger within 10 minutes of application to create a watertight seal.
You’ll need to allow full curing time (typically 24-48 hours) before refilling your pool.
Drying Time Requirements
Proper drying time between each phase of your fiberglass pool step repair guarantees structural integrity and longevity of the repair work. You’ll need to allow 24-48 hours after applying the initial fiberglass resin patches before sanding or incorporating supplementary layers.
When using epoxy-based sealants, verify a minimum 12-hour curing period in temperatures above 70°F. Polyurethane sealants typically require 24-72 hours to fully cure, depending on humidity levels. For ideal drying techniques, maintain consistent ambient temperature and use fans to promote air circulation without directing airflow directly onto fresh repairs.
Don’t rush the final curing process, your repaired steps should remain unused for at least 7 days to achieve maximum hardness and water resistance. Apply test drops of water to verify complete curing; if absorption occurs, supplementary drying time is necessary.
Ongoing Maintenance Needs
After complete curing, your repaired fiberglass steps will require regular maintenance to preserve their integrity and extend their lifespan. Proper sealing and waterproofing form the foundation of effective pool maintenance for fiberglass surfaces.
- Apply a marine-grade polyurethane sealant annually to protect the repaired area from water intrusion and chemical exposure, focusing on edges where separation might occur.
- Conduct routine inspections every three months, checking for hairline cracks, discoloration, or rough spots that could indicate degradation of the repair.
- Clean the steps weekly with non-abrasive, fiberglass-safe cleaners to prevent buildup that could react with repair materials and compromise structural integrity.
These preventative measures will greatly reduce the likelihood of future damage and help maintain the structural soundness of your pool steps.
Testing and Maintaining Your Restored Pool Steps
Once your repair work has fully cured, you’ll need to thoroughly test the structural integrity of your restored fiberglass pool steps before regular use. Apply firm pressure to different areas of the repair site while checking for any flexing or movement. Fill the pool slowly and inspect for leaks around the repaired section.
Implement consistent pool step maintenance routines to extend the life of your restoration. Apply a marine-grade UV protectant every six months to prevent degradation from sun exposure. Clean steps weekly with non-abrasive cleaners to prevent buildup that could compromise the repair. Avoid harsh chemicals that might weaken the restoration techniques you’ve applied. Check periodically for any signs of delamination or cracking, especially at repair boundaries. Address minor issues immediately to prevent more extensive damage.
Frequently Asked Questions
Can I Repair Fiberglass Steps While the Pool Remains Filled?
Yes, you can repair fiberglass steps while your pool remains filled, but it’s technically challenging. You’ll need to use underwater repair techniques, including specialized epoxy putties that cure below water. Make certain the damaged area is thoroughly cleaned and roughened for proper adhesion. Keep the repair area above the waterline if possible for best results. This approach is convenient for urgent pool maintenance but generally provides less durability than repairs done on drained pools.
How Long Before Repaired Steps Are Safe for Use?
After repairing fiberglass pool steps, you’ll need to observe proper repair time before resuming use. Allow at least 24-48 hours for epoxy or fiberglass resin to fully cure. For thorough repairs, wait 72 hours to guarantee maximum strength. Implement safety measures by testing repaired areas gently before full weight application. Temperature and humidity affect curing time, so you’ll need extra time in cooler conditions. Don’t rush this process, premature use may compromise structural integrity and necessitate re-repair.
Will Repaired Areas Fade Differently Than Original Fiberglass Surfaces?
Yes, repaired areas will likely fade differently than original surfaces. For ideal color matching, use gel coats specifically formulated for pools and add UV inhibitors to your repair materials. You’ll notice texture differences initially, as new repairs have a smoother finish. Sand the repaired area with progressively finer grits to match surrounding surface texture. Consider applying a clear topcoat over both repaired and adjacent areas for more uniform aging and weathering characteristics.
Can I Repair Severely Damaged Steps or Should I Replace Them?
You can repair severely damaged fiberglass steps depending on the extent of damage. For deep cracks or structural failures, professional repair methods using epoxy fillers and fiberglass matting provide durable solutions. However, if damage affects more than 40% of the steps or compromises structural integrity, replacement becomes more cost-effective. Replacement costs typically range from $800-$2,500, while thorough repairs run $300-$600. Evaluate the damage carefully before deciding which option offers better long-term value.
What Causes Fiberglass Pool Steps to Crack or Deteriorate?
Fiberglass pool steps crack and deteriorate primarily due to several factors. Weather exposure causes material expansion and contraction, creating stress over time. Chemical imbalance in your pool water erodes the gelcoat protective layer, weakening the structure. You’ll also see damage from improper installation, physical impact from heavy objects, and manufacturing defects. UV radiation accelerates degradation by breaking down resin bonds. Regular maintenance and proper water chemistry testing will greatly extend your steps’ lifespan.