
You’ll need specific tools and knowledge to tackle common pool equipment repairs yourself. Start by gathering essential items like test meters, wrenches, and safety gear. Focus on systematic troubleshooting of pumps, filters, and liners using proper diagnostic methods. Check electrical components carefully, maintain filter systems regularly, and address liner issues promptly with appropriate patch techniques. Following this methodical approach will reveal the full scope of DIY pool maintenance solutions.
Essential Tools for Pool Equipment Repairs
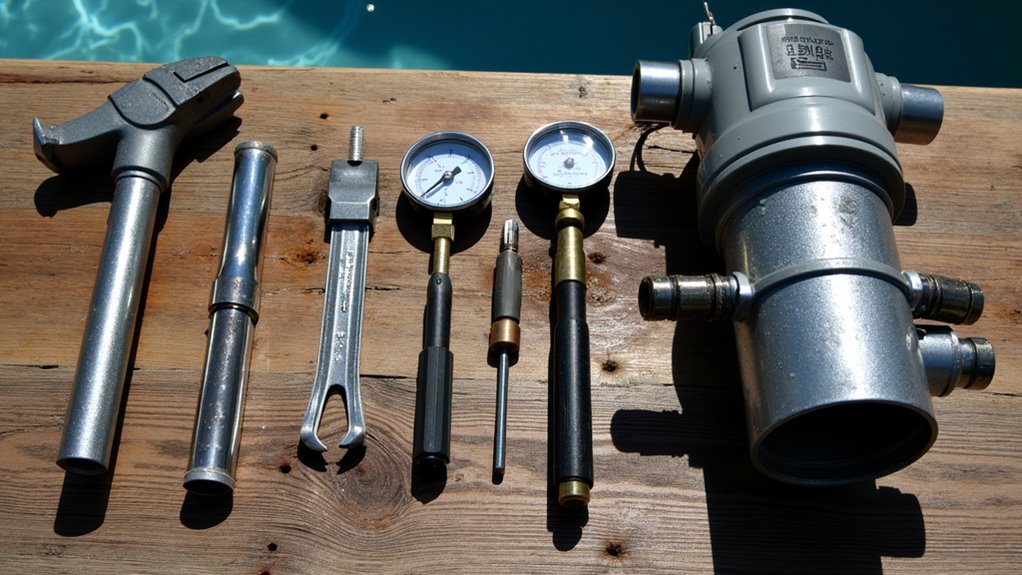
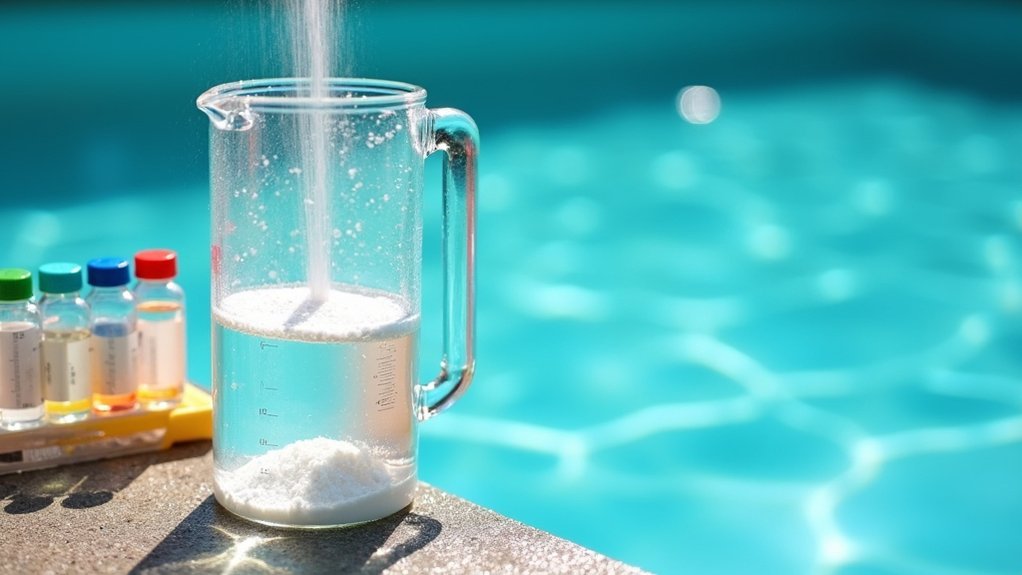
Every successful pool equipment repair begins with having the right tools on hand. You’ll need both basic hand tools and specialized equipment for effective repair troubleshooting. Start with essential wrenches, including Allen keys in 1/8″ and 1/16″ sizes for motor and heater work, plus channel locks and pipe wrenches for plumbing tasks. Keep electrical testing equipment ready, including test meters and wire strippers for diagnosing system issues. Having splash-proof goggles is essential to protect your eyes when working with chemicals or debris. Rubber float tools are crucial for applying and spreading grout during tile repairs.
A Drain King attachment can make quick work of clearing blocked pipes when connected to a garden hose. Maintain a spare parts inventory that includes PVC primer, glue, and couplings for plumbing repairs. You’ll also want pool putty and patch kits for emergency fixes. For power tool requirements, invest in a submersible pump, grinder, and appropriate cutting tools. Don’t forget safety equipment and waterproof tools when working on underwater repairs. A well-stocked toolbox guarantees you’re prepared for common equipment malfunctions.
Diagnosing Pool Pump Problems
Start your pump diagnosis by checking electrical components like breakers, capacitors, and motor function, as a humming sound without startup often indicates electrical failure. You’ll need to systematically test water flow performance by examining pressure gauge readings, checking for air bubbles in the pump basket, and listening for unusual noises that could signal blockages or mechanical issues. Maintaining proper water level height in your pool skimmers helps prevent air from being drawn into the system and causing pump cavitation. When evaluating flow problems, inspect skimmer baskets, pump strainers, and impellers for debris while monitoring pressure levels across the filtration system to pinpoint exact trouble spots. A constantly vibrating pump may require inspection of the worn motor bearings and professional replacement to prevent further damage.
Pump Electrical Issues
When pool pumps exhibit electrical problems, systematic diagnosis helps identify the root cause of common issues like sudden shutoffs, humming motors, and overheating. Check the voltage supply to begin with, as incorrect voltage levels can prevent proper motor operation. When inspecting your pump’s electrical system, follow the wiring diagram importance guidelines on the motor label for correct connections. Regularly conducting visual equipment inspections helps identify potential electrical hazards before they become serious issues.
For effective troubleshooting, follow these key steps:
- Test the voltage at motor terminals using a multimeter to verify it’s within 10% of nameplate specifications
- Inspect capacitors for signs of failure, buzzing sounds often indicate capacitor replacement tips are needed
- Confirm circuit breakers aren’t being used as on/off switches, which can cause premature wear
Remember that loose connections can mimic capacitor problems, so tighten all electrical connections before replacing components. If problems persist, consult a qualified electrician for safety.
Flow Performance Checks
To properly diagnose pool pump flow issues, you’ll need to evaluate both visual indicators and system performance metrics. Start by checking the filter pressure gauge readings and observing water movement through the pump lid. Cloudy water or slow circulation often indicates restricted flow from clogged filters. Unusual noises from your pump could signal equipment damage requiring immediate attention. A low water level in your pool can cause the pump to draw in air and reduce flow efficiency.
Inspect the system’s suction line sizing to guarantee it matches your pump’s specifications, as improper pipe diameter can cause significant plumbing pressure drop. Test system integrity by closing valves and monitoring pressure readings. When readings exceed 10 psi above manufacturer specifications, it’s time to clean or backwash filters. Installing a dual speed timeclock is essential when operating two-speed pumps to properly control both speed settings.
Look for air leaks by applying soapy water to connections and checking for bubbles. Keep water levels above the skimmer mouth to prevent air intake, and verify all gaskets are properly aligned between components.
Filter System Maintenance and Repairs
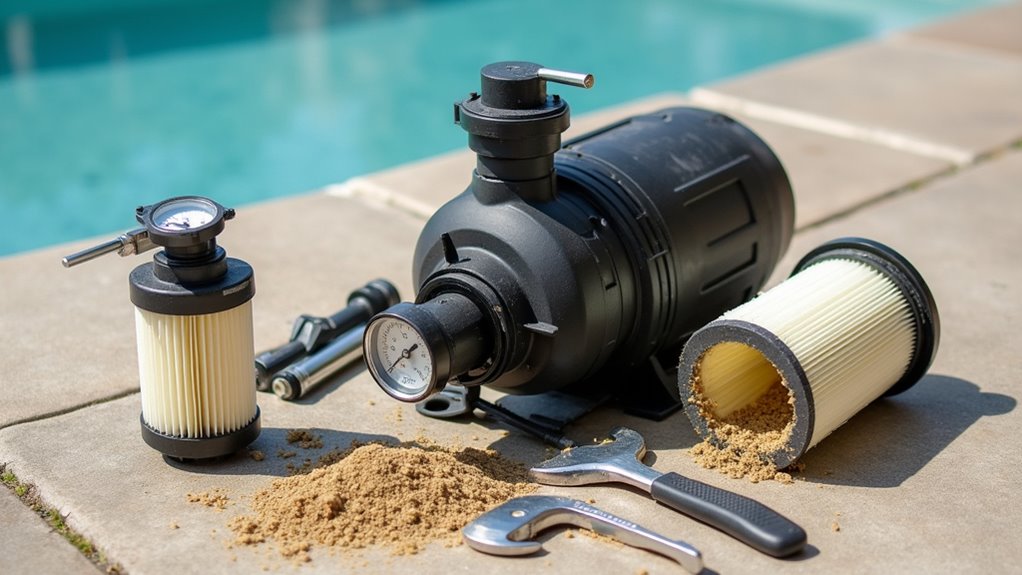
A well-maintained pool filter system forms the cornerstone of crystal-clear water and efficient pool operation. When balancing filter flow rates, you’ll need to monitor pressure gauge readings closely, cleaning when levels rise 8-10 psi above normal. Understanding filter media replacement intervals is essential: sand requires replacement every five years, while DE and cartridge media needs vary by manufacturer specifications. For optimal performance, sand filters require proper backwashing to remove trapped contaminants. Monthly cleaning is recommended for optimal filter performance. Regular maintenance with Poolife Filter Cleaner helps break down oils and tough contaminants effectively.
Regular monitoring of filter pressure and timely media replacement are vital steps toward maintaining a sparkling, well-functioning pool.
For paramount maintenance across all filter types:
- Turn off all power and set automation to service mode before beginning any repairs
- Use appropriate cleaning methods, backwashing for sand/DE filters, and manual cleaning for cartridges
- Apply chemical cleaners overnight to remove oils and stubborn debris, ensuring thorough rinsing afterward
Regular monitoring and maintenance prevent system failures and extend your filter’s lifespan, keeping your pool water pristine year-round.
Repairing Pool Liner Tears and Holes
When repairing pool liner tears, you’ll need to select between waterproof tape for small rips, vinyl patch kits for medium damage, or heavy-duty patch kits with HH-66 vinyl cement for larger tears. While temporary fixes can work for a while, a complete liner replacement typically provides 5-9 years of worry-free swimming. You must properly prepare the repair area by cleaning with a soft nylon brush and alcohol wipes, ensuring a 2-inch overlap around the damaged section. The success of your repair depends on careful adhesive application, proper patch positioning using the taco-fold technique for underwater repairs, and maintaining consistent pressure during the initial 24-hour curing period.
Patch Types and Tools
Successful pool liner repairs depend heavily on selecting the right patch materials and application tools for your specific situation. Material-specific selection requires matching your patch type to your pool’s construction, whether it’s clear vinyl for seamless repairs, blue vinyl for interior fixes, or laminated PVC for exterior walls. When applying adhesive-based patches, you’ll need proper tools to guarantee lasting results.
Essential tools for professional-quality repairs include:
- Diving mask for precise underwater patch placement
- Dauber tool for even adhesive distribution around tear perimeters
- Pressure application tools to maintain proper bonding during the 12-hour curing process
For ideal results, choose patches designed specifically for your pool type and consider factors like chemical resistance and UV protection when selecting repair materials.
Essential Application Steps
Properly repairing pool liner tears requires following a precise sequence of steps to confirm long-lasting results. You’ll need to thoroughly clean the damaged area with a soft nylon brush, removing all algae, sunscreen, and organic buildup without causing additional scratches.
For adhesive preparation, measure the tear and cut your patch with a 2-inch overlap on all sides. Apply adhesive liberally across the entire patch surface, then fold it to prevent water contamination. During patch positioning, place a marker at the leak’s center for precise alignment. When you’re ready, unfold the patch directly above the tear and press firmly from the center outward, eliminating air bubbles. Maintain steady pressure for several minutes, then secure with a weight during the 24-hour curing period. Check the repair weekly to verify continued effectiveness.
Pool Heater Troubleshooting Guide
Pool heater malfunctions can be systematically diagnosed through a series of targeted checks and error code interpretations. When troubleshooting, focus on common error code patterns (E05-E09) that indicate specific issues like flame failure, pressure switch problems, or ignition malfunctions. Chemical balance impact on heaters is significant, as imbalances often lead to equipment failure.
Follow these critical diagnostic steps:
- Verify proper water flow by checking skimmer baskets, pump strainers, and filter cleanliness
- Guarantee gas supply pressure meets manufacturer specifications and valves remain open
- Confirm electrical connections are secure and breakers haven’t tripped
For temperature control issues, check if your thermostat’s set point exceeds current water temperature and verify the heater size matches your pool’s volume requirements. Regular maintenance of water flow components prevents most shutdown problems.
Addressing Water Level and Leak Issues
Keeping tabs on your pool’s water level serves as the initial line of defense in maintaining system integrity and identifying potential leaks. When water loss exceeds 2 inches weekly, you’ll need to conduct systematic testing to pinpoint the source. Start by performing a bucket test to differentiate between normal evaporation and actual leaks.
| Leak Location | Detection Method | Required Action |
|---|---|---|
| Liner/Surface | Dye testing | Apply patch kit |
| Equipment | Visual inspection | Replace seals/gaskets |
| Underground | Pressure testing | Professional repair |
For identifying underwater leak areas, utilize dye testing near suspicious spots while the circulation system runs. Focus on mitigating seasonal water loss through proper winterization and maintaining automatic leveling systems. Regular equipment inspections and chemical balance monitoring help prevent future leaks and extend your pool’s lifespan.
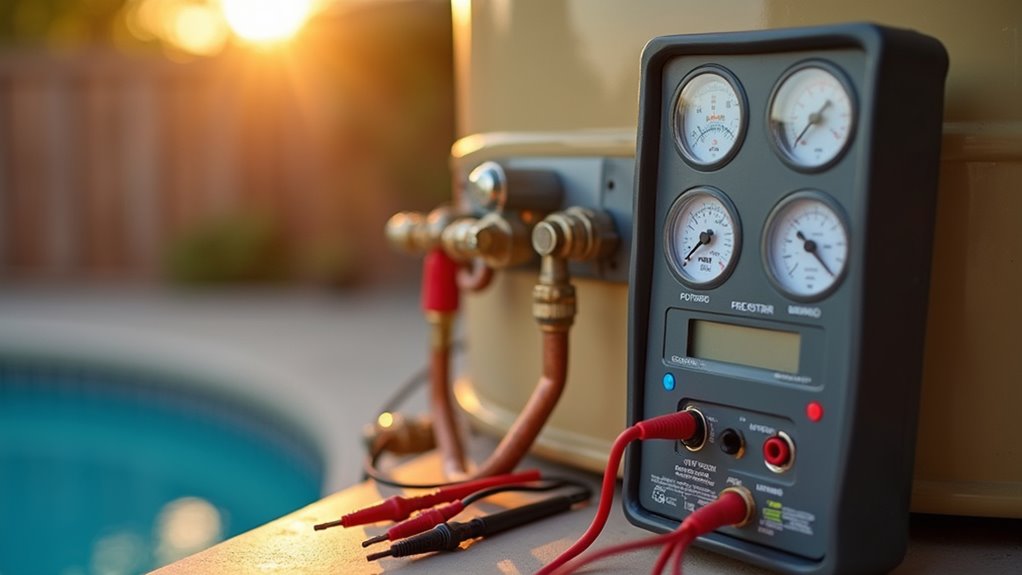
Electrical Safety and Equipment Testing
Essential electrical safety around pools relies on five core protective measures: proper grounding, GFCI protection, distance requirements, regular testing, and emergency protocols. When implementing connection testing protocols, you’ll need to verify that all equipment meets strict electrical hazard awareness standards.
Follow these critical inspection steps:
- Test GFCI outlets every 30 days using the test/reset buttons and guarantee they’re placed at least 6 feet from the water’s edge
- Examine grounding connections for corrosion, confirming copper or stainless steel conductors remain intact and properly secured
- Verify underwater lighting systems show no signs of moisture intrusion or flickering, and affirm 12 AWG copper grounding conductors are properly installed
Never attempt repairs on live electrical components; always shut off power at the main breaker and contact a licensed electrician for complex issues.
Preventive Maintenance Best Practices
Successful pool equipment operation depends on implementing systematic preventive maintenance practices throughout the year. You’ll need to follow weekly cleaning schedules and proper filter maintenance protocols to prevent costly repairs and extend equipment life.
| Task | Frequency | Critical Points |
|---|---|---|
| Pump Basket | Weekly | Clean when debris builds up |
| Filter System | Monthly | Monitor pressure readings |
| Equipment Area | Weekly | Clear vents, sweep surroundings |
Maintain your pool’s water level at halfway up the skimmer box to guarantee optimal pump performance. Clean your pump’s surrounding area weekly, removing debris that could clog vents or affect operation. For filtration systems, whether you’re using cartridge, sand, or DE filters, regular maintenance prevents pressure buildup and ensures efficient water flow. Remember to check O-rings and gaskets during your inspection routine to prevent air leaks and maintain proper suction.
Frequently Asked Questions
How Often Should I Replace My Pool Pump’s Mechanical Seal?
You should replace your pool pump’s mechanical seal every 1-2 years during routine maintenance, though properly operated pumps can last up to 3 years. Regularly inspect seal for wear and monitor for warning signs like water leaks or unusual noise. You can upgrade to a longer-lasting seal with advanced materials to extend replacement intervals. However, if you notice any leakage or loss of pump pressure, replace the seal immediately regardless of time period.
Can I Run My Pool Equipment During a Thunderstorm?
No, you shouldn’t run your pool equipment during a thunderstorm. Lightning strike hazards pose serious risks to your pool’s electrical systems, potentially causing permanent damage to pumps, filters, and heaters. You’ll need to turn off all pool equipment at the circuit breaker when you initially hear thunder or see lightning. Wait at least 30 minutes after the last thunder before restarting your equipment to safeguard safety and protect your investment.
What’s the Average Lifespan of a Salt Chlorinator Cell?
You’ll typically get 3-7 years from your salt chlorinator cell, with most cells rated for about 10,000 runtime hours. Your maintenance practices considerably impact this lifespan, proper water chemistry and regular cleaning can push it in the direction of the upper range. Plan for periodic cell replacement every 5 years, though high-end models can last longer with proactive maintenance. You’ll know it’s time to replace when you notice reduced chlorine production or persistent scaling issues.
Should Pool Equipment Be Covered During Winter in Warm Climates?
No, you shouldn’t cover your pool equipment during winter in warm climates. Proper pool winterization in these regions actually focuses on operational adjustments rather than covering equipment. Covers can trap moisture and create nesting spaces for pests, potentially causing more harm than good. Instead, focus on seasonal equipment maintenance like adjusting pump speeds during cold snaps and ensuring freeze protection systems are working correctly. Continuous circulation is your best defense against occasional cold weather.
Is It Normal for My Pool Pump to Make Humming Sounds?
A low-level humming from your pool pump is normal during operation, but you’ll need to monitor for unusual vibrations or changes in sound intensity. If you notice unexpected pressure changes or the humming becomes louder, your pump may have debris buildup, air leaks, or failing components. You should immediately inspect your pump basket, check for proper water flow, and safeguard the motor isn’t running dry. Don’t ignore intensifying humming sounds.