

Converting your concrete pool to vinyl liner can save you significant money compared to ongoing concrete repairs that cost $10,000-$30,000 every 7-10 years. You’ll need to thoroughly evaluate your pool’s condition, install proper wall foam and bracing, and choose between 20-28 mil virgin vinyl options for maximum durability. While the conversion costs $15,000-$25,000, you’ll only face $3,000-$5,000 liner replacements every 8-12 years. Understanding the full conversion process will help guarantee successful long-term results.
Key Takeaways
- Vinyl conversion costs $15,000-$25,000 initially but offers better long-term value compared to repeated concrete repairs every 7-10 years.
- Professional inspection must assess concrete damage, water seepage, and structural integrity before deciding on conversion suitability.
- Proper surface preparation requires thorough cleaning, crack repair, and installation of wall foam underlayment for a smooth foundation.
- Virgin vinyl liners in 20-28 mil thickness provide durability, with replacements needed every 8-12 years at $3,000-$5,000.
- Installation requires precise measurements, secure track systems, and careful liner positioning to prevent air pockets and ensure proper fit.
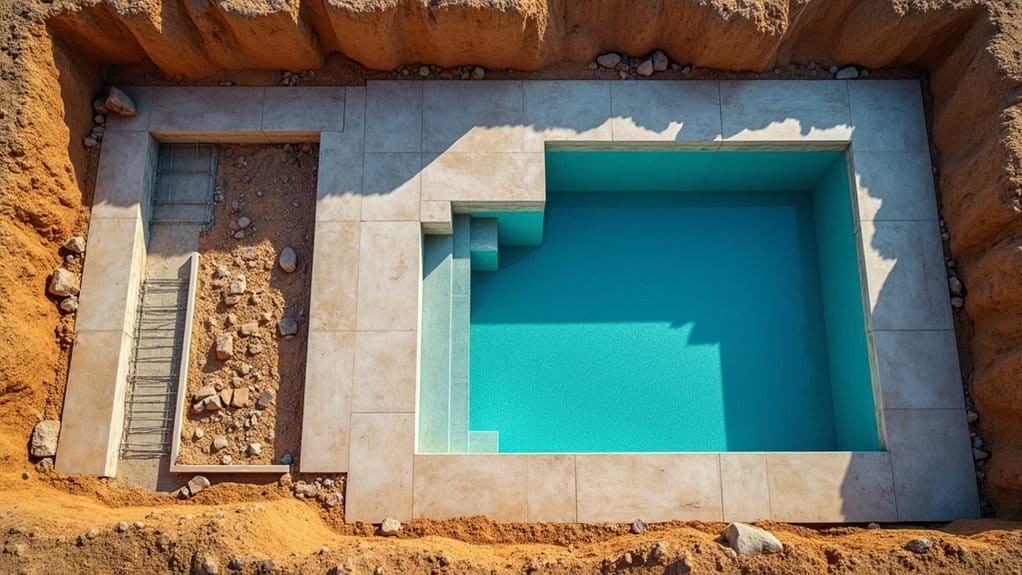
Evaluating Your Concrete Pool’s Condition

Before proceeding with a concrete-to-vinyl conversion, carefully inspect your pool’s structure for major defects that could impact the renovation. Use a thorough pool condition inspection checklist to identify structural issues like cracks, hollow spots, or delamination in the concrete walls and floor.
Check for signs of water seepage behind the shell, deteriorating plumbing connections, and rust stains that might indicate reinforcement problems. You’ll need to assess the integrity of the coping, tile line, and skimmer openings. Document areas where the concrete has shifted or settled, as these will require further preparation before liner installation.
If you find severe structural damage, consult a pool professional to determine if conversion is still viable or if more extensive repairs are needed initially.
Cost Comparison: Concrete Repair vs. Vinyl Conversion

After evaluating your pool’s condition, you’ll need to weigh the financial implications of both repair options. Typical concrete repair costs range from $10,000 to $30,000 for extensive resurfacing, crack repairs, and waterproofing treatments. These repairs often need to be repeated every 7-10 years as concrete continues to deteriorate.
Converting to vinyl can offer significant conversion savings, typically costing between $15,000 to $25,000 for a one-time transformation. While the initial investment might seem comparable, you’ll only need to replace the liner every 8-12 years at a fraction of the cost ($3,000-$5,000). This makes vinyl conversion more cost-effective in the long run. Furthermore, you’ll save on chemicals and maintenance, as vinyl surfaces require fewer treatments and are easier to clean than concrete.
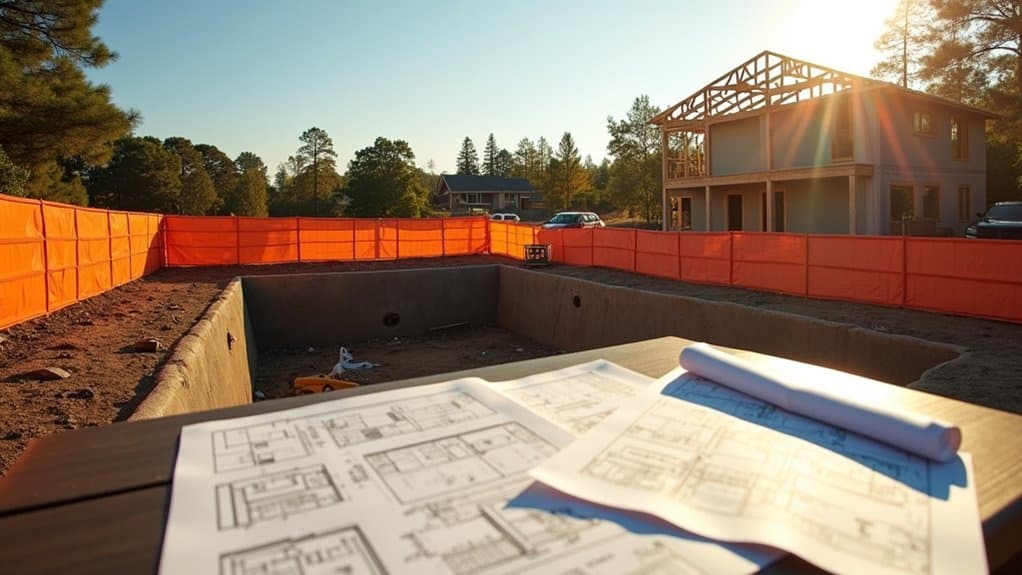
Structural Requirements for Successful Conversion

When converting a concrete pool to vinyl liner, several critical structural requirements must be met to confirm a successful transformation. You’ll need to assess the pool’s existing foundation and implement proper reinforcement techniques for ideal load distribution.
| Structural Element | Required Action |
|---|---|
| Wall Stability | Install wall foam and bracing |
| Floor Surface | Level and repair surface imperfections |
| Corner Support | Add coping system reinforcement |
Before installation, you’ll need to remove loose concrete, repair cracks, and verify that proper drainage systems remain functional. The concrete surface must be thoroughly cleaned and smoothed to prevent damage to the new liner. It’s crucial to install a proper track system along the pool’s perimeter to secure the liner and maintain structural integrity. Remember to verify that all steps and benches are properly reinforced to handle the pressure points created by the new vinyl system.
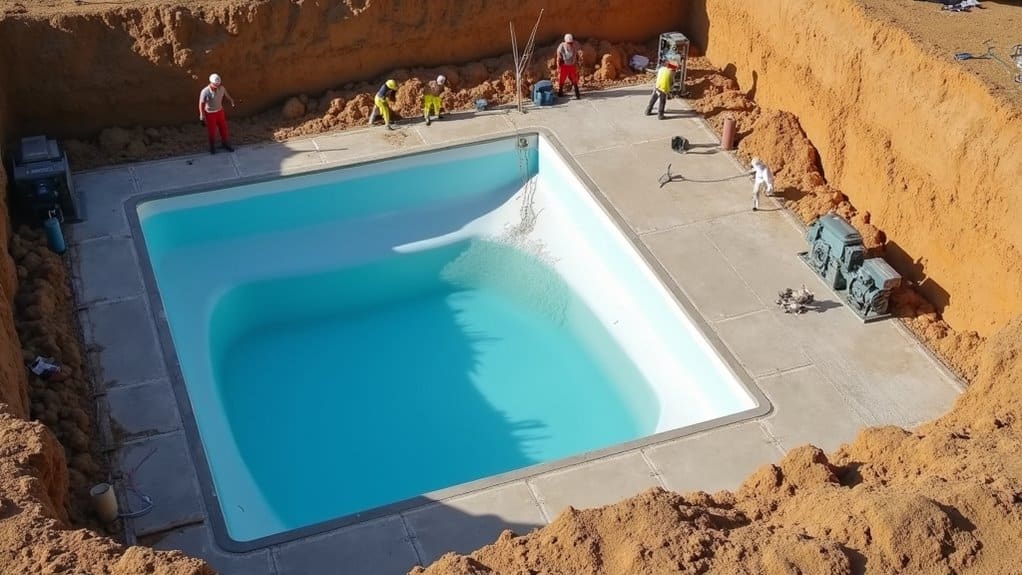
Step-by-Step Conversion Process
Once you’ve confirmed all structural requirements, the conversion process follows a logical sequence of steps that transforms your concrete pool into a vinyl-lined sanctuary. Begin by thoroughly cleaning and preparing the existing concrete surface, removing any loose material and addressing surface imperfections. Next, install pool foam underlayment to create a smooth foundation for the liner.
Consider design considerations like steps, corners, and depth changes when measuring and cutting your liner. You’ll need to install track systems around the pool’s perimeter to secure the liner properly. Using proper installation techniques, carefully position the liner and begin removing air pockets while filling the pool. Install faceplates, returns, and other fittings as the water level rises. Ultimately, complete the conversion by trimming excess material and performing a final inspection of all seams and connections.
Choosing the Right Vinyl Liner Material
Since vinyl liner quality directly impacts your pool’s longevity, selecting the right material thickness and composition is crucial. Choose between 20, 27, or 28-mil thickness options, with thicker materials offering better durability but at a higher cost. Virgin vinyl material outperforms recycled alternatives and resists UV damage more effectively.
Consider embossed patterns that mask minor surface imperfections and provide better grip. When evaluating vinyl liner types, look for materials with anti-microbial properties to prevent algae growth. You’ll find standard, 3D, and designer patterns available, each affecting both aesthetics and functionality.
For ideal installation tips, verify your chosen liner has adequate stretch properties to conform to your pool’s shape. Select materials with strong welded seams and cold-crack resistance for regions with freezing temperatures.
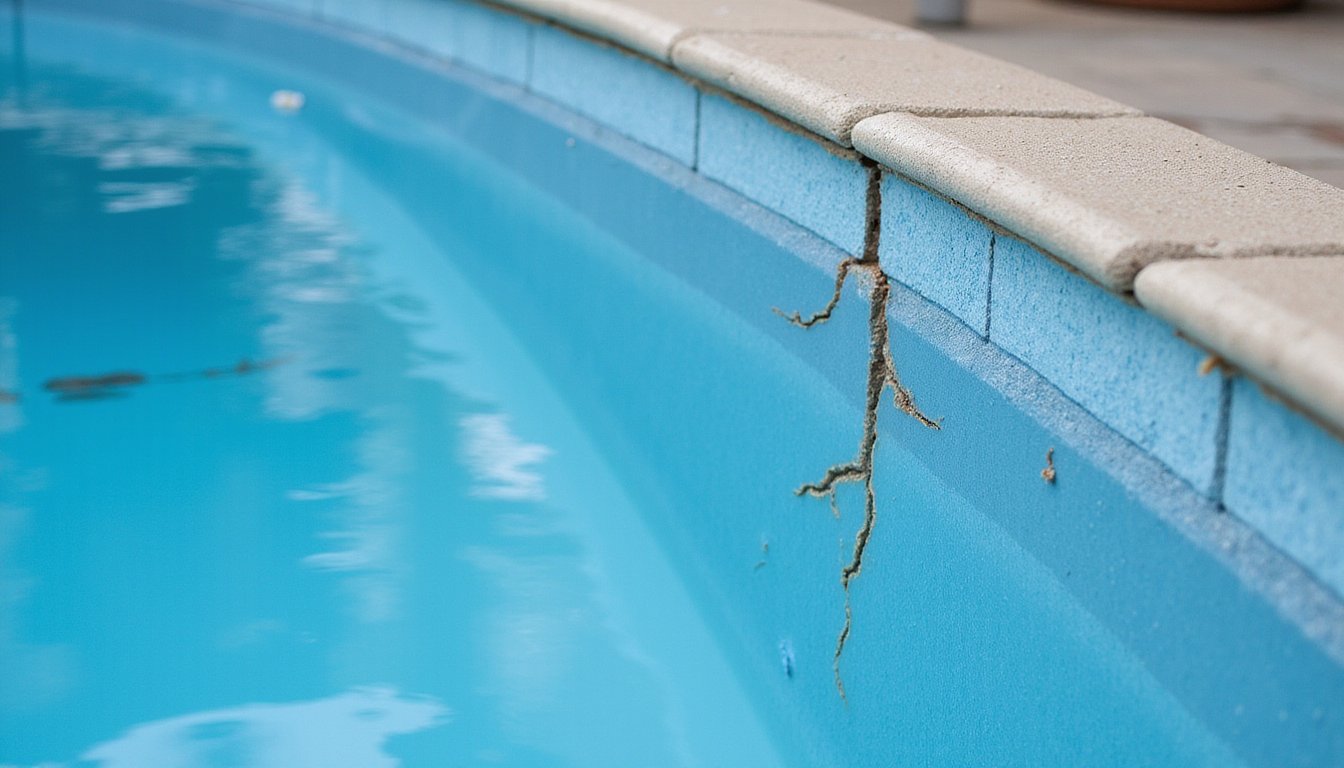
Benefits and Limitations of Vinyl Liner Systems
While converting to a vinyl liner system offers considerable cost advantages over traditional concrete pools, understanding both its strengths and drawbacks helps you make an informed decision. You’ll benefit from lower initial installation costs and reduced maintenance expenses, as vinyl durability has improved considerably in recent years. The smooth surface prevents algae growth and minimizes chemical usage.
However, you’ll need to replace the liner every 7-10 years, which impacts long-term cost efficiency. Sharp objects can puncture the liner, requiring repairs. The aesthetic options, while varied, don’t match the customization possibilities of concrete. You’ll also notice that vinyl liners can wrinkle or fade over time, especially with exposure to intense sunlight and chemicals. Consider these factors alongside your budget and maintenance preferences when deciding on the conversion.
Maintenance Requirements After Conversion
Understanding proper maintenance procedures protects your investment in a vinyl liner conversion and extends its lifespan. You’ll need to maintain proper chemical balance to prevent liner deterioration and perform routine cleaning to remove debris that could cause staining or damage.
Check your liner weekly for signs of wear, tears, or separation from the wall. Brush the liner’s surface gently with a soft-bristled pool brush to prevent algae buildup and maintain its appearance. Don’t let the water level drop below the skimmer, as this can stress the liner and potentially cause it to pull away from the walls. Regularly inspecting your liner not only prolongs its life but also enhances your overall pool experience. With proper care, vinyl liners are among the easiest pool surfaces to clean, making maintenance a breeze.
Keep sharp objects away from your pool, and verify your automatic cleaner is vinyl-compatible. Test water chemistry twice weekly, adjusting pH, chlorine, and alkalinity levels to prevent premature aging of your liner.
Extending Your Pool’s Lifespan With Vinyl
A properly installed vinyl liner can considerably extend your pool’s functional lifespan by providing a durable, protective barrier against water infiltration and structural deterioration. To enhance your vinyl lifespan, maintain proper water chemistry and regularly inspect the liner for signs of wear or damage.
You’ll need to replace your vinyl liner every 7-10 years, which is far more cost-effective than traditional concrete resurfacing. During replacement, you can update your pool aesthetics by choosing from numerous modern patterns and colors. Install a pool cover when not in use to protect the liner from UV damage and debris.
Keep the water level consistent and avoid sharp objects that could puncture the liner. If you notice any tears or leaks, address them immediately with a vinyl repair kit to prevent further damage.
Frequently Asked Questions
How Long Does a Vinyl Liner Pool Conversion Typically Take to Complete?
You’ll typically see an installation timeline of 7-14 days for a vinyl liner pool conversion, depending on your pool’s size and condition. The project duration can extend to 3 weeks if there’s extensive concrete repair needed or weather delays occur. Your contractor will spend 2-3 days removing old surfaces, 2-4 days preparing the structure, and 1-2 days installing the liner and finishing touches.
Can I Still Have a Diving Board After Converting to Vinyl?
Yes, you can have a diving board with your vinyl liner pool, but you’ll need to carefully consider specific diving board options and safety considerations. You must make certain your pool meets minimum depth requirements (typically 8-9 feet) and proper slope specifications. You’ll also need reinforced liner material and special bracing at mounting points. It is crucial to work with a qualified installer who can verify your pool’s compatibility with diving equipment.
Will the Pool’s Shape Need to Change During Conversion?
You won’t necessarily need to change your pool shape during conversion, but you’ll have certain design flexibility limitations. Most vinyl liner pools require a uniform shape that follows standard geometric patterns like rectangles, ovals, or L-shapes. If your existing pool has curved walls or unique angles, you might need some modifications to accommodate the liner. A professional installer can assess your current shape and recommend minimal adjustments to guarantee proper liner fit.
Can Vinyl Liner Pools Handle Salt Water Systems?
Yes, you can use a salt water system with your vinyl liner pool, but there are significant saltwater compatibility factors to evaluate. You’ll need to choose a vinyl liner specifically rated for saltwater use, as standard liners may deteriorate faster. To enhance your liner’s lifespan, you should maintain proper salt levels and monitor chlorine output. While maintenance evaluations include more frequent liner inspections, many pool owners find the benefits of saltwater systems worth the extra attention.
Does Converting to Vinyl Affect My Pool’s Property Value?
Converting to vinyl may impact your property valuation differently depending on your market. While vinyl liners are more affordable to maintain, some buyers perceive them as less premium than concrete pools. However, if your concrete pool was deteriorating, a well-maintained vinyl pool will likely enhance your resale potential compared to a damaged concrete one. You’ll want to evaluate your local market preferences and comparable home sales to make the best decision.