

Converting your vinyl liner pool to concrete requires careful planning and professional expertise. You’ll need to drain the pool, remove the liner, and inspect the structure for damage. The conversion process typically costs $35,000-$65,000 and takes 2-4 weeks, involving permit acquisition, site preparation, concrete application, and finishing work. You’ll benefit from increased durability, customization options, and long-term cost savings. Understanding the full scope of this project will help guarantee a successful transformation.
Key Takeaways
- Drain the pool completely and remove the vinyl liner, then thoroughly inspect the structure for damage, cracks, or deterioration.
- Level and repair any uneven surfaces or structural issues in the pool floor and walls before applying concrete.
- Apply concrete mixture (gunite or shotcrete) in stages at 90-degree angles, maintaining proper thickness throughout the application.
- Keep concrete moist during the 7-10 day curing process before installing decorative finishes like tiles and coping stones.
- Budget $35,000-$65,000 and allow 2-4 weeks for completion, including obtaining necessary permits and inspections.
Assessing Your Pool’s Current Condition

Before undertaking a vinyl-to-concrete pool conversion, you’ll need to thoroughly evaluate your pool’s structural integrity and current state. Begin with a thorough visual inspection of your pool’s walls, floor, and surrounding deck area. Look for signs of shifting, settling, or structural damage that could complicate the conversion process.
Check for cracks in the pool walls, bulging areas, or separation between the liner and wall panels. Examine the condition of your pool’s coping, skimmer boxes, and return fittings. You’ll also need to assess the drainage system and verify that the ground around your pool hasn’t eroded. Document any rust spots, deteriorating metal components, or water damage. If you find significant structural issues, consult a professional pool contractor to determine if repairs are needed before proceeding with the conversion.
Understanding the Cost and Time Investment

When planning a vinyl-to-concrete pool conversion, you’ll need to account for substantial financial and time commitments. The average conversion costs range from $35,000 to $65,000, depending on your pool’s size, location, and required structural modifications. Your budget planning should include demolition, new plumbing, concrete installation, and finishing materials.
Time management is essential for this project. You’ll typically need to allocate 2-4 weeks for completion, though weather conditions and contractor availability can extend this timeline. The process involves removing the liner and panels, installing new plumbing, applying shotcrete or gunite, allowing proper curing time, and finishing with plaster or aggregate. You’ll also need to factor in time for permits, inspections, and potential delays in material delivery or weather-related setbacks.
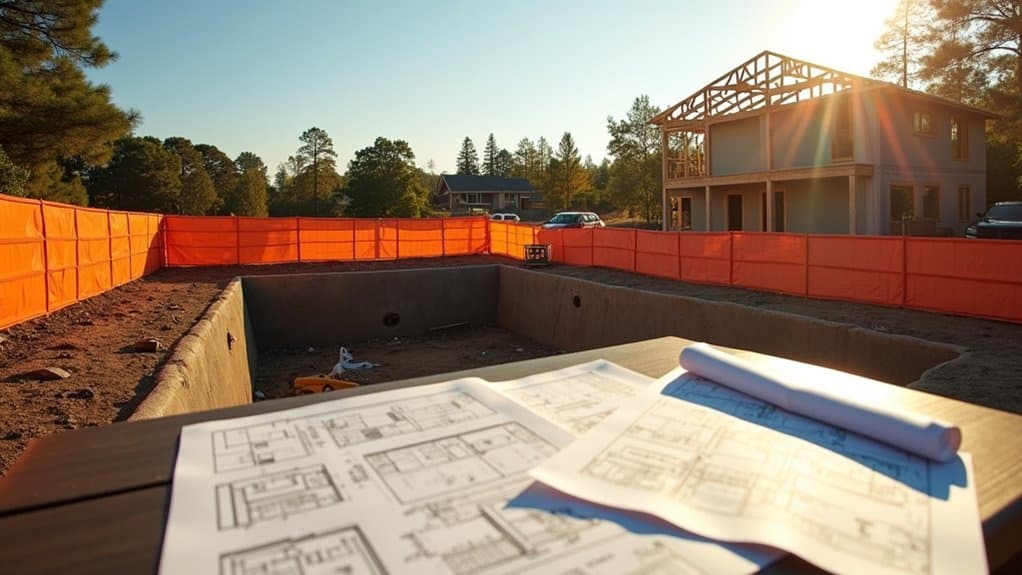
Obtaining Necessary Permits and Approvals

The permit acquisition process for a vinyl-to-concrete pool conversion must start well ahead of your planned construction date. You’ll need to research your local building department‘s specific requirements, as permit types vary by jurisdiction. Most municipalities require both structural and plumbing permits for this conversion.
Contact your local building department to schedule a pre-application meeting. During this consultation, you’ll learn about required documentation, including engineered drawings, site plans, and structural calculations. The approval process typically involves submitting these documents, paying fees, and undergoing plan review.
Don’t forget to check with your homeowners’ association if applicable, as they may have supplementary requirements. You’ll also need to verify compliance with local setback requirements and verify your contractor holds valid licenses for concrete pool construction.
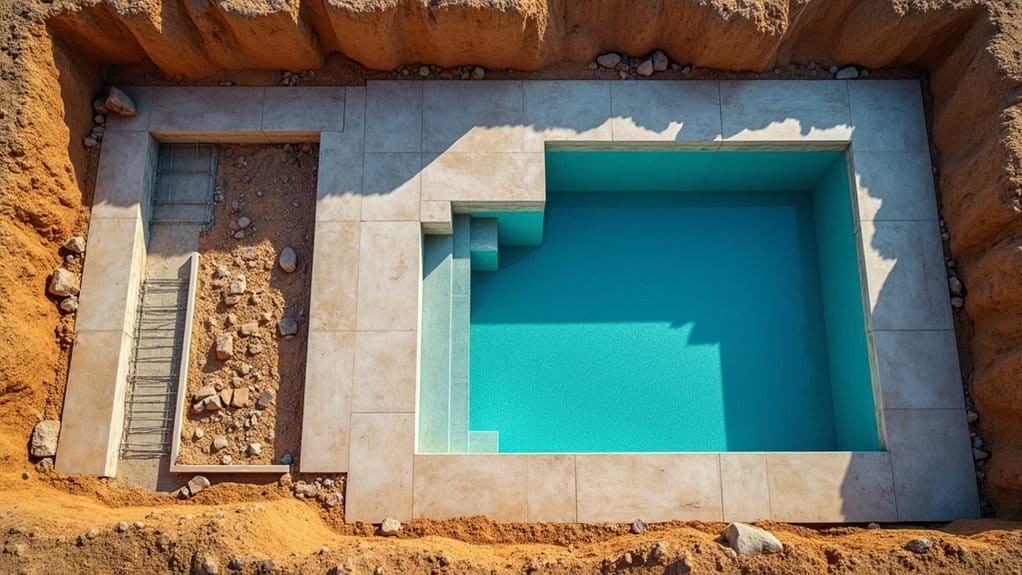
Preparing the Pool Site for Conversion
Proper site preparation lays the critical foundation for a successful vinyl-to-concrete pool conversion. Begin by draining your pool completely and removing the vinyl liner, taking care to preserve the underlying structure for inspection. You’ll need to conduct a thorough soil assessment around the pool’s perimeter to guarantee proper stability for the increased weight of concrete.
Clear the surrounding area of any vegetation, debris, or obstacles that could interfere with construction equipment access. Check the existing plumbing and electrical systems for damage or wear, as this is your opportunity to upgrade or replace them. Remove any rust or deterioration from metal components, and repair any structural cracks in the pool walls. Ultimately, create a level working surface around the pool by grading the soil and compacting it properly. Consider applying a high-quality sealant to the pool surfaces to help prevent future damage and maintain their appearance. This will also contribute to achieving cleaner pool surfaces with less effort during maintenance. Finally, ensure all tools and materials are organized and easily accessible to streamline the construction process.
Removing the Vinyl Liner and Support Systems
With site preparation complete, your next step involves methodically removing the vinyl liner and its supporting infrastructure. Begin by draining any remaining water and using a utility knife to cut the liner into manageable sections for easier vinyl removal. Detach the liner from the coping track along the pool’s perimeter, working systematically around the edge.
Next, tackle the support system components. Remove the foam cove material at the base of the walls, followed by dismantling the plastic or metal wall panels. You’ll need to extract any bracing, posts, and bottom tracks that form the pool’s structural framework. Inspect the area behind the removed panels for any damage to the excavated soil walls. Clear away all debris and supporting materials, ensuring a clean surface for the upcoming concrete installation.
Installing Steel Reinforcement Framework
Building a strong steel reinforcement framework serves as the critical foundation for your pool’s concrete shell. You’ll need to select appropriate steel types, typically #3 or #4 rebar, and arrange them in a grid pattern with 8-inch spacing. Begin by installing vertical bars around the pool’s perimeter, securing them into the ground below the frost line.
The framework design must include horizontal bars that connect to the vertical ones, creating a sturdy mesh pattern. You’ll need to tie these intersections with wire ties and guarantee proper overlap at joints. Install supplementary reinforcement at stress points like corners and steps. Position chairs or spacers to maintain the correct distance between the steel framework and your eventual concrete shell. Double-check all connections and spacing before proceeding with concrete application.
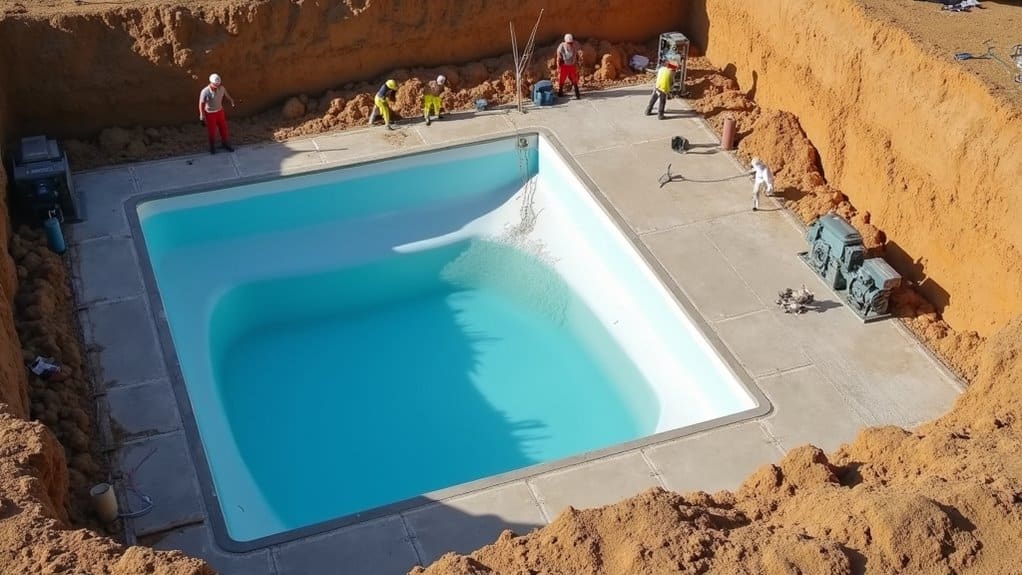
Applying Concrete and Creating the Shell
Carefully apply the concrete mixture in stages to guarantee proper adhesion and prevent cold joints. Using proper concrete application techniques, spray the gunite or shotcrete with consistent pressure, maintaining a 90-degree angle to the steel framework. You’ll need to build up multiple layers, typically 1-2 inches at a time, until you reach the desired thickness of 6-8 inches.
For ideal shell durability considerations, you must keep the concrete consistently moist during the curing process, which typically takes 7-10 days. Use a fine mist spray several times daily to prevent cracking and guarantee proper strength development. Once cured, you’ll need to apply a waterproof coating or plaster finish to seal the concrete and create a smooth surface that’s ready for water.
Adding Pool Features and Finishes
After completing the concrete shell and waterproof coating, you can start incorporating the aesthetic and functional elements that will transform your pool. Install your chosen decorative finishes, including tile borders, coping stones, and plaster coating. You’ll need to carefully plan the placement of water features like fountains, waterfalls, or deck jets.
| Feature Type | Installation Time | Cost Range |
|---|---|---|
| Tile Border | 2-3 days | $1,500-3,000 |
| Coping | 1-2 days | $2,000-4,000 |
| Waterfalls | 2-4 days | $3,000-8,000 |
| LED Lights | 1 day | $500-1,500 |
| Jets | 1-2 days | $800-2,000 |
Once you’ve installed the features, apply your chosen finish coating. You’ll need to wait 24-48 hours for proper curing before adding water. Don’t forget to test all mechanical components and water features before the final fill.
Maintaining Your New Concrete Pool
Since concrete pools require different maintenance than vinyl liners, you’ll need to establish a new care routine to protect your investment. Monitor your water chemistry daily, maintaining proper pH levels between 7.2 and 7.6, and alkalinity between 80-120 ppm to prevent surface erosion and discoloration. Regularly clean the pool surfaces and skimmers to avoid debris buildup and ensure efficient circulation. Additionally, when considering pool finishes, it’s important to weigh the pros and cons of fiberglass vs vinyl pool finishes, as each option has different maintenance requirements and aesthetic qualities.
Brush your pool’s concrete surface weekly to prevent algae buildup and calcium deposits. Pay special attention to steps, corners, and areas with poor circulation. Every three to five years, plan to acid wash or resurface your pool to address any etching or wear. You’ll also need to inspect the concrete regularly for cracks or chips, addressing repairs promptly to prevent water penetration and structural damage. Consider applying a protective sealant every few years to extend the life of your concrete finish.
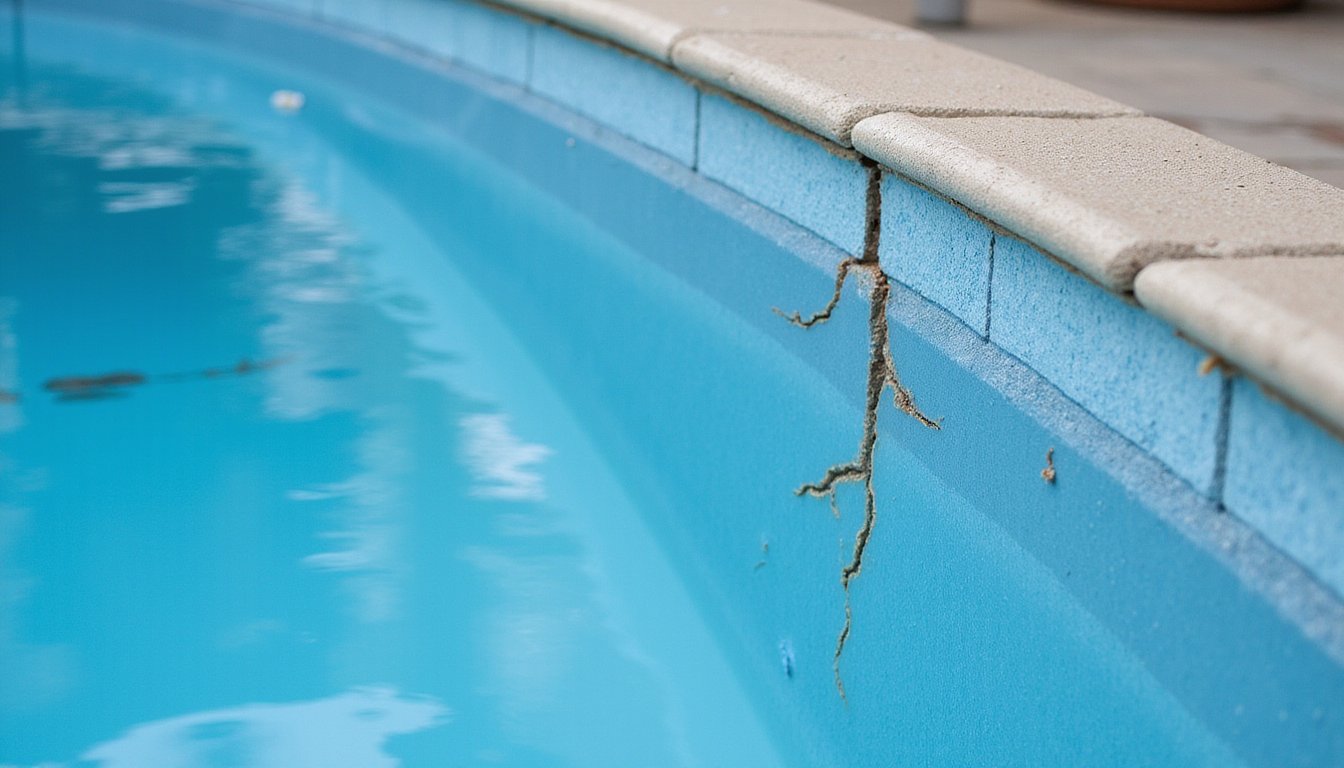
Common Challenges and Solutions During Conversion
While converting a vinyl liner pool to concrete presents several technical hurdles, most can be overcome with proper planning and expertise. Understanding common challenges and their solutions helps guarantee a successful conversion that optimizes the benefits of your investment.
- Uneven surfaces and structural integrity issues might surface when removing the liner. You’ll need to repair any deteriorated areas and level the pool floor before applying concrete.
- Existing plumbing systems may require modification or replacement to accommodate the new concrete structure, particularly around skimmers and returns. Consider upgrading to current code standards during conversion.
- Design considerations like depth changes or adding features can complicate the process. Work with your contractor to develop solutions that maintain structural stability while achieving your desired aesthetic and functional improvements.
These challenges shouldn’t deter you from pursuing the conversion benefits of increased durability and value.
Frequently Asked Questions
Will Converting to Concrete Affect My Property’s Resale Value?
Converting your pool to concrete will typically increase your property’s resale value. Current resale trends show that concrete pools are more desirable to buyers than vinyl options, as they’re viewed as a premium feature. You’ll see improved property appeal since concrete pools are more durable, aesthetically pleasing, and require less long-term maintenance. They’re considered a permanent improvement rather than a temporary installation, which investors and buyers appreciate.
Can I Still Use Salt Water Systems With a Converted Concrete Pool?
Yes, you can use saltwater systems with your concrete pool, but you’ll need to take into account specific maintenance requirements. Saltwater compatibility with concrete pools is good, but you must monitor the pool’s surface regularly for signs of etching or deterioration. It’s recommended to use a high-quality sealant on your concrete surface and maintain proper chemical levels. You might need more frequent inspections and maintenance compared to traditional chlorine systems to guarantee the concrete’s longevity.
How Long Will the New Concrete Pool Last Compared to Vinyl?
When comparing durability, you’ll find that a concrete pool greatly outlasts a vinyl liner pool. While vinyl liners typically need replacement every 5-10 years, a well-maintained concrete pool can last 30+ years. However, you’ll need to factor in maintenance costs: concrete pools require acid washing every 3-5 years and possible resurfacing after 10-15 years. Despite higher upfront maintenance costs, concrete’s longevity often makes it more cost-effective in the long run.
Can I Change the Pool’s Shape During the Conversion Process?
Yes, you’ll have significant design flexibility when converting your pool. You can modify the pool shape by building new concrete walls outside or inside the existing structure, though major changes may require extra engineering and costs. You’re able to add curves, expand sections, or create entirely new angles. However, it’s crucial to work with an experienced pool contractor who can assess structural feasibility and handle the complex redesign process.
Will My Homeowner’s Insurance Rates Change After Converting to Concrete?
You’ll need to contact your insurance provider directly to discuss potential rate adjustments after converting your pool to concrete. While concrete pools are generally considered more durable and permanent structures, each insurance policy handles pool modifications differently. Some providers might lower your rates due to reduced maintenance risks, while others might increase them based on replacement costs. It’s crucial to notify your insurer about this structural change to maintain proper coverage.