
To repair a crack in your fiberglass pool, you’ll first need to determine whether it’s cosmetic or structural, cracks wider than 1/8 inch typically indicate structural damage. Drain the pool below the crack, sand the edges, and open the damaged area with a Dremel. Then apply fiberglass resin, layer saturated cloth patches, and finish with polyester putty. Refill gradually to confirm a watertight seal. Below, you’ll find each step broken down in detail.
Why Fiberglass Pools Crack in the First Place

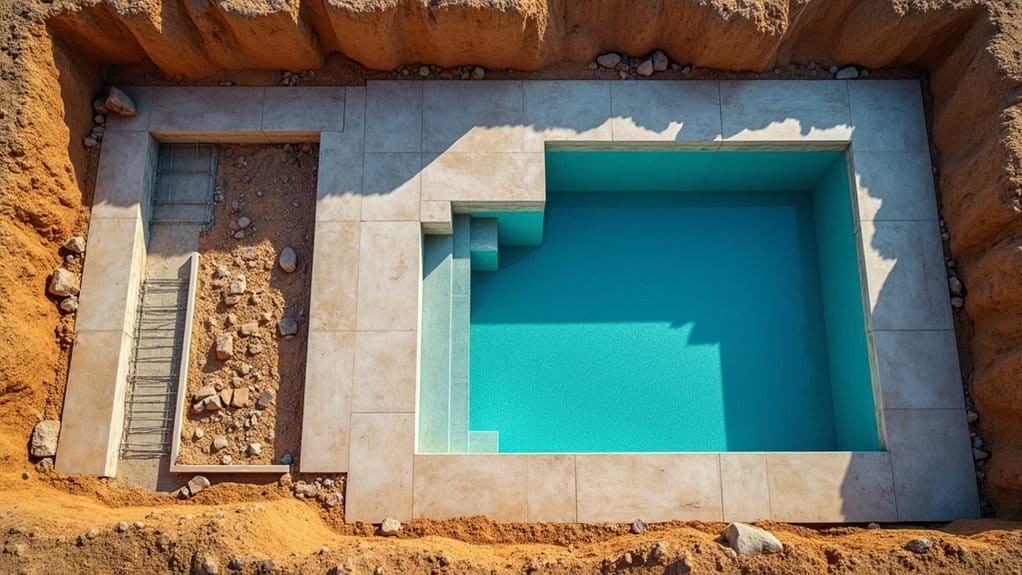
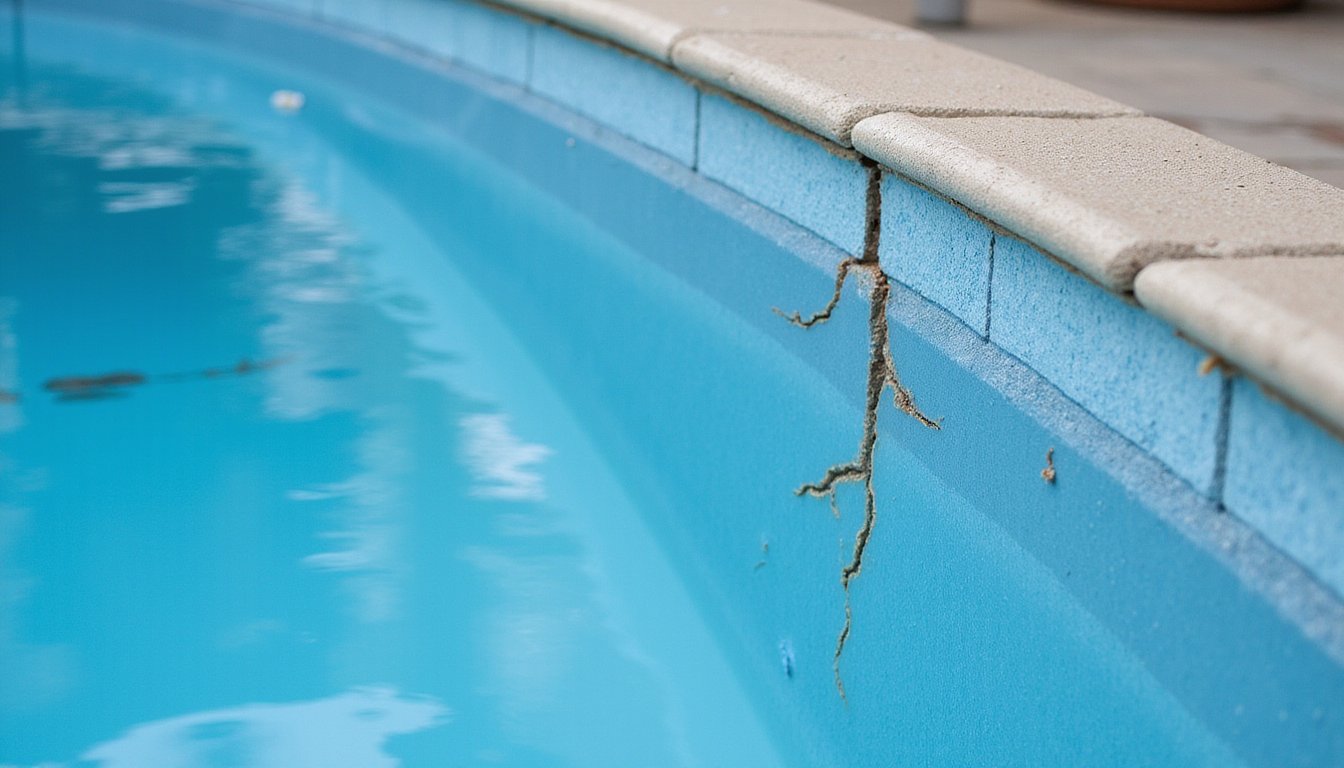
Fiberglass pool shells rarely crack without an underlying cause, and understanding those causes helps you prevent damage before it starts. Hydrostatic pressure from groundwater pushes upward against the shell when pool water levels drop, creating stress points that lead to bulging and cracking. Improper site preparation, uneven ground, poor compaction, or protrusions like tree roots, concentrates force beyond the gelcoat’s flex limits. Even minor water removal can shift the pressure balance enough to cause damage, which is why fiberglass pools must remain full at all times to counteract external forces.
Installation errors compound these risks. Lifting an unlevel shell even two inches exerts tremendous pressure, cracking the gelcoat immediately. Manufacturing defects, including thin laminate or overly thick gelcoat, reduce structural resilience. A thorough fiberglass pool damage assessment identifies whether you’re dealing with a fiberglass pool structural crack or cosmetic surface damage, directing you toward the correct repair method.
How to Tell if a Fiberglass Pool Crack Is Structural
Before you begin any repair, you need to determine whether the crack is a cosmetic gelcoat issue or a structural failure that penetrates the fiberglass laminate. Check the crack’s depth by running a thin probe along its length, cracks wider than 1/8 inch that extend beyond the gelcoat into the underlying fiberglass layers indicate structural damage requiring reinforcement. You should also monitor your pool’s water level over several days, since measurable water loss that can’t be attributed to evaporation confirms the crack has breached the shell and is actively leaking. A professional assessment is crucial for accurately distinguishing between surface-level gelcoat crazing and true structural cracks, as misdiagnosis can lead to ineffective repairs and progressively worsening damage.
Checking Crack Depth
Once you’ve identified a crack in your fiberglass pool, determining whether it’s superficial or structural dictates the entire repair approach. During fiberglass pool crack repair, you’ll need to measure width, length, and penetration depth to classify the damage accurately. Regular maintenance is crucial for ensuring the longevity of your pool system. Proper fiberglass pool filter maintenance helps keep the water clean and clear, which enhances the overall enjoyment of your swimming experience.
| Indicator | Assessment |
|---|---|
| Crack width under 1mm | Likely gelcoat-only damage |
| Crack spanning wall or floor | Probable structural penetration |
| Water level drops below crack line | Confirms shell breach |
| Location near fittings or stress points | Higher structural risk |
| Dye test shows suction at crack | Validates through-shell damage |
You should perform a dye test and monitor water levels before starting any swimming pool crack sealing process. Cracks penetrating beyond the gelcoat require multi-layer reinforcement rather than surface-only restoration. Keep in mind that cosmetic fatigue cracks may not actually leak but can still affect the pool’s appearance, so distinguishing them from structural damage is essential before committing to a repair method.
Identifying Water Leakage
How reliably can you distinguish a cosmetic gelcoat crack from a structural shell breach? You’ll need systematic leak testing to confirm whether water’s escaping through the shell. Mark your pool’s water level daily using tape or a grease pencil, then track any drop beyond normal evaporation rates over three to five days.
Significant water loss during this period confirms seepage through the fiberglass laminate, pointing directly to structural penetration. If you don’t observe notable loss, you’re likely dealing with a surface-level gelcoat issue that won’t compromise shell integrity.
For accurate fiberglass pool leak repair, you should know that gelcoat cracks produce minimal leakage. A positive leak test means the crack has penetrated beyond the protective coating into the structural laminate, requiring reinforced repair methods rather than simple cosmetic restoration.
Tools and Materials for Fiberglass Crack Repair
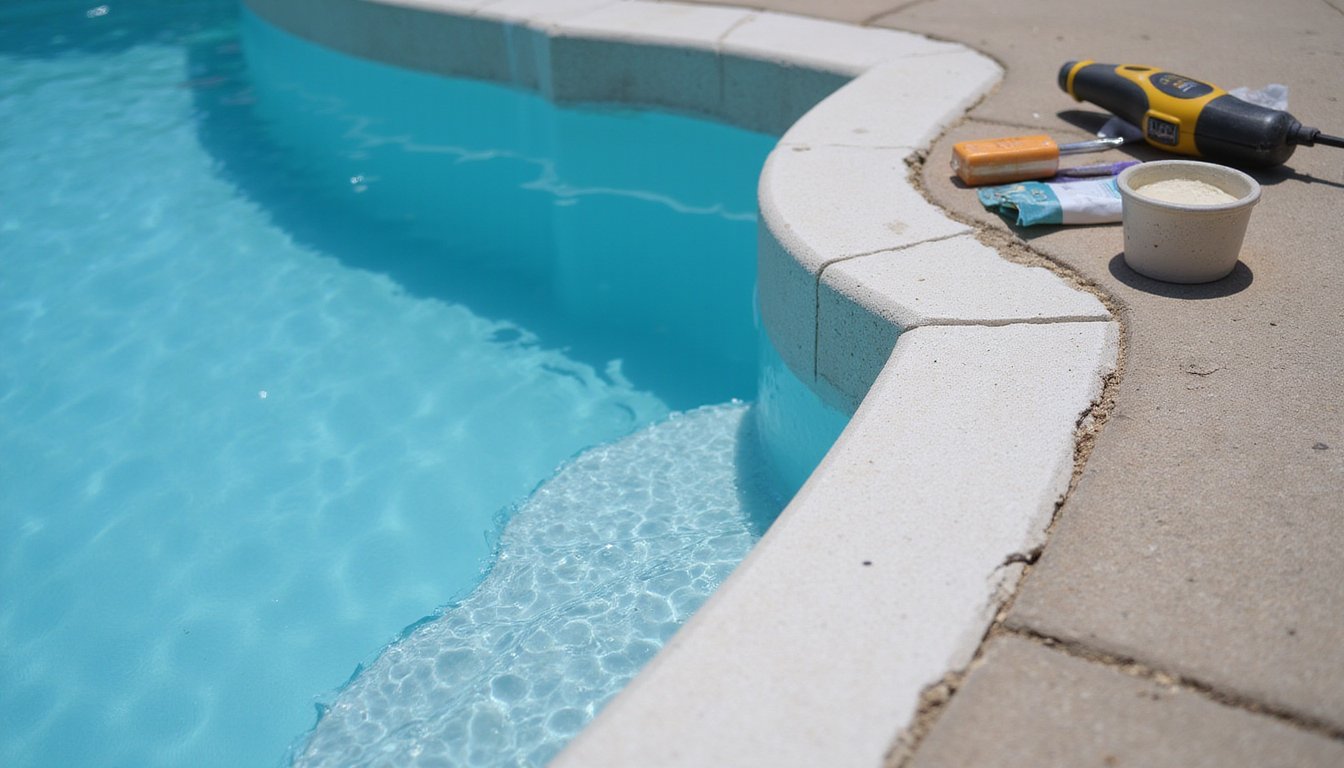
For your fiberglass patch repair technique, stock color-matched gelcoat, fiberglass cloth patches, and a 50 ML injector dispensing gun for precise foam application. Include polyester putty, bond coat, painter’s tape for masking, and a 5-quart measuring cup to maintain exact material ratios. AquaFlex underwater sealant handles thin spider cracks effectively.
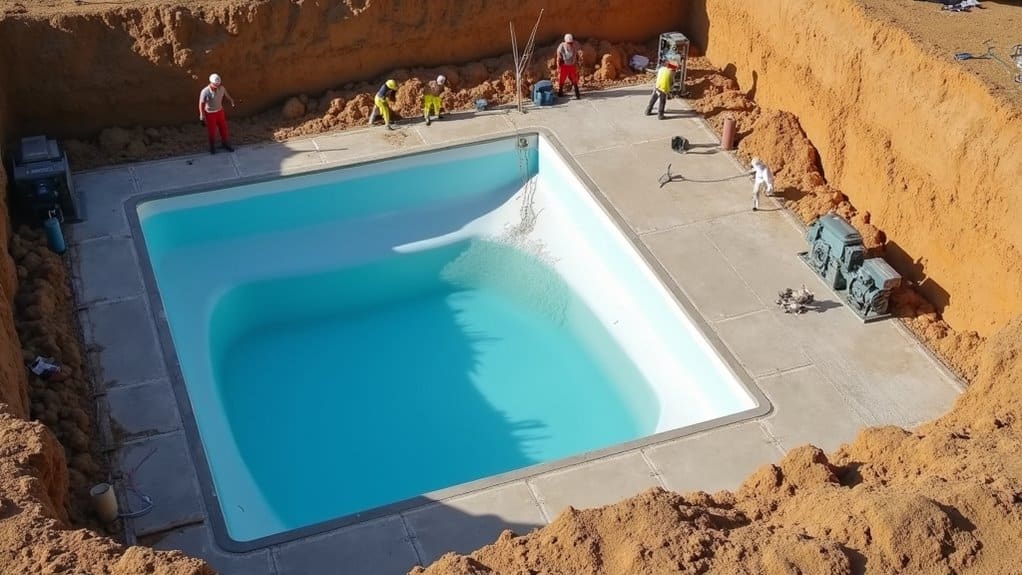
How to Repair a Fiberglass Pool Crack Step by Step
With your tools and materials staged, you’re ready to begin the actual repair. Start by draining the pool below the crack and sanding six to eight inches beyond the damage edges. Open the crack with a Dremel to clean compromised material and create a proper bonding surface.
Apply a fiberglass resin repair system by laying saturated cloth or chopped strand mat over the prepared area in multiple layers, pressing out air voids. Once cured, spread polyester putty mixed with catalyst, leveling it smooth. Sand the hardened surface flat.
For gelcoat crack repair pool surface restoration, apply color-matched gelcoat, then buff and polish for a seamless finish. Refill gradually after full cure to verify watertight integrity.
How to Fix Floor Humps That Cause Pool Cracks
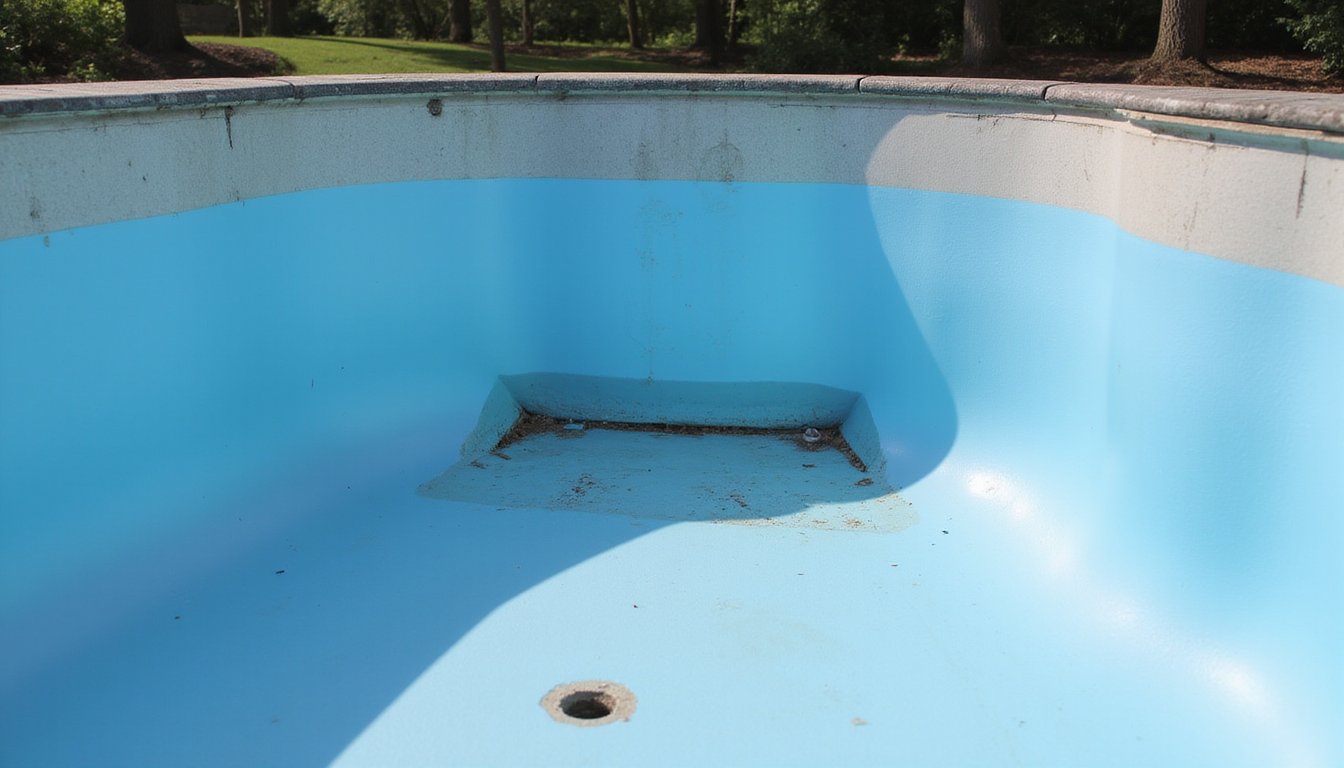
When a floor hump pushes your fiberglass shell upward, you’ll need to cut out the affected section so the floor can sit flat against the subgrade before any crack repair can hold. Once you’ve removed the humped material and addressed the underlying void, you can inject spray foam beneath the shell to provide stable, uniform support that prevents the floor from deflecting under water pressure. This approach eliminates the root cause of cracking, allowing subsequent fiberglass laminate and gelcoat restoration to bond permanently without stress-induced failure.
Cutting Out Humped Sections
Floor humps in fiberglass pools won’t flatten on their own, and you can’t simply layer new fiberglass over them, the raised section must be cut out entirely before any lasting repair can proceed. Cutting out humped sections eliminates the void beneath the floor that creates recurring pressure points.
Follow this sequence for proper removal:
- Mark the affected area, Outline the hump’s full perimeter, extending slightly beyond visible distortion to capture all compromised laminate.
- Cut along marked lines, Use a rotary cutting tool to remove the raised section cleanly, exposing the backfill beneath.
- Flatten and stabilize the subbase, Compact or replace the underlying material before applying structural fiberglass reinforcement.
Skipping the cutout guarantees failure once water pressure returns against the repaired surface.
Lifting With Spray Foam
High-density, closed-cell polyurethane spray foam offers a non-destructive alternative to cutting out humped sections, particularly when the void beneath the floor is accessible through injection ports rather than requiring full panel removal. You’ll inject the two-component formula directly into cavities beneath the shell, where it expands to fill voids and restores solid foundational support.
Lifting with spray foam eliminates the flexing that causes cracks by addressing the root problem, missing substrate contact. The foam cures quickly, prevents further backfill erosion, and stabilizes the shell without excavation or soil recompaction. You won’t need to remove concrete or surrounding deck structures during application.
Incorporate this method into your fiberglass pool maintenance procedures to stop progressive settlement damage before cracks propagate into adjacent panels or compromise structural laminate integrity.
Prevent Future Cracks in Your Fiberglass Pool
Although repairing a crack restores your pool’s structural integrity, preventing future damage requires addressing the root causes that create stress on the fiberglass shell. Implementing regular inspection and maintenance protocols allows you to detect spider cracks before they become structural problems.
Follow these three prevention strategies:
- Maintain proper water levels. Never fully drain your pool without professional guidance, as water counterbalances hydrostatic groundwater pressure against the shell.
- Use quality backfill materials. Clean sand or crushed stone compacts evenly and prevents uneven lateral pressure that clay-based soils create.
- Manage temperature fluctuations. Proper winterization techniques protect against freeze damage and thermal expansion stress.
Understanding pool surface grinding and sanding preparation helps you recognize when professional intervention becomes necessary.
When to Call a Fiberglass Pool Professional
Prevention strategies reduce crack risk, but some damage exceeds what DIY methods can safely address. You should contact pool shell damage repair contractors when cracks extend through multiple fiberglass layers, water levels drop more than two inches weekly, or bulges appear in the shell surface. These indicators signal structural compromise requiring professional pool shell crack repair methods, specialized equipment, and accurate leak diagnosis.
Professional assessment becomes essential when you notice osmosis blisters, persistent leaks despite patching, or pressure imbalances causing shell deformation. Contractors evaluate crack severity by measuring length, width, and depth before recommending targeted repairs like damage removal, foam filling, and fiberglass recoating. Early professional intervention prevents costly escalation. Additionally, warranty coverage typically requires documented professional maintenance, making expert involvement critical for preserving both structural integrity and financial protection.
Ready to Transform Your Backyard?
Your dream pool is closer than you think. At Schiller Pools, our experienced team brings over 40 years of expertise to every project, delivering stunning fiberglass pool installations and custom pool construction that turn ordinary backyards into extraordinary outdoor retreats. With flexible financing options and lifetime warranty backing, there has never been a better time to get started. Call (561) 475-5997 today for your free estimate.
Frequently Asked Questions
How Much Does a Professional Fiberglass Pool Crack Repair Typically Cost?
You’ll typically pay between $300 and $400 for minor gelcoat crack repairs, while moderate structural cracks cost you $500 to $1,500. If you’re dealing with major structural damage requiring resurfacing or shell replacement, expect costs ranging from $5,000 to $15,000 or more. Your final price depends on crack severity, pool size, location, and labor rates averaging $45 to $65 per hour, plus additional draining and refilling expenses.
How Long Does Fiberglass Resin Take to Cure After a Crack Repair?
Fiberglass resin typically reaches its initial set within 15 to 30 minutes at 70°F, but you’ll need 1 to 4 hours for full hardness depending on temperature and catalyst ratio. If you’re using epoxy resin, expect a 24-hour full cure for maximum structural strength. You shouldn’t apply gelcoat until the resin layers have fully cured, and you’ll want to wait an additional 24 hours before exposing the repair to water.
What Water Chemistry Levels Should Be Maintained After Repairing a Fiberglass Pool?
You should maintain pH between 7.2 and 7.8, keep chlorine at 1, 3 ppm, and hold calcium hardness between 200, 400 ppm to protect your gelcoat repair. Target total alkalinity at 80, 120 ppm for stable pH buffering, and keep cyanuric acid at 30, 50 ppm to stabilize chlorine against UV degradation. Test daily during the first week post-repair, then shift to weekly monitoring to catch imbalances before they stress repaired surfaces.
Can a Fiberglass Pool Crack Be Repaired Without Draining the Pool?
You can repair minor gelcoat cracks without fully draining your pool. Sand the damaged area smooth, then apply marine-grade bond coat and fiberglass cloth directly. For superficial cracks, you’ll use polyester putty to fill the damage and finish with a color-matched gelcoat. However, you shouldn’t attempt this for structural cracks, they require dry preparation and professional intervention. You’ll also want to maintain balanced water chemistry to protect your repair long-term.
How Thick Is a Typical Residential Fiberglass Pool Shell?
A typical residential fiberglass pool shell measures between 3/8 and 1/2 inch thick, with six layers of fiberglass materials fused into a unified composite structure. You’ll find manufacturers reinforce stress points and hinge areas with additional thickness to handle lifting, transportation, and installation loads. Some builders also incorporate composite materials like Kevlar for added impact resistance. This engineered thickness gives you a balance of structural strength and flexibility that withstands ground movement.