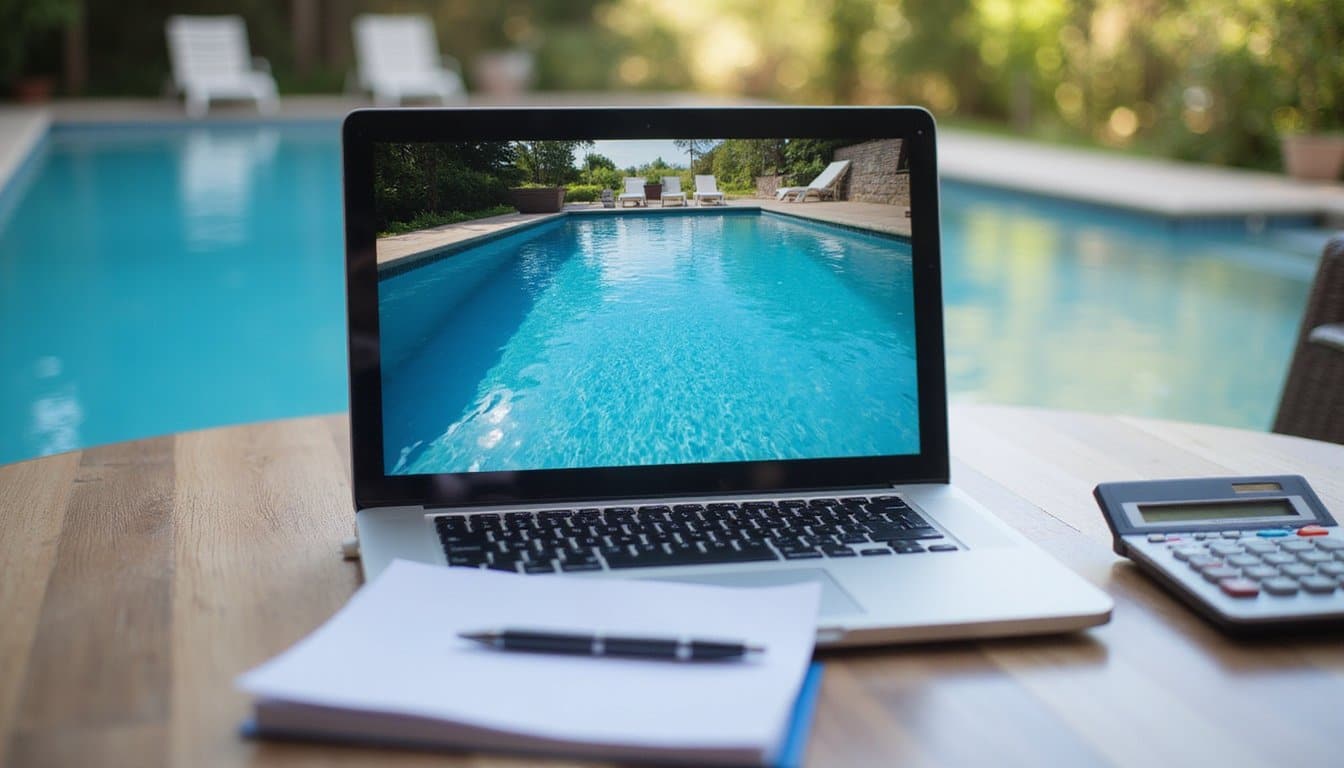
You’re looking at 8 to 16 weeks from permit approval to first fill for a standard inground pool, and that’s if everything stays on schedule. A simple build runs 6 to 10 weeks, while custom designs with complex features push past 16 weeks easily. Permitting alone can eat 2 to 6 weeks before excavation even starts. Weather, soil conditions, and inspection queues are the top schedule-breakers. Below, we’ll break down each phase so you can plan with real numbers.
How Long Does It Really Take to Build a Pool?
Your residential pool construction schedule breaks down into distinct phases: design and permitting (3, 12 weeks), excavation (1, 4 days), steel/plumbing/electrical (1, 3 weeks), finishing and curing (2, 5 weeks), and decking (2, 3 weeks). Complex projects with custom features push timelines beyond 16 weeks. Rock encounters during excavation, permit backlogs, or prolonged concrete curing at 30 days average can extend your schedule considerably. You’ll want to plan accordingly. Budgeting for custom pool designs is essential to ensure you allocate sufficient funds for all desired features. It is advisable to include a contingency for unexpected costs that may arise during the construction process.
Simple Pool vs. Custom Build: Timeline Differences
If you’re choosing a standard pool with a pre-finalized design, you can expect the full build, from excavation through final inspection, to wrap up in 6 to 10 weeks, since streamlined material sourcing and fewer on-site decisions keep the schedule tight. Once you start adding custom features like gunite construction, complex shapes, or specialized finishes, you’re looking at 10 to 16 weeks or longer, with the design phase alone consuming 2 to 4 weeks of detailed consultations and 3D modeling. Each custom element compounds the timeline: unique steel frameworks, extended curing periods, and specialized plumbing runs can collectively add 4 to 6 weeks beyond a standard build’s baseline schedule. Custom builders can also integrate advanced filtration systems and automated maintenance technology during construction, which adds coordination time but significantly reduces long-term upkeep demands once the pool is complete.
Standard Build Timeframes
Two distinct project tracks define residential pool construction timelines: a standard simple build and a fully custom build, and the gap between them can stretch from weeks to months.
Standard Build Timeframes
Standard inground pools average 8, 12 weeks total build time when you’re working with conventional designs, straightforward lot conditions, and no specialty features. Once your municipality clears permits, the average simple pool post-permit takes 10, 12 weeks from excavation through final inspection. That window accounts for sequential phases: excavation, structural work, plumbing and electrical rough-ins, shell completion, decking, and equipment startup.
You’ll hit the shorter end if soil conditions cooperate, inspections pass on first review, and your builder maintains crew availability. Realistic timelines extend to 12, 16 weeks when factoring minor delays from weather, material lead times, or scheduling gaps between subcontractors. Keep in mind that the design and approval process alone can add 4, 8 weeks before any ground is broken, so building that lead time into your expectations is critical.
Custom Features Add Weeks
While a standard rectangular pool with basic coping and simple concrete decking wraps up in 8, 12 weeks post-permit, adding custom features like waterfalls, integrated spas, fire bowls, or elaborate stone pavers can push that timeline to 4, 6 months. Your custom pool design timeline expands because each feature requires separate engineering reviews, additional plumbing runs, and specialized subcontractor coordination.
Intricate water features and deeper basins alone add 1, 4 weeks to the planning phase. Multiple design revisions, especially in HOA-regulated communities, compound pre-construction delays further. On-site, complex rebar configurations, extended plumbing layouts, and phased concrete pours demand precise sequencing. Construction delays, weather permits materials shortages introduce further complications. You’re not just building a pool; you’re managing overlapping trades, curing schedules, and inspection milestones that don’t compress easily regardless of budget.
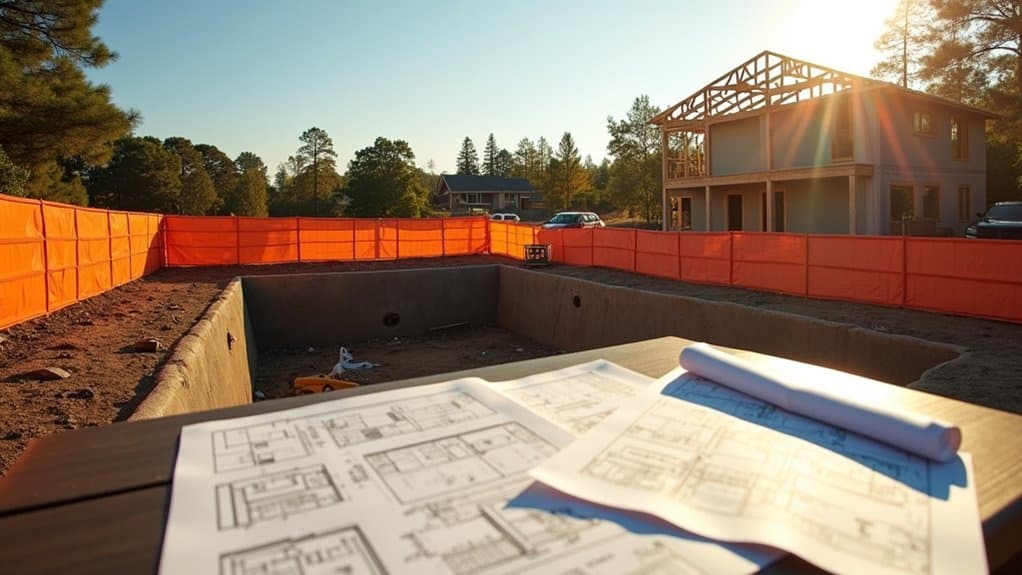
Pool Design Phase: 1, 4 Weeks of Key Decisions
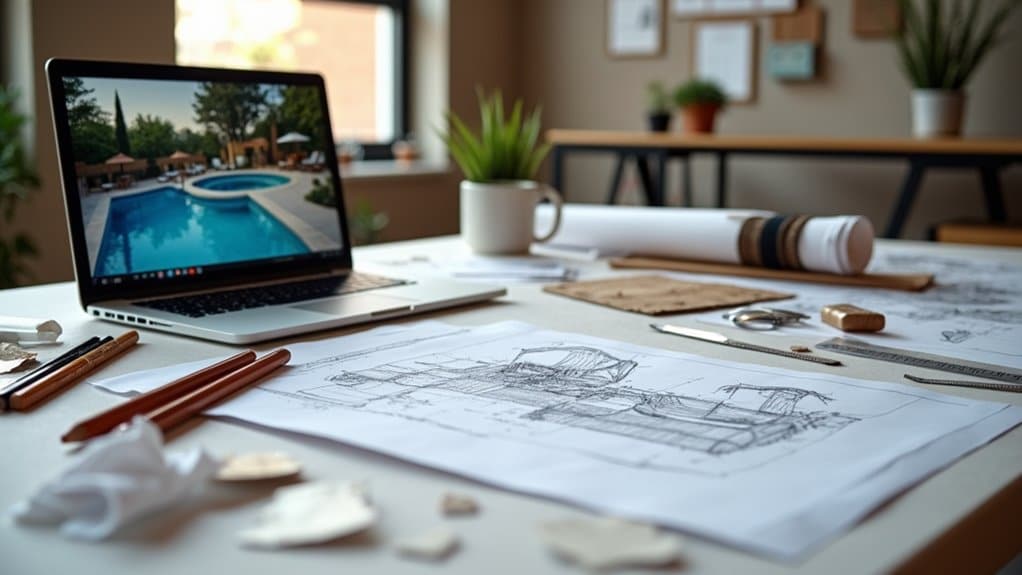
Before any excavator breaks ground, the pool design phase, typically spanning 1 to 4 weeks, lays the foundation for every construction milestone that follows. During this critical window, you’ll collaborate with designers using 3D modeling software to finalize layout, materials, features, and budget. Your decision speed directly controls pace, back-and-forth revisions can extend this phase considerably.
Key swimming pool construction steps during design include:
- Consultation sessions where you confirm preferences and translate inspiration into actionable plans
- 3D visualization that renders your pool within your actual yard space
- Engineering review lasting 1 to 2 weeks post-contract for structural and stormwater compliance
- Plan finalization ensuring code-compliant, budget-aligned specifications before permitting begins
Rushing these pool project planning stages risks mid-build change orders that derail your timeline and inflate costs.
Why Pool Permits Take Longer Than You’d Expect
Once your design package clears engineering review and heads to the building department, you’ll likely hit the most unpredictable segment of the pool construction timeline: permitting. Some municipalities process simple applications in one to two business days, while others require several months for routine swimming pool permits. The pool inspection and permit approval process depends heavily on staffing levels, seasonal volume, and project complexity. During spring and summer, processing times spike as demand surges. Application quality issues compound delays further, incomplete submissions trigger requests for additional information, and each request-response cycle extends your timeline by days or even weeks. Short-staffed planning departments let applications sit in backlogs indefinitely. Submit a complete package with site plans, dimensions, elevations, and surveys upfront. That single step eliminates the most common cause of preventable permit delays.
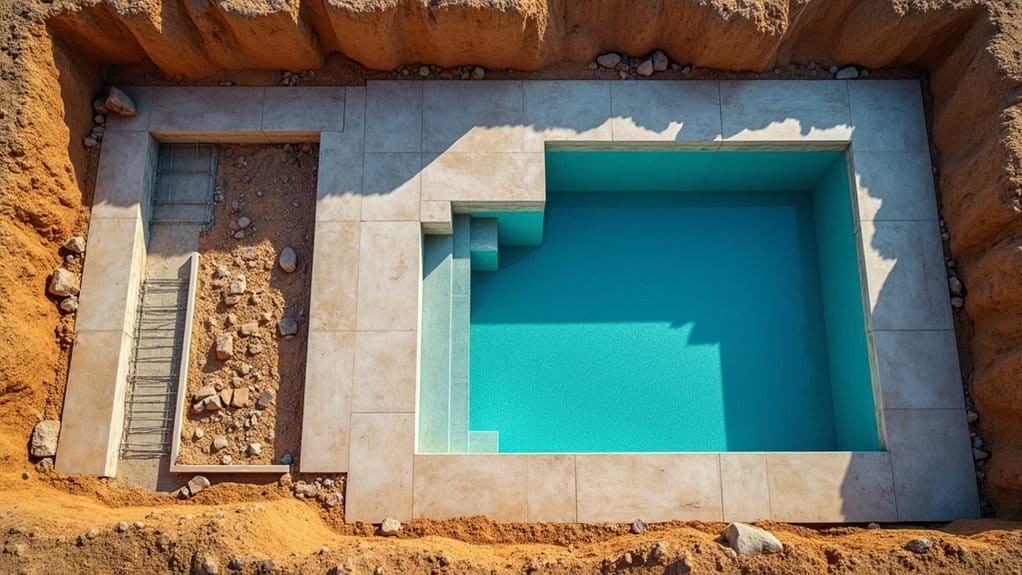
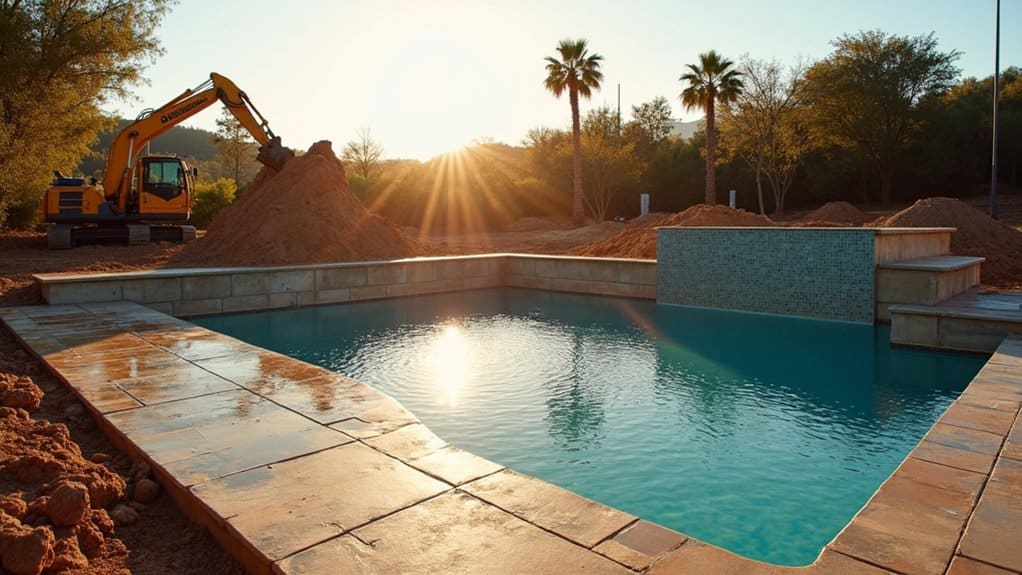
Pool Excavation: What Happens in the First Few Days
After your permits clear the building department, the project shifts from paperwork to physical construction, and excavation marks the first major milestone on-site. During the excavation stage, pool construction crews use hydraulic excavators to remove 60, 120 cubic yards of soil, over-digging 6 inches beyond finished dimensions to accommodate forms and plumbing.
Key variables that affect your backyard pool installation time during this phase:
- Soil composition: Rocky or clay-heavy ground requires specialized equipment, extending dig time noticeably.
- Utility conflicts: Gas, water, and electrical lines need locator verification before any digging begins.
- Precision grading: Crews level the floor and walls using transit or laser levels for exact depth and shape.
- Site accessibility: Equipment reach and staging space directly impact excavation speed.
Expect this phase to span 3, 5 days under standard conditions.
Steel, Plumbing, and Electrical Rough-Ins: 1, 2 Weeks
Expect this combined phase to take one to two weeks. Soil conditions, material availability, inspections, and weather directly influence whether you’ll hit that target.
Pouring the Pool Shell and Why Curing Takes Weeks
Because the steel reinforcement and plumbing rough-ins are now locked in place, the gunite crew can begin spraying the pool shell, a phase that’ll consume one to two weeks for application alone and several more weeks for proper curing. During the pool shell installation process, high-pressure gunite builds uniform thickness around rebar reinforcements, ensuring structural integrity.
High-pressure gunite builds uniform thickness around rebar, transforming steel and plumbing rough-ins into a rock-solid pool shell.
Concrete pool curing time demands patience:
- Week 1: Concrete reaches approximately 70% strength through active hydration
- Day 28: Full chemical bonding completes, delivering peak load-bearing capacity
- Temperature sensitivity: Extreme fluctuations slow hydration and compromise quality
- Moisture management: Controlled evaporation prevents shrinkage cracks that’d undermine long-term durability
You can’t rush this phase. Premature loading risks structural weaknesses that’ll surface once water pressure tests the shell’s integrity.
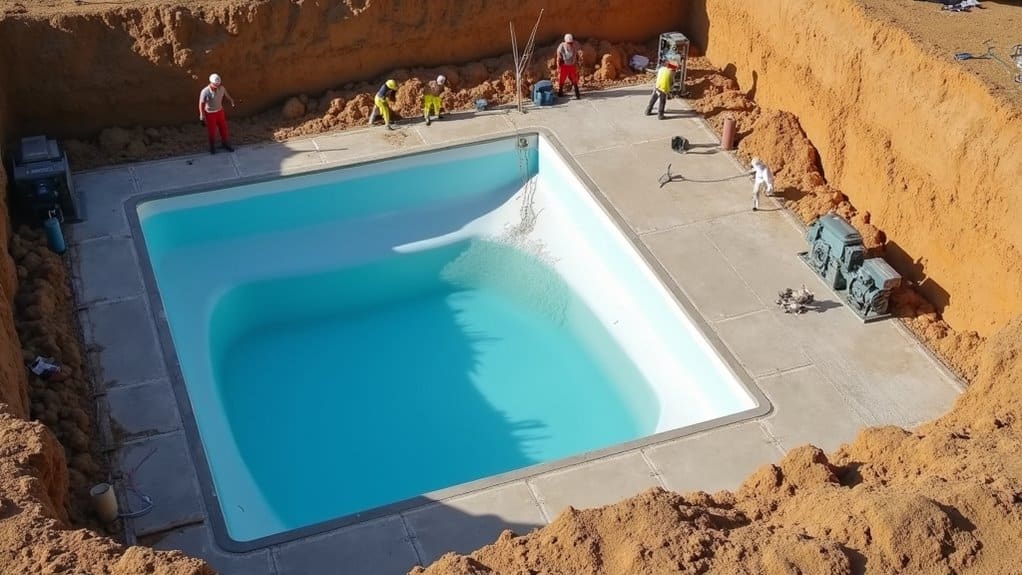
Plaster, Tile, and Final Pool Finishes
Once the cured shell passes its structural inspection, your crew shifts to interior finishes, the phase that determines both the pool’s waterproofing performance and its visual quality. The plaster application process starts with a bonding agent, typically an acrylic-modified cement-sand mix, that sets for 8, 10 hours before plaster coats go on. Crews trowel two to three coats, each ½- to ¾-inch thick, working from the bottom up to a creamy, uniform consistency. Tile work along the waterline and any mosaic accents are set before plastering begins so edges integrate cleanly. Expect this finish stage to run 4, 7 days depending on pool size, shape, and weather. Among your pool building project milestones, completed finishes trigger the filling sequence, a continuous 18, 36-hour process that cannot be interrupted once started.
Biggest Pool Construction Delays and How to Avoid Them
Even with a solid construction schedule, three common obstacles can push your pool project well past its projected completion date: permit approval holdups, weather-related construction stalls, and unexpected terrain complications. You’ll need to anticipate each of these variables during the planning phase, because once they trigger delays mid-build, they cascade through every downstream milestone on your timeline. Understanding the root causes behind each delay, and building contingency protocols into your project plan, helps you maintain schedule control from excavation through final inspection.
Permit Approval Holdups
Although excavation and structural work dominate most homeowners’ mental timelines, permit approval holdups consistently rank as the single largest source of pool construction delays, and they’re entirely front-loaded, meaning every day lost in permitting pushes your entire project schedule back by the same margin.
Permit processing timelines vary dramatically by jurisdiction, standard approvals range from 2 to 6 weeks, while high-volume Sun Belt counties stretch plan review alone to 6, 10 weeks. Documentation requirements and submission accuracy directly control your approval speed:
- Engineered drawings must accompany your application; most jurisdictions won’t accept submissions without them.
- Incomplete paperwork triggers immediate delays, submit signed contracts and engineered plans simultaneously.
- HOA approval adds a separate approval layer beyond municipal permitting.
- Verify processing timelines directly with your local building authority before locking contractor start dates.
Weather-Related Construction Stalls
Because permit delays are front-loaded, weather-related construction stalls hit harder, they strike mid-build, when your excavation is open, your steel is set, or your gunite crew is scheduled within a narrow window. Heavy rain floods open excavations, requiring drainage crews and extended dry-out periods before concrete work proceeds. In North Texas, sudden storms can add weeks to your pool construction timeline.
Extreme heat cracks curing plaster and forces crews into adjusted hours. Freezing temperatures halt gunite and plaster application entirely, both require specific thermal ranges for proper curing. Strong winds shut down heavy equipment operations and blow debris into prepared surfaces.
You’ll minimize weather-related construction stalls by avoiding hurricane season starts (June, November), scheduling winter builds during milder windows, and selecting builders who proactively reschedule around forecasted disruptions.
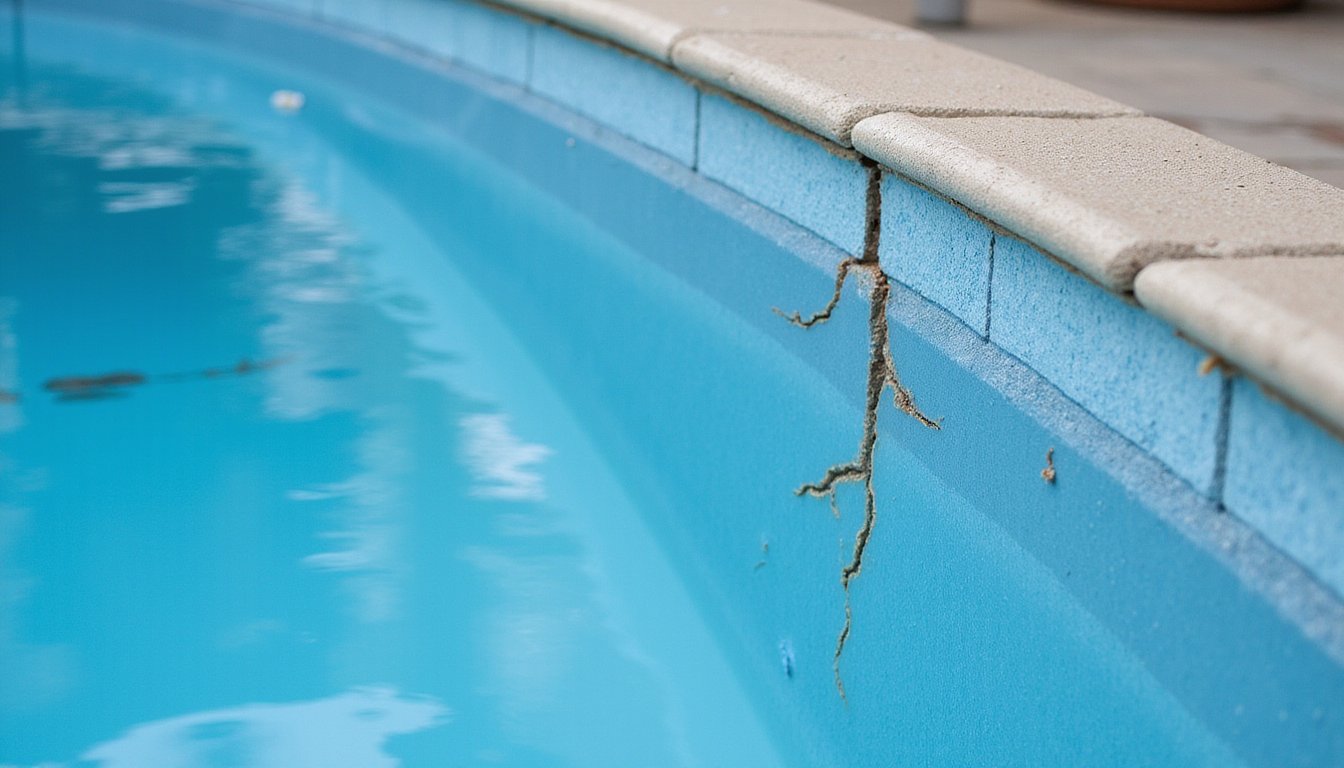
Unexpected Terrain Complications
What’s hiding beneath your yard poses a bigger scheduling threat than any storm. Uncontrolled fill and poor soils force over-excavation and engineered compacted backfill, adding weeks to your timeline. Rocky or unstable terrain demands specialized excavation equipment and modified shell designs, inflating both cost and duration.
Before breaking ground, you’ll want geotechnical borings, at least one per 5,000 square feet of pool area, drilled to a minimum of 5 feet below the planned excavation depth. This data drives every structural decision that follows.
Watch for these terrain red flags:
- Expansive clay soils that swell up to 30%, cracking shells and plumbing
- High groundwater requiring dewatering systems and hydrostatic relief valves
- Soft or sandy soils preventing vertical cuts, demanding laid-back slopes or formwork
- Hillside slope creep causing differential settlement and structural rotation
Your Pool Build Week by Week: A Quick Timeline
- Weeks 1, 4: Design, 3D modeling, engineering review, and permit approvals.
- Week 5: Site clearing, excavation, and rebar framing with inspections.
- Week 6: Steel reinforcement, plumbing, and electrical rough-ins requiring code-compliant inspections.
- Weeks 7, 8: Shell construction, gunite application, curing, or vinyl frame assembly.
- Week 9+: Interior finishing, decking, equipment hookups, and water chemistry balancing.
You’ll navigate plumbing inspections, structural reviews, and final municipal sign-off before your pool’s swim-ready.
Ready to Transform Your Backyard?
Your dream pool is closer than you think. At Schiller Pools, our experienced team brings over 40 years of expertise to every project, delivering stunning fiberglass pool installations and custom pool construction that turn ordinary backyards into extraordinary outdoor retreats. With flexible financing options and lifetime warranty backing, there has never been a better time to get started. Call (561) 475-5997 today for your free estimate.
Frequently Asked Questions
How Soon After Filling a New Pool Can You Swim?
You can swim in your new pool about 7, 10 days after filling, once the plaster cures and water chemistry stabilizes. During days 1, 3, you’ll brush the plaster 2, 3 times daily and balance initial chemistry. Days 3, 5 require aggressive filtration and frequent testing. By days 5, 7, you’re stabilizing pH to 7.2, 7.8 and chlorine to 1, 3 ppm. After final testing on days 7, 10, you’ll get clearance to swim safely.
What Pump Size Does a Typical Residential Pool Need?
You’ll typically need a 1.0, 1.5 HP pump for an average residential pool. To size it correctly, calculate your pool’s volume, then divide by an 8-hour turnover target. A 20,000-gallon pool requires roughly 42 GPM, pair that with 1½” PVC plumbing and verify the pump’s performance curve against your system’s total dynamic head (usually 40, 70 feet). If you’re running water features, step up to 1.5, 2.0 HP.
Can Groundwater Pressure Actually Push a Pool Shell Upward?
Yes, groundwater can absolutely push your pool shell upward. When you drain your pool, you remove the downward weight that counteracts the buoyant force from a high water table. If groundwater pressure exceeds your empty shell’s weight, it’ll float, crack, or bulge. You’ll want to install a hydrostatic relief valve at the main drain and consider subsurface drainage systems around the excavation to actively relieve that pressure buildup.
How Thick Should a Vinyl Pool Liner Be for Durability?
You’ll want a minimum 20-mil liner for standard residential use, it offers solid pliability during installation and averages 10, 12 years in inground applications. For enhanced puncture resistance against debris, claws, and ice damage, upgrade to 27, 30 mil. A popular spec uses 28 mil walls with 20 mil floors, balancing durability and conformability. However, proper installation outweighs thickness every time; a well-fitted 20-mil liner outlasts a poorly installed thicker one.
What pH and Chlorine Levels Should a New Pool Have?
You’ll want to target a pH between 7.2 and 7.6, ideally hitting 7.4 for balanced startup chemistry. Set your free chlorine at 1.0 to 3.0 ppm, then shock the pool to 10 ppm post-filling to burn off construction debris. Don’t add chlorine until you’ve balanced calcium hardness (200, 400 ppm) and alkalinity (80, 120 ppm) first. Re-test everything after 24 hours of continuous circulation to confirm stable readings.