

Expert-level pool installation relies on seven critical markers you’ll need to master: thorough site evaluation and planning, professional ground preparation with safety protocols, precise shell placement methodology, advanced leveling techniques, strategic backfilling operations, code-compliant electrical systems, and all-encompassing quality control standards. Each marker demands specific technical expertise and specialized equipment to guarantee your pool’s structural integrity and longevity. Understanding these core elements will transform your installation from basic to exceptional.
Planning and Site Evaluation Excellence
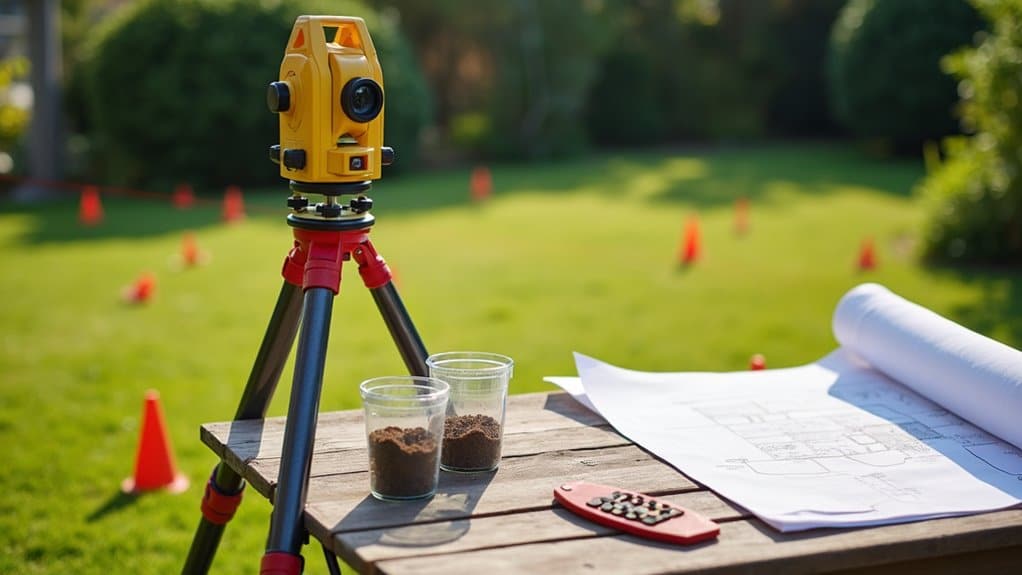
Five critical elements define successful pool installation planning: thorough site evaluation, detailed design consultation, regulatory compliance, logistics coordination, and extensive risk assessment.
You’ll need precise soil evaluations to determine foundation stability and excavation requirements, while slope assessments guide drainage solutions. A comprehensive property assessment identifies potential underground obstacles and utility lines that could impact installation. Your material sourcing strategy must align with site-specific challenges, ensuring appropriate resources for each installation phase. Through contractor collaboration dynamics, you’ll coordinate underground utility marking and establish efficient construction equipment routes. Pre-construction meetings include on-site walkthroughs to finalize evaluations and pool layouts before beginning work. Working with skilled professionals from various trades ensures expertise across engineering, electrical, masonry, and plumbing aspects.
Your exhaustive site analysis should address yard dimensions, existing landscaping preservation, and ideal pool placement. This evaluation phase integrates with 3D design visualization services, allowing you to preview outcomes while identifying potential challenges. By implementing thorough risk assessment protocols, you’ll proactively address soil stability concerns and environmental impact considerations before construction begins.
Ground Preparation and Safety Protocols
Before commencing pool excavation, you’ll need to analyze your soil’s composition and load-bearing capacity through strategic core sampling and density testing. You must establish clear safety boundaries by marking underground utilities, setting up physical barriers, and maintaining proper distance from structures according to local codes. Having proper excavation equipment setup is essential for achieving precise depth and shape requirements during the digging process. A complete yard evaluation helps determine the optimal pool placement to maximize natural sunlight exposure. With our proven track record of successful installations across multiple Bay Area counties, we bring extensive expertise to every project. Your thorough attention to these foundational requirements will determine both the structural integrity of your pool and the safety of the installation process.
Soil Testing Fundamentals
Proper soil testing serves as the foundation for any successful pool installation project, requiring a thorough analysis of ground composition and stability factors. You’ll need professional soil samplers to extract representative specimens from multiple depths, guaranteeing soil sampling integrity through bore hole drilling. Laboratory interpretation metrics will determine your soil’s load-bearing capacity and structural requirements. Infrared spectroscopy analysis can provide immediate feedback about soil composition without disrupting the ground. Areas with excessive imported fill are particularly unsuitable for fibreglass pool installation, requiring special consideration and alternative construction methods. Visual inspections alone may reveal incomplete details, making comprehensive soil evaluation essential for proper installation.
| Soil Type | Characteristics | Installation Considerations |
|---|---|---|
| Sandy | Low cohesion | Improved compaction needed |
| Clay | Moisture retention | Specialized drainage required |
| Loam | Balanced mixture | Ideal for standard installation |
Your soil analysis results will guide critical construction decisions, from foundation selection to drainage solutions. While extensive testing can cost up to $4,000, it’s a vital investment that prevents expensive future repairs and ensures long-term structural integrity. For challenging soil conditions, you’ll receive engineering consultation to determine appropriate construction methodologies.
Safety Boundary Requirements
Building upon your soil analysis results, implementing thorough safety boundary requirements stands as the next major phase of pool installation. You’ll need to comply with strict barrier mounting requirements while accounting for property line constraints that affect your pool’s positioning.
Your safety barriers must maintain a 4-6 foot height with no more than 4 inches of bottom clearance. Regular fence maintenance will help ensure lasting safety and protection for your pool area. Guarantee all barrier openings prevent passage of a 4-inch sphere, with vertical members spaced no wider than 1.75 inches. Local council regulations across Queensland can vary significantly regarding required setbacks. You’ll need to position gates that open outward, equipped with self-closing and self-latching mechanisms placed beyond children’s reach.
Keep the 36-inch zone around your pool barrier free of climbable objects, and verify that your design accommodates local setback regulations. Ensure that dwelling walls can serve as barriers when properly secured with appropriate safety features.
Precise Shell Placement Methodology
You’ll need a high-precision crane with expert operators to maneuver the pool shell into its final position, ensuring the equipment can safely handle the shell’s weight and dimensions. Your installation team must utilize laser leveling systems throughout the placement process to maintain exact measurements and prevent any deviation from the planned specifications. The delivery team confirms adequate site access well before arrival to prevent logistical challenges during installation. Continuous monitoring through fixed-point laser positioning allows you to make real-time adjustments while the shell is being lowered, guaranteeing perfect alignment within manufacturer tolerances. Skilled spotters positioned strategically around the excavation site provide visual guidance coordination to ensure precise shell placement from multiple angles. A stable foundation of crushed stone base must be meticulously prepared before lowering the shell to prevent future settling issues.
Equipment Positioning Strategy
Successfully positioning a fiberglass pool shell demands thorough equipment placement strategy and precise coordination between crane operators and ground teams. You’ll need to master crane deployment strategies that guarantee optimal positioning while maintaining equipment access coordination throughout the installation process. The creation of a proper drainage system during initial site preparation ensures stability for heavy equipment during shell placement.
| Phase | Equipment Required | Key Considerations |
|---|---|---|
| Site Survey | Measuring Tools | Access pathways |
| Pre-Position | Low-bed Trailer | Utility clearance |
| Crane Setup | Mobile Crane | Ground stability |
| Shell Transfer | Guide Ropes | Spotter positions |
| Final Place | Level Tools | Shell alignment |
Your crane operator must position the equipment where it can safely maneuver the shell while maintaining clear sight lines to ground spotters. You’ll need to establish predetermined positions for all team members and verify that the installation area provides adequate space for equipment movement and stabilization during the critical lowering phase.
Leveling Control Systems
Precise leveling control during fiberglass pool shell placement builds upon proper equipment positioning to guarantee long-term structural integrity. You’ll need to implement a systematic grid method using perimeter stakes and intersecting strings to create a measurement matrix across your installation area.
For ideal results, you’ll want to integrate automated control logic through systems like IntelliLevel or LevelSmart, which feature wireless monitoring capabilities. These controllers mount on the suction side of your circulation system, maintaining consistent water levels through sensor technology and magnetic calibration.
When installing the shell, you must verify wall orientation and confirm skimmer openings align properly with the upper portions. The raised feature and recess system enables precise end-to-end connection, while proper sensor placement at the skimmer entrance optimizes detection for automated level maintenance.
Advanced Leveling Techniques
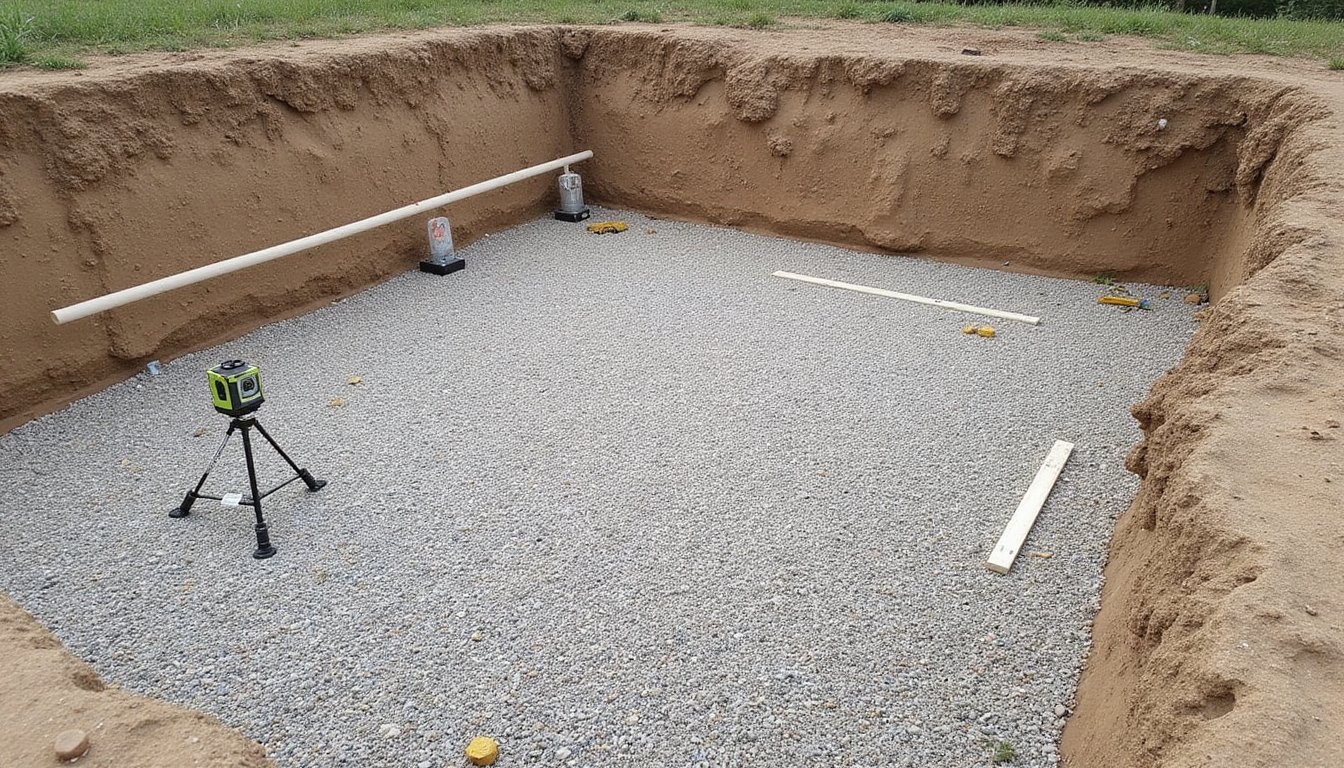
When installing a high-end pool, advanced leveling techniques serve as the cornerstone of structural integrity and long-term stability. You’ll need to employ cutting-edge laser technology to achieve the exacting standards required for professional installations, ensuring consistent depth measurement across the entire excavation area.
Your approach should incorporate multiple verification methods, including 2×4 planks with attached levels and stake-string systems to identify grade variations. You’ll want to maintain strict tolerances, within one-eighth inch for round pools and one-quarter inch for oval designs. Bear in mind that even a two-inch variation per 10 feet can lead to frame buckling.
For precise base preparation, you’ll need to dig minimum two inches into firm ground, followed by carefully compacted layers of gravel or sand, ensuring each layer meets professional tamping standards.
Strategic Backfilling Operations
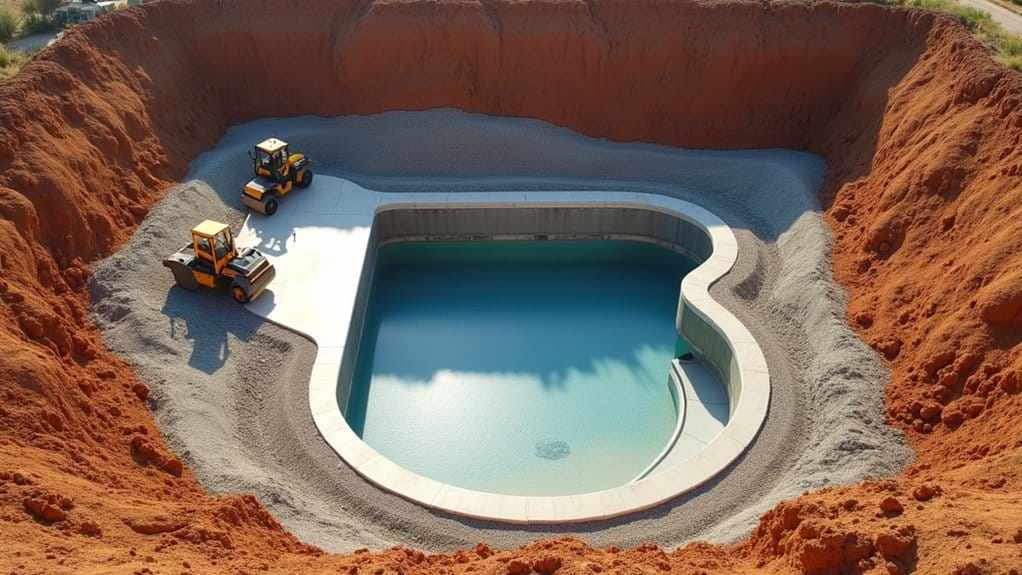
Strategic backfilling operations form the pivotal foundation between your pool shell and the surrounding soil matrix, directly impacting the structure’s long-term stability. You’ll need to carefully evaluate material performance attributes when selecting between sand, gravel, or mixed aggregates, as each offers distinct structural support characteristics.
During installation, you’ll implement a precise six-inch alternating pattern between backfill and water to maintain indispensable pressure equilibrium. This coordinated approach manages water displacement dynamics while preventing shell deformation. Your soil composition analysis becomes vital, as clay, sand, and loam conditions require specific technique modifications.
You’ll need to monitor pressure differentials continuously and conduct systematic quality control tests, including plumbing pressure checks, to guarantee your installation meets professional standards throughout the backfilling process.
Code-Compliant Electrical Systems
After securing your pool’s structural foundation, proper electrical system installation becomes your next major undertaking. Your pool electrical design must strictly adhere to NEC Article 680 requirements, particularly for pools exceeding 42 inches in depth. You’ll need to incorporate extensive GFCI protection for all circuits within 20 feet of the pool perimeter.
Begin with an electrical hazard assessment to determine proper equipment placement and required clearances. You must install a complete bonding grid connecting all conductive elements, using #8 AWG copper wire for grounding systems. Install dedicated circuits for pumps, heaters, and lighting using wet-rated conductors in rigid conduit. Keep in mind that UF cable isn’t permitted for underground pool motor circuits. All junction boxes and connections must be wet-rated and properly positioned according to code-specified distances from the pool’s interior walls.
Quality Control and Verification Standards
To ascertain your pool installation meets industry standards, implementing thorough quality control protocols becomes essential throughout the construction process. You’ll need systematic material defect identification through non-invasive visual inspections of all accessible areas, coupled with comprehensive water testing protocols that verify proper chemical concentrations and safety parameters.
Your quality control measures must include verification of safety barriers, entrapment prevention components, and structural elements according to specified standards. You’ll require precise depth marking compliance, proper drain placement, and perimeter overflow system validation. Your contractor should maintain detailed records of free chlorine levels, pH values, and cyanuric acid measurements. The inspection process must follow uniform practices, with written documentation of all material defects found within defined systems and components to ascertain your pool’s long-term safety and functionality.
Frequently Asked Questions
How Long Does a Professional Pool Installation Typically Take From Start to Finish?
You’ll typically need 8-12 weeks for a professional pool installation, though timelines vary by pool type. Your site preparation and excavation timeline will take 1-2 weeks, followed by structural work and finishing phases. Fiberglass pools are fastest at 3-4 weeks, while concrete pools require 2-3 months due to curing time. Local permits, weather conditions, and soil composition can extend these timeframes, so plan accordingly with your contractor.
What Happens if Underground Rocks or Obstacles Are Discovered During Excavation?
When underground rocks or obstacles are unearthed during your pool excavation, you’ll need to adjust your construction approach immediately. Proper excavation techniques will require bringing in specialized equipment like hydraulic hammers or rock breakers to handle these challenges. You’ll face extended timelines and supplementary costs while dealing with unexpected obstacles. The construction team will need to carefully document and remove these impediments while maintaining safety protocols and structural integrity throughout the process.
Can Pools Be Installed During Rainy Seasons or Adverse Weather Conditions?
While it’s technically possible, you shouldn’t install pools during rainy seasons or adverse weather. Wet ground conditions greatly compromise excavation stability and extend construction timelines. You’ll face challenges with soil compaction, foundation settling, and proper concrete curing. Moreover, unfavorable temperature ranges can affect material performance and worker safety. For ideal results, you’ll want to schedule your pool installation during dry seasons with stable weather patterns.
How Does Soil Type Affect the Long-Term Stability of an Installed Pool?
Your pool’s long-term stability heavily depends on the soil type beneath it. Clay soils pose risks due to their dramatic changes in soil moisture content, causing expansion and contraction that can stress your pool’s structure. Sandy soils present excavation challenges and may require additional compaction to prevent settling. You’ll need proper drainage systems and soil preparation techniques specific to your soil type to guarantee your pool remains stable for years to come.
What Maintenance Requirements Should Be Expected in the First Year After Installation?
You’ll need to focus intensively on proper chemical maintenance during your pool’s initial year, testing water chemistry 2-3 times weekly. Watch for liner settling and maintain consistent water levels to prevent structural stress. Pay extra attention to seasonal considerations, especially during temperature changes that can affect water balance. You’ll also need to establish regular cleaning routines, monitor filter performance closely, and perform weekly shock treatments to establish stable water chemistry.