
Professional pool cleaning follows a systematic approach that’ll transform your dirty pool into a pristine swimming environment. You’ll need to start with surface debris removal using specialized equipment, followed by thorough skimming and deep scrubbing of walls and floors. The process continues with professional-grade vacuuming, chemical balancing, and equipment maintenance checks. Expert technicians utilize precise techniques and specific tools at each stage, ensuring ideal results. Learning these methods can help you maintain professional-level pool care standards.
Surface Debris Removal and Initial Assessment
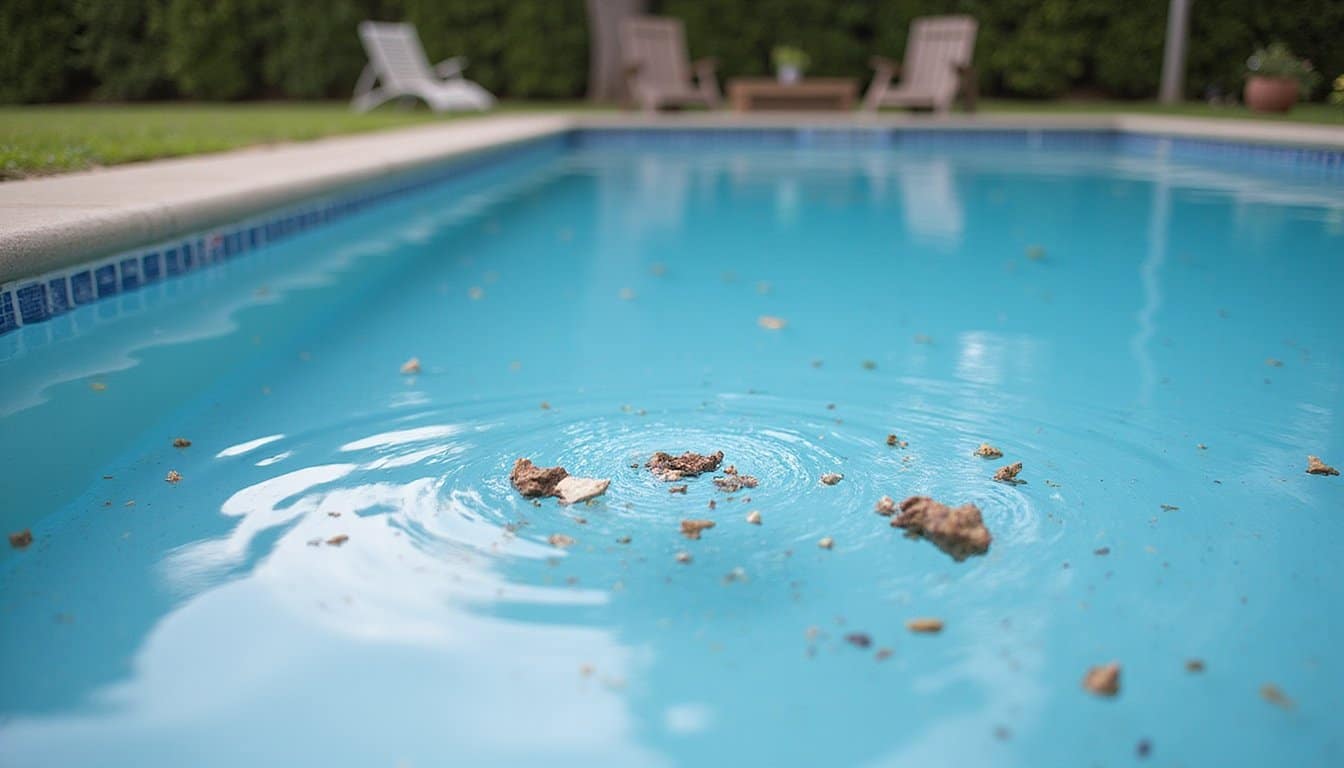
When maintaining a pristine pool, proper surface debris removal serves as your initial critical task in the cleaning process. Start with debris type categorization to select the most effective equipment, heavy-duty leaf rakes for larger organic matter, fine mesh nets for microscopic particles, and specialized vacuum systems for ultra-fine debris like pollen. Fine dirt particles can quickly accumulate and create a gritty texture on the pool floor if left untreated. Vacuum cleaning reduces chemical usage and prevents further contamination of the pool water.
Professional skimming strategies involve using wide, flat nets attached to telescoping poles, allowing you to reach across the entire surface without entering the water. You’ll want to employ consistent sweeping motions in the direction of the pool’s deep end, utilizing gravity for enhanced removal efficiency. Robotic skimmers can be deployed to maintain continuous debris collection while reducing manual labor. Regular skimming prevents debris from sinking and clogging filtration systems while reducing chlorine consumption. For ideal results, perform this maintenance routinely during spring and summer months when organic matter peaks.
Preparing Essential Pool Cleaning Equipment
Proper pool cleaning starts with assembling and organizing the right equipment arsenal. You’ll need a professional-grade telescopic pole with universal attachments that’ll accommodate diverse cleaning tools. For effective pool system troubleshooting, select vacuum heads appropriate for your pool’s surface, soft bristles for vinyl, wheeled designs for concrete. The vacuum hose length typically spans 30 feet to ensure complete pool coverage. Regular water quality testing is essential to monitor and maintain proper chemical balance before problems develop.
During seasonal maintenance preparations, guarantee your filtration system matches your pool’s requirements. You’ll want the right filter type (sand, DE, or cartridge) and suitable sizing for ideal water turnover. Equip yourself with both deep leaf nets and flat skimmers for thorough debris removal. Don’t forget water testing equipment; you’ll need accurate test kits to maintain chemical balance. Choose brushes based on your pool’s surface: stainless steel for concrete, nylon for vinyl liners.
Thorough Skimming and Surface Cleaning
Position your skimmer and collection bag at the pool’s edge, ensuring you’ve selected the appropriate mesh size for today’s debris conditions. You’ll want to hold the skimmer at a 45-degree angle to optimize surface contact while maintaining smooth figure-eight motions across the water. Being consistent with daily skimming is essential for pools that see regular use. Pay special attention to ladder areas where debris tends to collect and stagnate. Begin your systematic cleaning pattern from the upwind side of the pool, moving in overlapping paths similar to mowing a lawn for complete surface coverage. This process helps reduce filter load by capturing debris before it sinks and enters the main filtration system.
Initial Equipment Setup
Before beginning any pool cleaning task, you’ll need to assemble and position your essential equipment for maximum efficiency. Start with proper skimmer placement, guaranteeing your telescoping pole and skimmer net are within easy reach. Position a disposal bucket nearby to prevent debris contamination during the cleaning process. Skimming in circles helps ensure complete surface coverage of the pool. Using smart pool tools designed for durability will significantly improve your cleaning efficiency.
Conduct a thorough skimmer inspection by checking the basket’s condition and verifying proper water levels at the skimmer opening. You’ll want the water level positioned mid-range for ideal suction performance. If you’re using a Skim Doctor 2.0 enhancement device, adjust its side gates to regulate water flow velocity.
Confirm your skimmer system’s connection to the main pump and verify that the basket sits correctly in the skimmer port. This setup guarantees efficient debris collection and prevents unwanted materials from entering your filtration system.
Surface Debris Removal Process
While maintaining a steady figure-eight motion, sweep your skimmer net across the pool’s surface in overlapping paths to effectively collect floating debris. Work against prevailing currents to maximize collection efficiency, ensuring each pass slightly overlaps the previous one to prevent missed areas. Safe swimming conditions depend on thorough surface cleaning to remove harmful organic materials. Early morning skimming provides optimal results before debris has time to sink and decompose.
Focus your attention on debris distribution patterns, particularly around edges, corners, and ladder areas where materials naturally accumulate. A combination of flat and bag nets ensures proper collection of both light and heavy debris. You’ll need to intensify your efforts on the lee side of the pool where wind deposits gather. For post-storm cleaning strategies, deploy deep bag leaf rakes to handle heavier debris loads.
Empty your skimmer net after each cleaning pass and check skimmer baskets regularly to maintain ideal water flow. During windy conditions or after heavy pool use, you’ll need to increase your skimming frequency to multiple sessions daily.
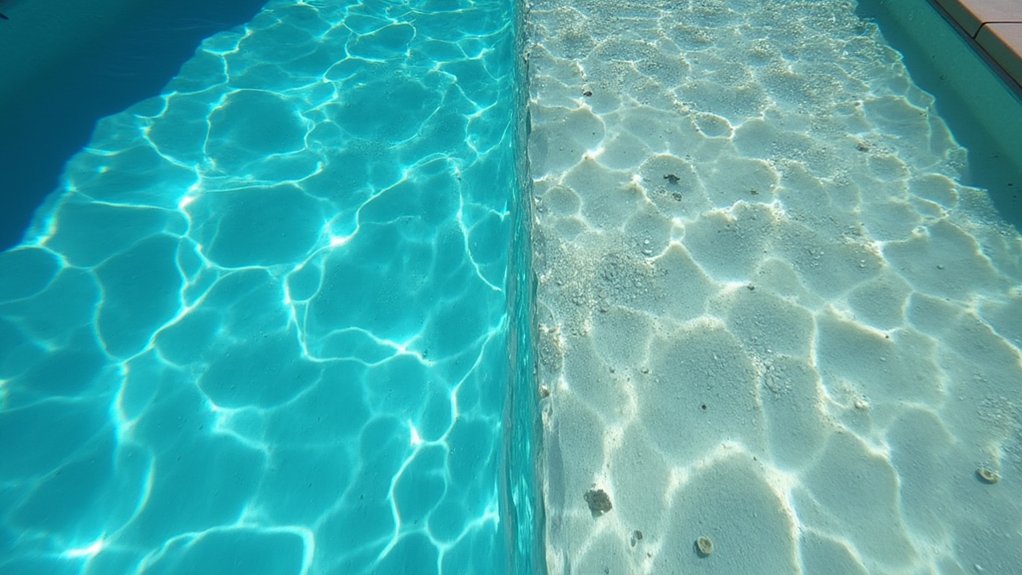
Deep Scrubbing of Walls and Floor
Deep scrubbing your pool’s walls and floor kicks off with selecting the right tools and implementing a systematic cleaning approach. You’ll need pool brushes matched to your surface material and possibly a pool-specific power washer for stubborn buildup.
Start your manual scrubbing techniques at elevated areas, working systematically downward to prevent debris redistribution. Hold your power washer at a 45-degree angle while maintaining constant movement to avoid surface damage. For improved results, incorporate chemical application strategies by applying chlorine granules or shock treatments to heavily contaminated areas before scrubbing. This combination accelerates the cleaning process and guarantees thorough contaminant removal. Using a brush with stainless steel bristles ensures the most effective cleaning of gunite surfaces.
Following a strategic cleaning pattern, scrub every square inch methodically, paying special attention to problem areas that automated systems can’t effectively reach.
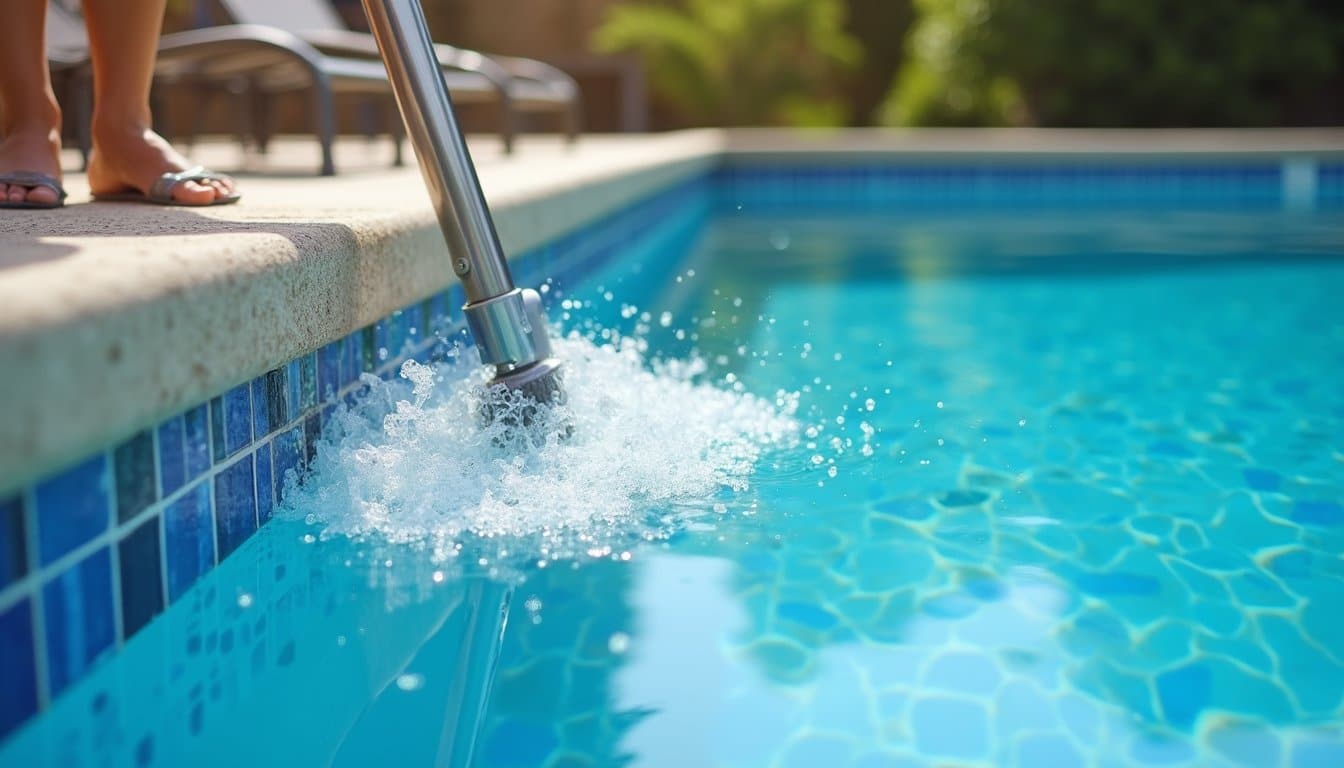
Professional Vacuuming Techniques
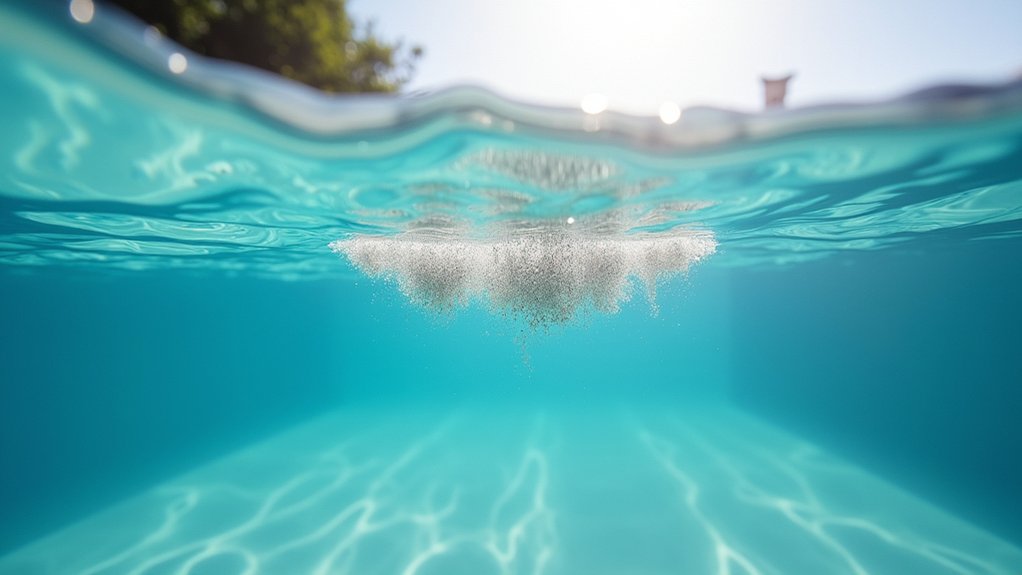
Understanding proper pool vacuuming techniques requires mastering both the equipment setup and systematic cleaning patterns. Start by optimizing your filtration system through proper hose handling techniques, prime your vacuum hose by submerging it vertically while feeding it hand-over-hand until water emerges. Connect directly to the skimmer with a vacuum plate for maximum suction efficiency.
| Phase | Action | Result |
|---|---|---|
| Setup | Prime hose | Eliminates air pockets |
| Connection | Attach to skimmer | Maximizes suction |
| Movement | Work clockwise | Covers the full area |
| Speed | Move slowly | Prevents debris clouds |
| Monitoring | Check filtration | Maintains efficiency |
Move methodically around the pool’s perimeter, pulling the vacuum in your direction while maintaining slow, deliberate movements. For heavily soiled areas, utilize the waste setting to bypass your main filtration system, preventing clogging while monitoring water levels carefully.
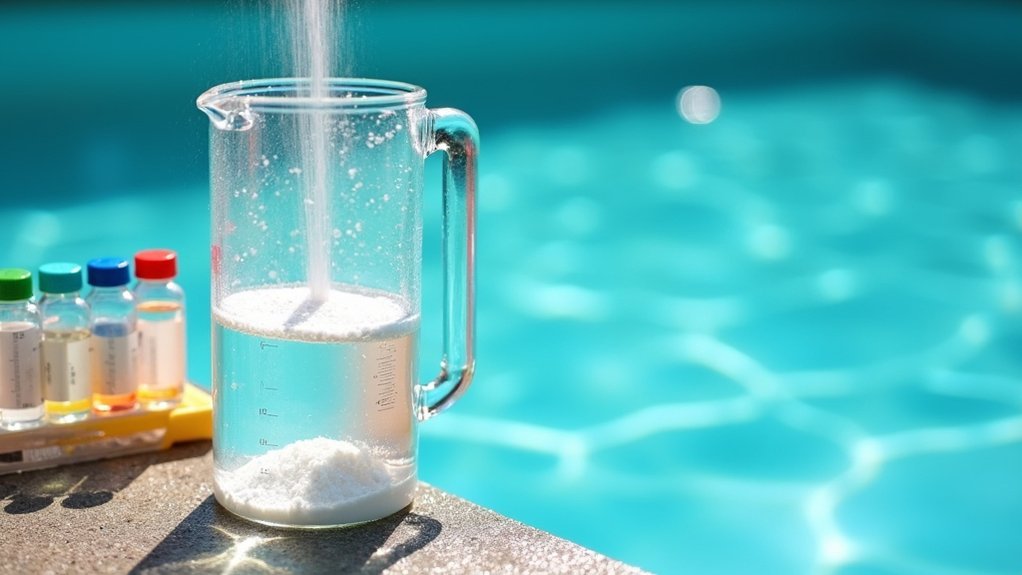
Chemical Testing and Water Analysis
Maintaining proper pool chemistry starts with accurate water testing using one of three primary methods: test strips, liquid test kits, or electronic digital testers. For advanced water analysis, you’ll need to collect water samples from at least 18 inches below the surface to guarantee accurate readings.
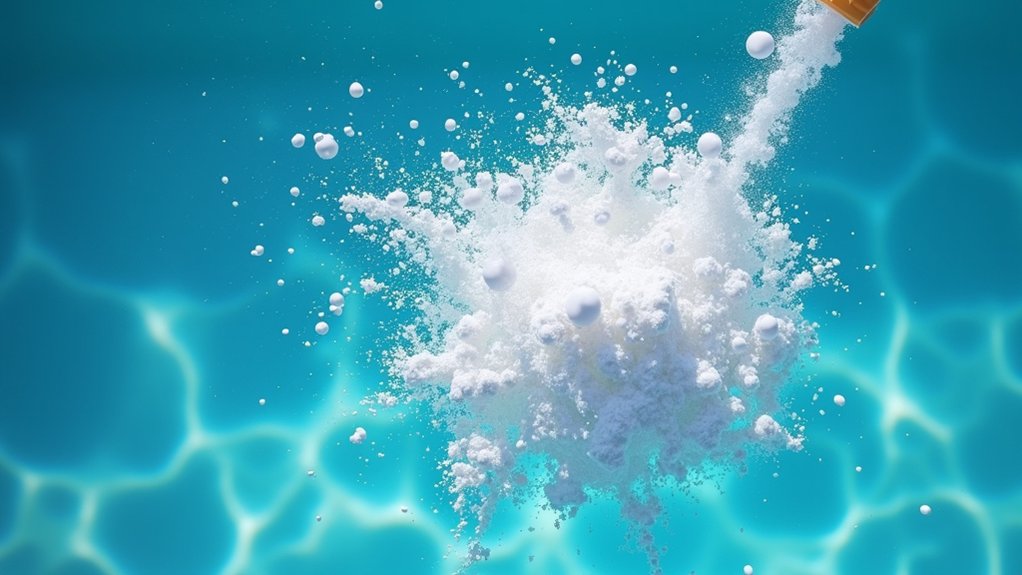
Professional chemical calibration procedures require careful attention to detail. When using test strips, hold them underwater for 2-3 seconds with the pad facing up, then wait 15 seconds without shaking off excess water. For liquid test kits, which provide higher accuracy, you’ll need to hold reagent bottles vertically and count drops uniformly. These kits can measure up to 10 different parameters, including free and total chlorine, pH, alkalinity, calcium hardness, and cyanuric acid. Place test containers against a white background for precise color matching.
Balancing Pool Chemistry and Treatment
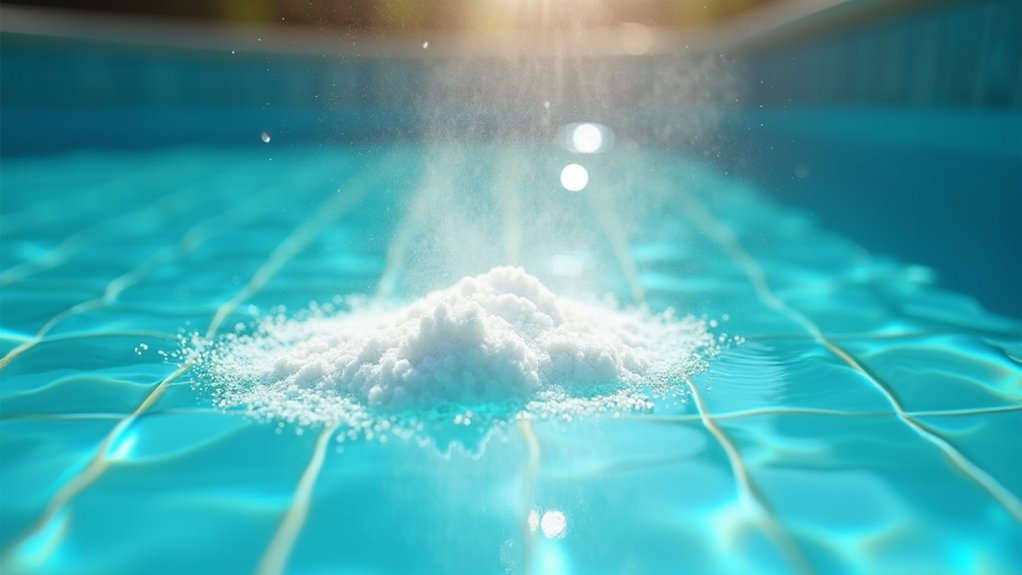
Proper pool chemistry relies on a systematic approach to chemical balancing and treatment procedures. You’ll need to maintain pH levels between 7.4 and 7.6 while keeping alkalinity within 80-150 ppm through suitable chemical dosing of sodium bicarbonate or acids as needed. Regular sanitizer management requires precise chlorine or bromine applications, with professional-grade shock treatments providing superior results.
Following preventative maintenance schedules, you’ll monitor calcium hardness using calcium chloride additions or dilution methods when necessary. For advanced treatment, manage cyanuric acid levels through fresh water dilution and apply targeted algaecide treatments alongside clarifiers for ideal results. Professional-grade chemicals, carefully timed applications, and strategic dosing assure precise water balance and superior pool maintenance outcomes, preventing common issues before they develop.
Equipment Inspection and Maintenance
To maintain ideal pool operation, you’ll need to check your filter system daily for proper pressure readings and visible signs of wear. Your pump’s performance requires regular assessment through monitoring flow rates, unusual noises, and efficiency in water circulation. Establish a weekly equipment cleaning schedule that includes backwashing filters, removing debris from strainer baskets, and inspecting all components for damage or deterioration.
Filter System Daily Checks
Regular filter system checks serve as your initial line of defense against potential equipment failures and suboptimal pool performance. Your daily filter performance monitoring should focus on pressure gauge assessment, water flow patterns, and visual inspections of the filtration components.
Here’s what you’ll need to check daily:
- Monitor the pressure gauge reading; if it’s 5-10 PSI above normal, you’ll need to schedule cleaning
- Verify proper water circulation through the return jets and skimmer
- Inspect the filter housing for any visible leaks or damage around seals
When performing these checks, you’ll want to maintain detailed records of pressure readings and circulation patterns. If you notice cloudy water or reduced flow, inspect your filter media immediately and clean or replace components according to manufacturer specifications. Don’t forget to verify proper multiport valve settings during your inspection routine.
Pump Performance Assessment
Understanding your pool pump’s performance requires systematic evaluation across multiple parameters to confirm ideal operation and efficiency. You’ll need to follow specific flow rate measurement protocols, recording both suction and discharge pressures at designated testing points measured in feet of water.
To properly assess your pump’s performance, you’ll want to conduct power consumption analysis at each flow rate increment. These vary based on your pump’s maximum capacity: 2.5 GPM for pumps up to 25 GPM, 5 GPM for 25-50 GPM, and higher increments for larger capacities. Track your pump’s true average power over five-minute intervals and plot the total dynamic head against flow rate to verify proper sizing. For accurate results, ascertain your measurements align with HI 40.6-2014 standards for rotodynamic pump efficiency testing.
Equipment Cleaning Schedule
Five critical equipment maintenance tasks form the foundation of an effective pool cleaning schedule. You’ll need to integrate these tasks from seasonal pool opening through the winterization process, guaranteeing ideal performance year-round. Regular inspections and cleaning of skimmer baskets, pump components, and filtration systems prevent costly repairs and maintain water quality.
- Clean your skimmer and pump baskets weekly, checking for cracks that could compromise system efficiency
- Backwash sand filters monthly during swim season, with complete media replacement every 3-5 years
- Schedule automated cleaner maintenance based on type: pressure cleaners need daily monitoring, while robotic units require tri-weekly operation
Remember to inspect electrical systems, tighten hardware connections, and lubricate O-rings according to manufacturer specifications. This systematic approach to equipment maintenance optimizes your pool’s operational lifespan and ensures consistent performance.
Final Surface Polishing and Detailing
Once your pool’s surface material has fully cured, the final polishing and detailing phase begins with specialized equipment designed for ideal results. You’ll notice professionals using 7-inch non-corrosive diamond discs operating at maximum 3500 RPM for surface smoothing techniques. These discs, featuring premium diamonds bonded with specialized matrix material, deliver superior final appearance improvement.
During the process, technicians will water blast your pool’s surface to achieve a pristine foundation, followed by targeted acid washing to eliminate any remaining algae or discoloration. They’ll work systematically in 5×5 foot sections, maintaining wet conditions to prevent equipment overheating. The AG7529 pad system secures proper disc attachment while the tool’s weight provides excellent pressure for consistent results. This methodical approach assures a smooth, uniform finish that’s ready for long-term enjoyment.
Safety Checks and Service Documentation
Before beginning your pool cleaning routine, you’ll need to inspect all safety equipment including rescue tools, barrier locks, and warning signs to guarantee they’re fully functional and properly positioned. You should photograph and document the condition of pool equipment, chemical levels, and any maintenance performed during your service visit. Maintain detailed service reports that include dates, actions taken, and any safety concerns identified, as this documentation protects both you and your pool investment while verifying compliance with local regulations.
Pre-Service Equipment Check
Maintaining a safe and efficient pool cleaning operation requires a detailed pre-service equipment check. Before beginning any pool maintenance, you’ll need to conduct a comprehensive equipment inspection to guarantee optimal water levels and proper functionality of all cleaning tools.
- Verify your telescopic pole’s locking mechanisms are secure, and inspect all attachments including skimming nets, vacuum heads, and brushes for any signs of wear or damage
- Check your safety gear, including non-slip footwear, protective gloves, and eyewear, confirming they’re in serviceable condition for chemical handling
- Test and calibrate your water testing equipment, verifying that test strips are fresh and chemical dosing tools are properly cleaned
This methodical approach to equipment verification helps prevent service interruptions and ensures you’re prepared to address any pool cleaning challenges efficiently and safely.
Service Report Documentation
Proper documentation of pool service activities forms the cornerstone of professional pool maintenance and regulatory compliance. You’ll need to maintain detailed records of water quality tests, including hourly pH and chlorine measurements for spas and bi-hourly readings for main pools. Document all chemical treatments, ensuring precise logging of additives and shocking procedures according to manufacturer specifications.
Safety equipment inspections require systematic documentation, including verification of drain covers, warning signs, and emergency equipment placement. You must keep detailed maintenance logs of filtration system cleaning, pump operations, and equipment repairs. Regulatory compliance records should demonstrate your professional certification requirements and maintain service history for a minimum of two years on-site. All documentation must align with local health department codes and safety standards.
Frequently Asked Questions
How Long Does It Take for Pool Water to Clear After Cleaning?
The time required for water clarity typically ranges from 24-48 hours for basic cleaning to 4-7 days for more severe cases. You’ll see faster results if your pool filter’s in good condition and runs continuously. A well-maintained system can clear minor cloudiness within 24 hours, while chemical treatments like shock may require longer wait times. Your filter’s efficiency directly impacts clearing speed, so guarantee it’s clean and functioning ideally.
What Happens if It Rains Right After Professional Pool Cleaning?
Rain after professional cleaning can greatly impact your pool water quality through multiple mechanisms. You’ll experience diluted chemical levels, disrupted pH balance, and potential contamination from airborne pollutants and organic debris. Your pool’s carefully balanced chemistry will need immediate retesting and adjustment. You’ll need to check chlorine levels, restore alkalinity, and remove any debris to maintain proper sanitization and prevent algae growth.
Can I Swim Immediately After the Pool Service Is Completed?
No, you can’t swim immediately after pool maintenance procedures. You’ll need to wait based on the specific pool cleaning techniques used. Standard chemical supplements require 30-60 minutes, while shock treatments demand 24-48 hours. For your safety, you must allow proper chemical dispersion and stabilization. Follow your technician’s specific wait time instructions, and always test water chemistry levels before entering. Swimming too early can cause skin irritation and reduce treatment effectiveness.
How Often Should I Replace My Pool Filter Cartridges?
You’ll need to replace your pool filter cartridges every 12-24 months, though cartridge replacement frequency varies based on your specific pool conditions. To optimize filter cartridge longevity, monitor your pressure gauge and replace when it reads 8-10 PSI above normal, even after cleaning. Watch for signs like longer filtration times, cloudy water despite proper chemistry, or visible damage to the material. Regular maintenance and proper chemical balance will help extend your cartridge’s lifespan.
Why Does My Pool Still Get Algae Even With Regular Cleaning?
Even with regular cleaning, your pool can develop algae due to several interconnected factors. You’ll need proper chemical balancing, not just cleaning, to prevent algae growth. Common issues include incorrect pH levels reducing chlorine effectiveness, inadequate filtration from clogged systems, and insufficient sanitizer levels. Successful pool maintenance requires monitoring both chemical levels and mechanical systems daily, plus ensuring your filter runs long enough to complete proper water turnover cycles.