
To use pool flocculant safely, you’ll first need to balance your pH between 7.2 and 7.6, then turn off your chlorine generator completely. Fill your pool to its highest level and dilute the flocculant according to package directions. Run your pump for two hours to distribute it evenly, then shut everything off for 8, 12 hours while particles settle. The steps that follow, vacuuming to waste and rebalancing chemistry, are critical for completing the process correctly.
How Pool Flocculant Clears Cloudy Water Fast
When your pool water turns cloudy and standard filtration can’t keep up, flocculant offers a fast solution by forcing suspended particles to clump together and sink. Understanding how to use flocculant in pool maintenance starts with its chemistry, positively charged ions attract negatively charged debris, binding microscopic contaminants into heavy clumps.
During floc application, these clumps settle directly to your pool floor rather than passing through filters. Using pool flocculant works faster than clarifiers because it bypasses filtration entirely, creating visible “flocs” you’ll vacuum to waste. This sedimentation process requires you to vacuum the settled debris directly out of the pool rather than recirculating it through your filtration system.
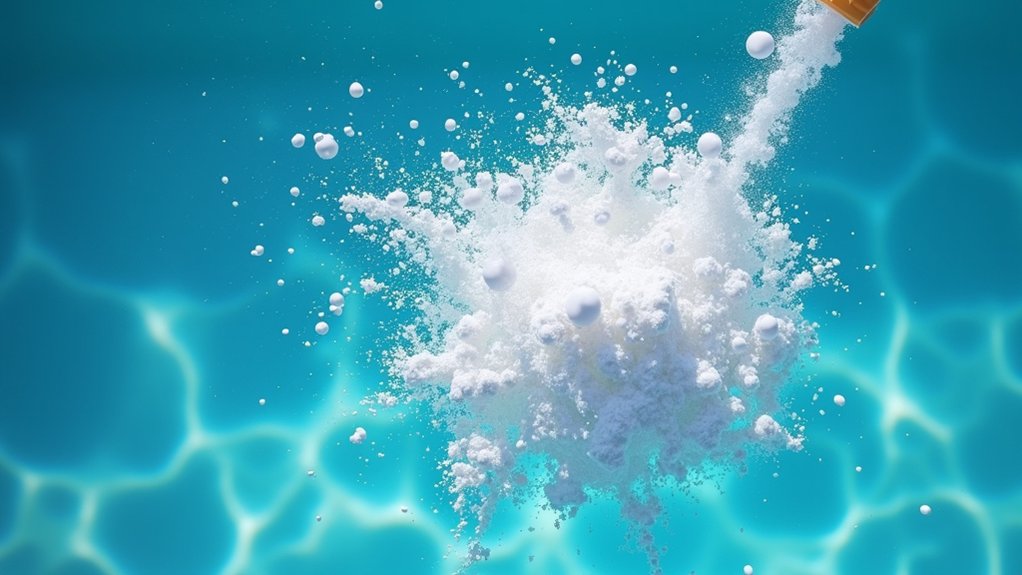
You’ll typically need flocculant after heavy rain, post-algae treatment, or pool parties that introduce oils and dirt. Most flocculants are made from aluminum sulfate or specialty polymers that effectively bind these contaminants together. For proper pool chemical safety, always follow dosage instructions based on your pool’s volume to prevent equipment damage. For best results, pour the product in and let it sit overnight before carefully vacuuming the settled debris.
Make Sure Flocculant Is Right for Your Pool Setup
Before adding flocculant to your pool, you’ll need to verify your filtration system can handle the treatment process. Flocculant works exclusively with sand filters or DE filters, never use it with cartridge filters. Sand filters trap large floc clumps effectively, while DE filters provide fine filtration capabilities suitable for settled particles. Cartridge filters can’t capture the aggregated debris, risking system damage and clogged components.
Next, select the appropriate flocculant form for your conditions. Liquid formulations work well in choppy water, while tablets and powders suit still conditions. Follow dosage guidelines precisely: typically 8 ounces per 10,000 gallons for liquid products or one pound of granular floc per 5,000 gallons. Match your selection to your pool’s turbidity levels and water volume. Over-flocculation causes cloudier water and filter clogs. Conducting jar testing beforehand helps determine the best-performing flocculant and optimal dosage for your specific water conditions. Before applying flocculant, ensure your pool’s pH is balanced between 7.2 and 7.6 for optimal chemical performance. Understanding that flocculants work by bridging and aggregating suspended particles into larger clumps helps explain why proper dosing matters so much for effective results.
Prep Your Pool Before Adding Flocculant
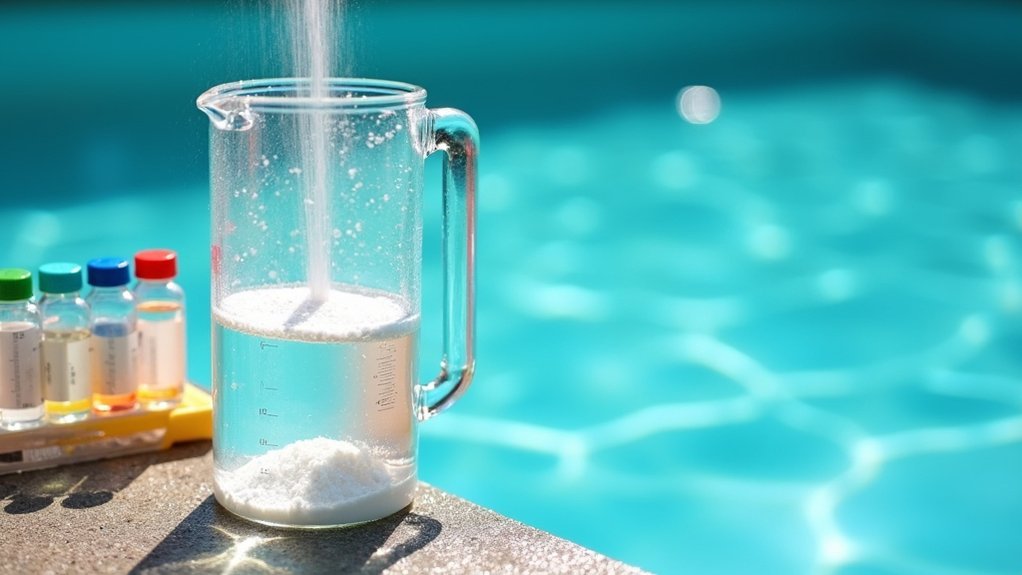
Before adding flocculant, you’ll need to prepare your pool to guarantee the treatment works effectively and doesn’t damage your equipment. Start by balancing your pH levels between 7.2 and 7.6, then turn off your chlorine generator to prevent chemical interference during the flocculation process. Fill your pool completely by placing a running hose in the skimmer box, as adequate water volume ascertains proper dilution and prevents equipment damage during circulation. Since flocculant works by neutralizing electrical charges on microscopic particles, causing them to clump together and settle, proper preparation ensures this chemical process can occur efficiently. Once the water reaches the highest level, dilute the flocculant according to the manufacturer’s directions on the bottle before adding it to your pool. After adding the flocculant, set your filter to “Recirculate” and run the pump for 2 hours to distribute the chemical evenly throughout your pool water.
Balance pH Levels First
Testing your pool’s pH level before adding flocculant isn’t optional, it’s essential for effective particle removal. You’ll want your pH between 7.2 and 7.6 for ideal flocculant performance. Acidic water weakens the flocculant’s ability to bind particles, while alkaline conditions can cause certain flocculants to break down entirely.
Before adding any chemicals, test your water using a reliable kit. If your pH reads too high, lower it with hydrochloric or sulfuric acid. If it’s too low, raise it using sodium bicarbonate or sodium carbonate. Always dissolve pH adjusters in a bucket of pool water first, never add them directly to prevent surface damage.
After making adjustments, run your filtration system and retest after six hours. Don’t proceed with flocculant until you’ve confirmed proper pH balance. Proper pH ensures the flocculant maintains the correct charge needed to make small particles clump together into larger masses that settle to the bottom. Once you add the flocculant, allow the water to sit for at least eight hours overnight before vacuuming the settled debris from the pool floor.
Turn Off Chlorine Generator
Why should you disable your chlorine generator before adding flocculant? Active chlorine production can interfere with flocculant chemistry and reduce treatment effectiveness. You’ll want to shut down the generator completely before beginning the flocculation process.
| Action | Purpose |
|---|---|
| Switch generator to “Off” mode | Stops active chlorine production |
| Verify display shows zero output | Confirms complete shutdown |
| Note current settings | Enables proper restart later |
| Check manufacturer guidelines | Guarantees equipment-specific compliance |
Follow your equipment’s specific shutdown procedure to avoid damage. Don’t simply reduce output, turn the system completely off. This protects both your equipment and guarantees the flocculant works as intended.
After flocculation and cleanup are complete, you can safely restart your chlorine generator according to manufacturer instructions. Once restarted, run the salt chlorinator at its highest level for 24 hours to re-establish proper chlorine levels in your pool. Keep in mind that you should wait at least 12 hours after restarting the system before expecting an accurate salt reading on your display. If you encounter any issues accessing online resources for troubleshooting, certain actions like entering malformed data can trigger security blocks on pool supply websites.
Fill Pool Completely
Filling your pool to its maximum safe level serves as a critical preparatory step before flocculant application. You’ll lose significant water volume during the vacuuming phase, and starting with adequate levels prevents your pump from running dry or pulling air through the skimmer.
Ensure water covers at least several inches above your skimmer opening and return jets. This buffer protects your filtration equipment from damage caused by low water conditions. Sand and DE filters work best with flocculant treatments, so verify your setup’s compatibility.
Before filling, test and balance your pH to 7.0-7.6 for ideal flocculant performance. Wait at least 24 hours after shocking. Choose a calm evening for application, wind disrupts settling, and overnight hours provide perfect conditions for particles to sink to the pool floor. Larger pools require additional time beyond the standard 8-12 hours to allow the flocculant to circulate and particles to settle completely.
Mix and Apply Pool Flocculant the Right Way
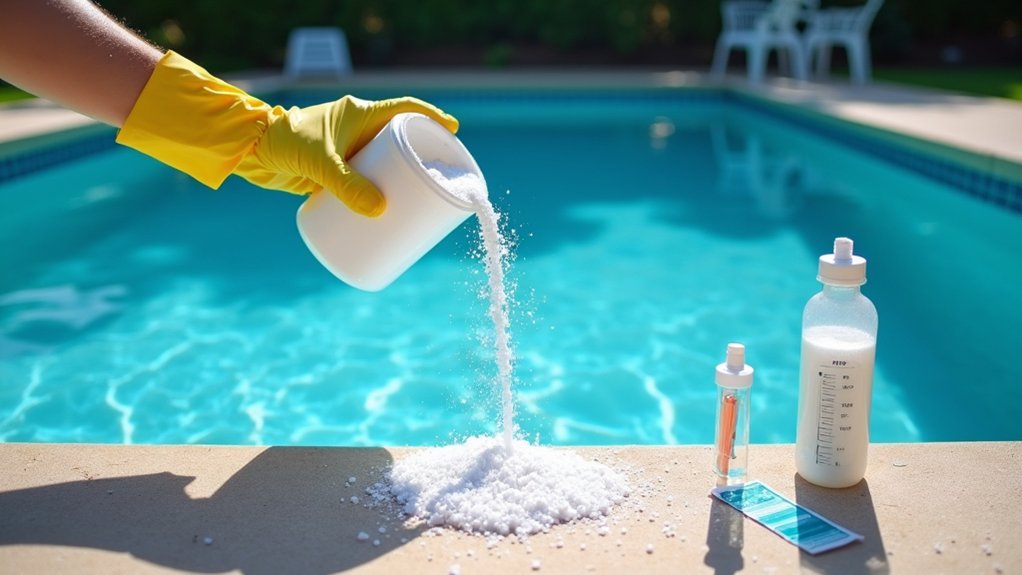
Before you add flocculant to your pool, you’ll need to complete several preparation steps to guarantee the chemical works effectively. Balance your pH between 7.2 and 7.6, and adjust alkalinity, calcium hardness, and chlorine levels. Skim, vacuum, and brush the pool to remove large debris.
| Pool Volume | Mild Cloudiness | Heavy Contamination |
|---|---|---|
| 10,000 gal | 1 lb | 2-4 lbs |
| 20,000 gal | 2 lbs | 4-8 lbs |
| 30,000 gal | 3 lbs | 6-12 lbs |
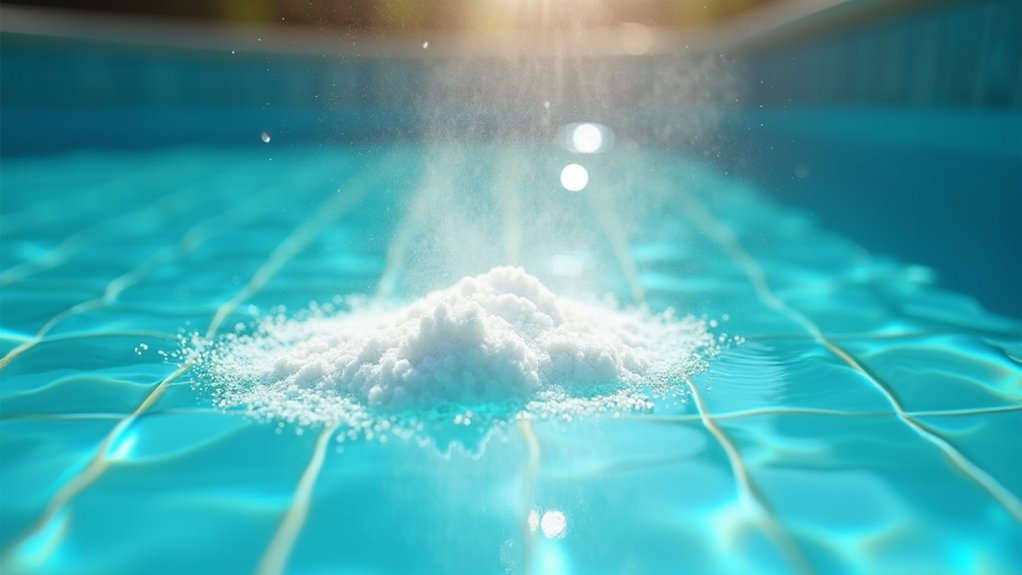
Dilute the flocculant in a 5-gallon bucket following manufacturer directions. Never pour undiluted product directly into your pool. Broadcast the mixture evenly around the pool’s edges in a thin stream, don’t pour into the skimmer, as this causes clogs and equipment damage.
Let the Floc Settle for 8, 12 Hours Undisturbed
Once you’ve broadcast the diluted flocculant evenly around your pool’s perimeter, you’ll need to run the pump for about two hours to distribute the chemical throughout the water, then shut it off completely.
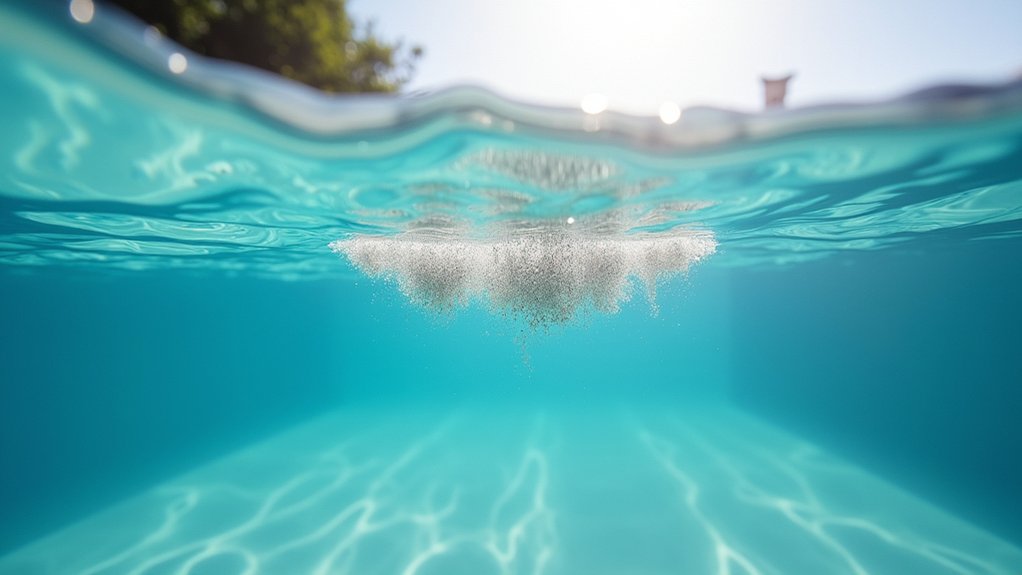
After circulation, the settlement phase requires absolute stillness for 8, 12 hours. Heavily clouded pools may need up to 24 hours. You’ll notice initial clumping within 1, 2 hours, but full particle collection takes longer.
Follow these critical steps during settlement:
- Disable pump timers to prevent automatic activation
- Prohibit all swimming and pool use
- Shield water from wind or rain interference when possible
- Allow disturbed particles an additional 4, 8 hours to resettle
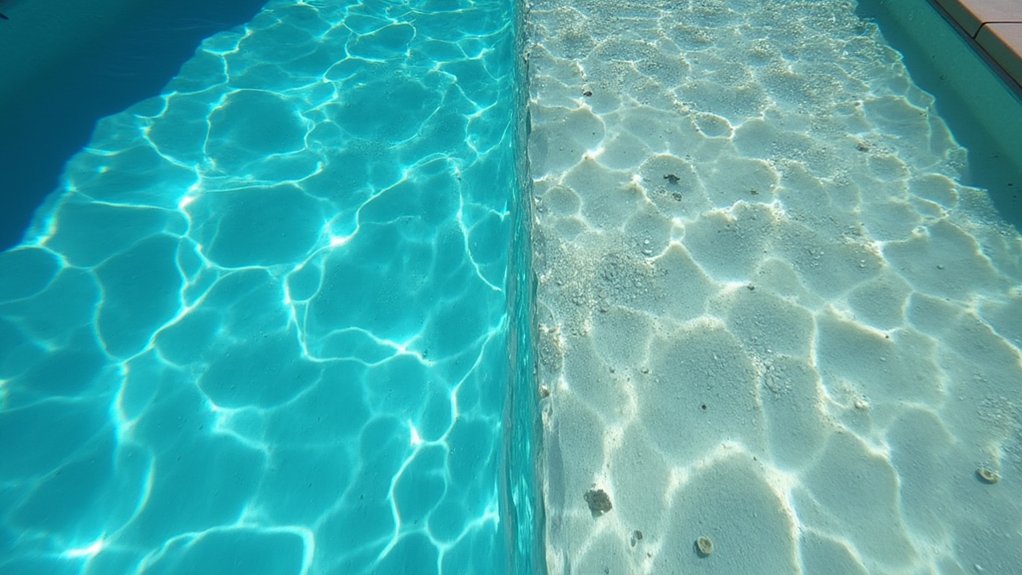
Don’t vacuum until debris forms a visible bottom layer. Premature filtration will clog your system and waste the treatment.
Vacuum Settled Debris to Waste Slowly
Once the flocculant has drawn particles to the pool floor, you’ll need to remove them without sending debris back through your filter system. Set your multiport valve to the “waste” position, which bypasses the filter entirely and sends vacuumed water directly out of the pool. Move your vacuum head slowly and methodically across the bottom, working in overlapping sections to capture the settled clumps without breaking them apart.
Set Filter to Waste
After the flocculant has done its job and debris sits fully settled on the pool floor, you’ll need to switch your multiport valve to the waste position, but don’t touch that dial while the pump’s running.
Turn off the pump completely before making any valve adjustments. This prevents equipment damage and guarantees proper water flow direction.
Critical setup steps:
- Shut down the pump and turn off the heater before rotating the valve.
- Attach the backwash hose securely to the waste port.
- Direct the hose to a discharge area capable of handling large water volume.
- Insert winter plugs into return jets to prevent debris recirculation.
Confirm water flows correctly from the hose endpoint before beginning vacuum operations. Open any drain port valves if your system includes them.
Vacuum Slowly, Methodically
With your filter set to waste and the backwash hose directing water away from the pool, you’re ready to begin the most patience-demanding phase of the flocculant process.
Move your vacuum head at a deliberate, slow pace across the pool floor. Quick movements break apart flocculated clumps and resuspend particles into the water column, undoing hours of settling work. Start at the shallow end and progress systematically toward the deep end, overlapping each stroke slightly to avoid missing debris patches.
Hold the vacuum head close to the floor without scraping surfaces. Use a manual vacuum rather than an automatic model, you’ll need precise control. If you notice cloudiness developing, pause briefly to let disturbances resettle. Complete multiple passes if necessary to capture all settled material effectively.
Backwash Filters and Rebalance Pool Chemistry
Before you touch the multiport valve handle, turn off the pool pump completely, adjusting valve positions while the system runs will damage the rubber diverter gasket inside the valve. Attach your backwash hose to the waste port before proceeding.
Follow this sequence for proper backwashing:
- Set the valve to “Backwash” and run for 2-5 minutes until the sight glass shows clear water
- Switch to “Rinse” position and run for 1 minute
- Return the valve to “Filter” position, ensuring it locks securely
- Turn the pump on and verify normal pressure readings
After backwashing, rebalance your pool chemistry. The flocculant process disrupts water balance, so test pH, alkalinity, and sanitizer levels immediately. Adjust as needed to restore proper circulation and filtration effectiveness.
What to Do If Your Pool Is Still Cloudy
Sometimes your pool remains cloudy even after completing the flocculant treatment and backwashing process correctly. You’ll need to identify the underlying cause before proceeding with additional treatment.
| Symptom | Likely Cause |
|---|---|
| Whitish cloudiness, no odor | Limescale precipitation from high pH |
| Greenish tint, slime present | Microorganism overgrowth |
| Haze returns after vacuuming | Incomplete flocculant removal |
If you’re dealing with limescale, lower your pH to 7.0-7.4 using pH-Minus and run your filter continuously for 24-72 hours. For microorganism issues, verify your chlorine-to-CYA ratio and guarantee CYA stays within 30-50 ppm. When residual flocculant particles persist, vacuum again using the waste setting and consider replacing older filter media that can’t capture fine debris effectively.
Frequently Asked Questions
Can I Use Pool Flocculant if I Have a Cartridge Filter System?
You shouldn’t use standard pool flocculant with a cartridge filter system. The clumped particles will severely clog your cartridge’s pores, damage the polyester fabric, and shorten its lifespan. If you must flocculate, remove your cartridge elements first, let the floc settle overnight, then vacuum directly to waste, bypassing the filter entirely. Reinstall your cartridges only after completing this process. Alternatively, you can use chitosan-based clarifiers, which are cartridge-compatible.
How Long After Flocculant Treatment Is It Safe to Swim Again?
You can swim again once you’ve completed the full flocculant treatment process, typically 24 to 48 hours after application. First, let the floc settle undisturbed for 8 to 24 hours. Then vacuum all debris to waste, don’t skip this step. Finally, rebalance your pH, alkalinity, and chlorine levels. Test your water before re-entry to confirm chemicals are within safe ranges and visibility is fully restored.
Will Flocculant Damage My Salt Chlorine Generator if Left Running?
Yes, flocculant can damage your salt chlorine generator if you leave it running during treatment. The clumped particles created by flocculant can clog your generator’s sensitive components. You must turn off your chlorinator before adding flocculant and keep it off during the 8-12 hour settling period. Don’t restart it until you’ve vacuumed all particles to waste and rebalanced your water chemistry to prevent corrosion of metal components.
Can I Use Flocculant as Part of Regular Weekly Pool Maintenance?
No, you shouldn’t use flocculant as part of regular weekly maintenance. It’s designed specifically for severe cloudy water problems, not routine care. The application process requires 8+ hours of pump downtime and disrupts your standard circulation schedule. Frequent use risks filter clogging, water loss, and chemical imbalances. Instead, stick to weekly clarifiers, skimming, brushing, and proper filtration. Reserve flocculant only for problem resolution when other methods haven’t corrected persistent cloudiness.
What Happens if I Accidentally Pour Undiluted Flocculant Into the Skimmer?
Pouring undiluted flocculant directly into your skimmer causes immediate problems. You’ll clog your skimmer basket and pump internals with dense floc buildup, while the concentrated polymers form oversized clumps that worsen cloudiness instead of clearing it. Your filter media can suffer irreparable blockages, and cartridge filters become unusable. To remediate, you’ll need to dilute flocculant in water first, broadcast it around pool edges, and vacuum settled debris to waste.