

To install an above-ground fiberglass pool, start by evaluating ground stability and selecting a sunny, debris-free site away from utilities and septic systems. Level the area using a laser level and excavate 6-12 inches, compacting soil for stability. Gather tools like a tape measure and spirit level. Construct a solid base with 4-6 inches of compacted gravel, ensuring precise leveling. Position the pool shell carefully and connect the plumbing system, checking for leaks. Gradually fill the pool, monitoring water levels to prevent stress. Enhance safety with non-slip surfaces and appropriate fencing. Follow these steps to achieve a seamless installation and learn more about perfecting your pool setup.
Choosing the Right Location
When selecting the ideal location for your above-ground fiberglass pool, consider both practical and aesthetic factors to secure the best placement.
Begin with site selection by evaluating ground stability and drainage. Ascertain the area is level, away from septic systems, and free from underground utilities.
Consider environmental considerations such as sunlight exposure; a location with ample sunlight will naturally warm the pool. Additionally, assess wind patterns, as excessive wind can increase evaporation.
Nearby trees should be avoided to minimize debris and root interference. Analyze local zoning regulations and property boundaries to confirm compliance.
Don’t forget accessibility for maintenance and proximity to other amenities like patios or decks. A thorough evaluation guarantees your pool’s longevity and enhances your outdoor space.
Gathering Necessary Tools
Assembling the right tools is essential for a smooth installation of your above-ground fiberglass pool. Start by identifying the tool types you’ll need. Essential equipment includes a tape measure, spirit level, and a shovel. Equipping yourself with these tools will guarantee accuracy and efficiency throughout the process.
Here’s a quick reference for your toolbox:
| Tool Type | Purpose |
|---|---|
| Tape Measure | Measuring pool dimensions |
| Spirit Level | Ensuring evenness and alignment |
| Shovel | Excavating and leveling the site |
Having these tools on hand prepares you for the precision required during installation. Using the correct tool types can prevent common errors and streamline your workflow, leading to a successful and timely project completion. Verify everything is in good condition before starting.
Preparing the Ground
To begin preparing the ground for your above-ground fiberglass pool, first conduct a ground level assessment using a laser level or string line to identify any uneven areas.
Next, execute soil preparation steps by removing debris, rocks, and vegetation, ensuring a stable base.
Finally, compact the soil thoroughly to provide a firm foundation, minimizing future settling issues.
Ground Level Assessment
Evaluating the ground level is an essential first step in preparing for your above-ground fiberglass pool installation.
Begin by conducting a thorough site drainage analysis. Confirm the area allows water to move away from the pool efficiently, preventing potential pooling or erosion issues.
Utilize a laser level or a transit level to measure the ground’s uniformity. Any discrepancies in level can cause structural stress on the pool.
Next, assess soil stability by performing a compaction test. This will determine if the soil can support the pool’s weight without excessive shifting or settling.
If the soil exhibits signs of instability, consult a geotechnical expert for advice.
Soil Preparation Steps
Preparing the ground for an above-ground fiberglass pool requires careful attention to detail to guarantee long-term stability and safety.
Begin with soil testing to assess the composition and load-bearing capacity. You’ll need to verify the soil can support the pool’s weight and identify any potential issues like expansive clay or excessive moisture content.
Once testing’s complete, excavate the site to the required depth, removing any roots or debris that might compromise the pool’s foundation.
Implement effective drainage solutions to prevent water accumulation around the pool area, verifying proper slope and channeling away from the site.
Compact the soil thoroughly using a mechanical compactor to create a solid, stable base.
These steps verify your pool installation proceeds smoothly and remains secure.
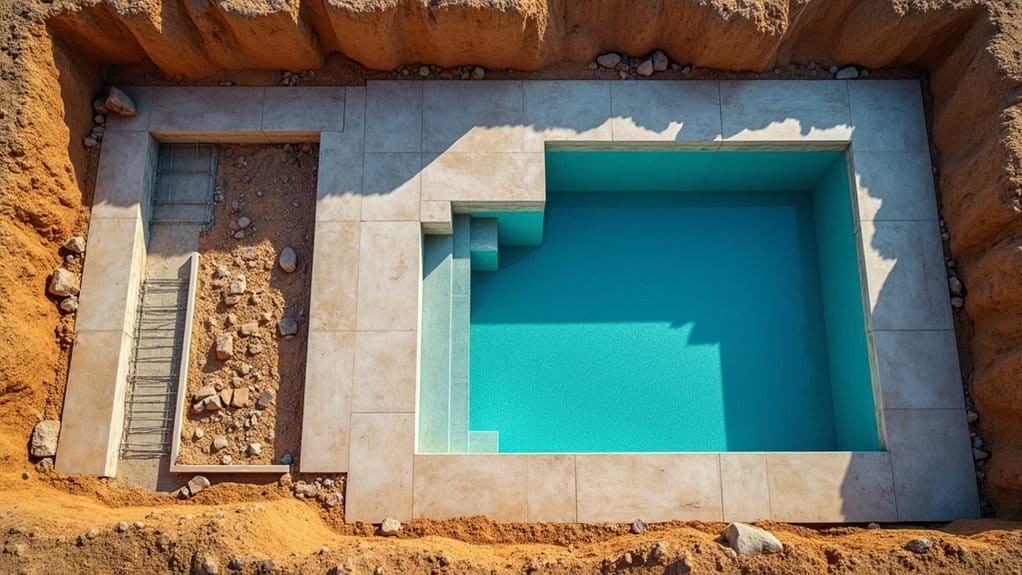
Building the Base
Before you begin building the base for your above-ground fiberglass pool, confirm you have selected a level site free from debris and obstructions.
Begin by laying a foundation of compacted gravel, which serves as one of the essential base materials, guaranteeing stability and preventing settling. Spread a 4 to 6-inch layer evenly across the designated area, using a compactor to achieve maximum firmness.
Next, incorporate drainage solutions by installing a perimeter trench filled with pea gravel or drainage tiles to direct water away from the pool, avoiding water accumulation.
Ascertain the entire surface is smooth and level, using a laser level or string line for precision. This foundation will support the pool’s structure, enhancing durability and longevity.
Positioning the Pool Shell
To position the pool shell accurately, confirm the ground is carefully leveled to prevent structural stress and water imbalance.
Prioritize a location with ideal sunlight exposure to enhance water temperature and energy efficiency.
Use a laser level to verify precision and adjust accordingly for a perfect installation site.
Level Ground Preparation
Properly leveling the ground is vital before positioning the fiberglass pool shell, ensuring a stable and long-lasting installation.
Start by evaluating the soil types present in your yard. Sandy or clay-heavy soils may require different approaches, so understanding your specific ground conditions is essential.
Utilize a transit level to achieve precise measurements. Clear the designated area of debris and vegetation, then excavate to create a uniform surface.
Implement effective drainage solutions like French drains or gravel beds to prevent water accumulation which can destabilize the base over time.
Compact the soil carefully using a plate compactor to achieve a firm foundation. Verify the level with a spirit level, making necessary adjustments.
Your groundwork sets the stage for successful pool installation.
Optimal Sunlight Placement
With the ground perfectly leveled, it’s now essential to contemplate the pool’s positioning for ideal sunlight exposure.
Start by evaluating the sunlight angles throughout the day. A south-facing alignment generally maximizes sun exposure, allowing the pool to capture warmth efficiently. Utilize a compass to ascertain true south and adjust for best alignment.
Consider shade considerations from nearby trees, buildings, or structures that could obstruct sunlight. These elements can cause unwanted cooling and increased maintenance from falling debris.
It’s vital to balance sunlight exposure with some natural shade for comfort. Use a sun path chart to predict seasonal changes in sunlight angles, ensuring consistent exposure year-round.
This strategic placement enhances energy efficiency and user comfort, enhancing the pool’s overall utility and enjoyment.
Installing Pool Plumbing
Before commencing the installation of pool plumbing, verify you have a thorough understanding of the system’s layout and the specific requirements for your fiberglass pool model.
Gather essential pool plumbing materials, including PVC pipes, fittings, valves, and sealants.
Begin with the main drain and skimmer connections, ensuring watertight seals and secure fittings. Utilize plumbing installation tips like applying primer and cement to PVC joints, allowing adequate drying time to prevent leaks.
Proceed to connect the return lines, directing water from the filtration system back into the pool.
Install the pump and filter system at a level, stable location to optimize performance.
Test the system for leaks by running water through the plumbing before moving on to further installation steps.
Backfilling and Leveling
Once the plumbing system is secured and tested, you can begin the critical process of backfilling and leveling around your above-ground fiberglass pool.
Start with appropriate backfill techniques by using clean, compactable material such as sand or gravel. Apply the backfill material in layers, typically 6-12 inches at a time, and thoroughly compact each layer with a compactor. This guarantees stability and prevents future settling.
For leveling, utilize leveling tools like a laser level or transit level to achieve precise alignment. Consistently check the pool’s elevation against reference points to maintain uniformity.
Proper leveling is essential to avoid structural stress and guarantee an even waterline. Your careful attention to these steps guarantees your pool remains stable and aesthetically pleasing for years.
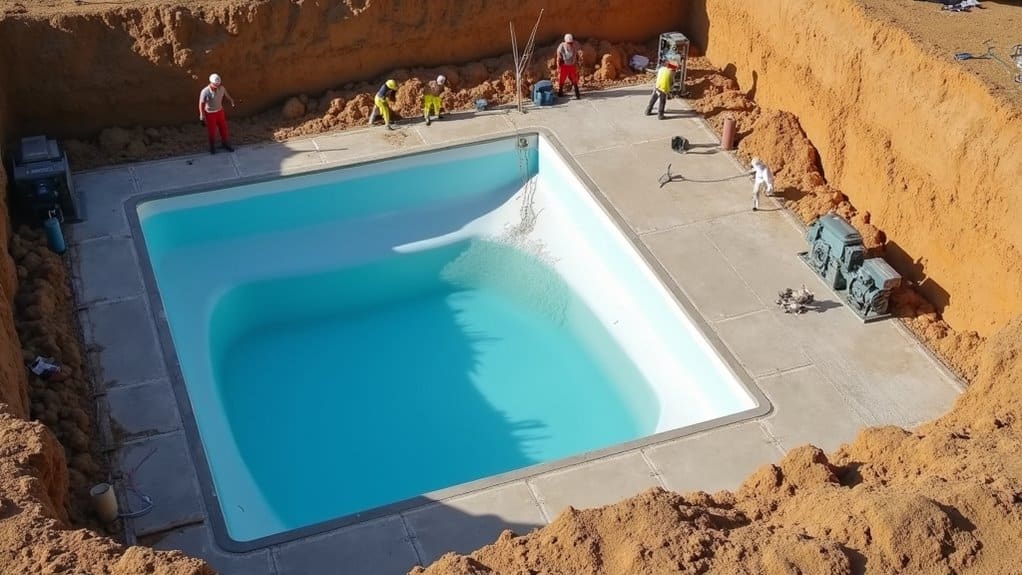
Filling the Pool With Water
Guaranteeing the pool’s foundation remains stable and level marks a key phase in your installation journey, paving the way for the next step: filling the pool with water.
Begin by selecting an appropriate water source, mindful of water quality to safeguard your pool’s integrity and longevity. Employ a clean hose for direct filling, or consider a tanker service for larger volumes.
Gradually fill the pool to prevent structural stress, monitoring the water level consistently. Utilize a hose filter to minimize impurities during the process, which is essential for maintaining ideal water quality.
While filling, inspect for any irregularities or leaks. Employ these filling techniques to guarantee water circulates evenly, distributing pressure uniformly, thereby maintaining the pool’s structural balance and operational efficiency.
Adding Final Touches
As you shift to adding the final touches, it’s vital to focus on the details that enhance both the aesthetic and functional aspects of your above-ground fiberglass pool.
Start by integrating garden design elements like gravel pathways or indigenous plants to create a cohesive environment. Choose materials resistant to water and UV exposure to guarantee longevity.
Next, prioritize safety features. Install non-slip surfaces around the pool deck to minimize accidents. Consider adding handrails and ladders that comply with safety standards. Pool fencing is paramount; select a design that complements your garden while maintaining security.
Finally, enhance ambiance with strategically placed lighting for nighttime use. LED lights can illuminate pool edges, assuring both beauty and safety.
These additions complete your pool setup with style and security.
Frequently Asked Questions
How Long Does the Installation Process Typically Take?
When considering the installation duration for an above-ground fiberglass pool, you’ll find the project timeline typically spans 1 to 2 weeks.
This timeline accounts for site preparation, which includes excavation and leveling, followed by the pool’s placement and connection of plumbing and electrical systems.
Weather conditions and site accessibility can affect the schedule.
It’s essential to coordinate with professional installers to guarantee a streamlined process, adhering to safety and structural standards.
Can I Install a Fiberglass Pool by Myself?
Imagine you’re ready for a summer splash, and coincidentally, you’re wondering about a DIY installation for a fiberglass pool.
It’s technically possible, but pool safety and professional terminology like “structural integrity” demand your attention.
You’ll need to level the ground, guarantee proper drainage, and secure permits.
While you can handle minor tasks, hiring experts for critical steps could prevent costly mistakes, guaranteeing a safe and durable swimming experience for your family.
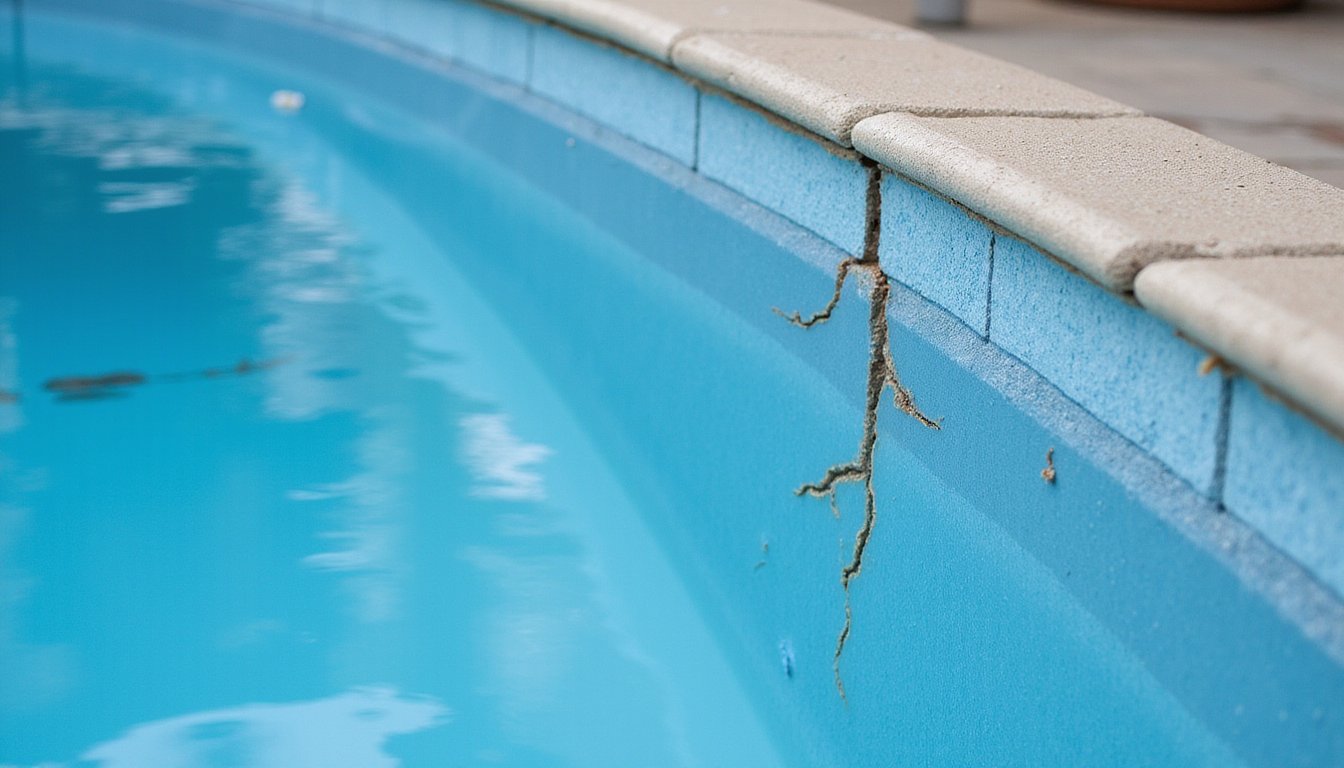
What Maintenance Is Required for Above-Ground Fiberglass Pools?
For your above-ground fiberglass pool, regular pool maintenance is essential.
Start with a weekly cleaning schedule, making sure you skim debris and brush the walls to prevent algae buildup.
Check the filter system and clean it as needed.
Test water chemistry weekly, adjusting pH and chlorine levels to maintain balance.
Inspect the pool shell for any signs of damage or wear.
Proper maintenance guarantees longevity and peak performance of your pool.
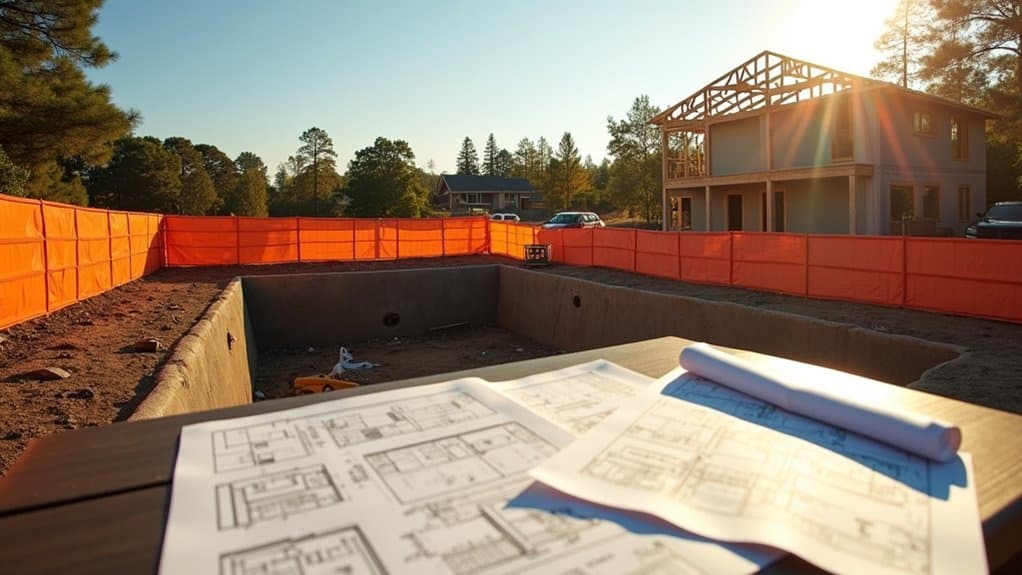
Are There Any Specific Permits Needed for Installation?
“An ounce of prevention is worth a pound of cure.”
Before starting your above-ground fiberglass pool project, check local permit requirements and installation regulations. Each municipality may have different rules, so contact your local building department.
You’ll need to submit a site plan, pool specifications, and sometimes an engineering report. Verify zoning laws, setback requirements, and safety barriers.
Ensuring compliance from the get-go prevents delays and penalties, guaranteeing a smooth installation process.
How Does Weather Affect the Installation Process?
Weather conditions greatly impact your installation process. Rain can cause delays, making the ground too soft for stable placement.
Wind poses challenges, potentially hindering precision during placement. Extreme temperatures, hot or cold, affect the materials’ integrity and worker safety.
Plan for ideal weather windows, and consider using tarps or temporary shelters to mitigate issues. Monitoring forecasts guarantees you’re prepared for any installation challenges, allowing for adjustments to maintain a seamless process.