Understanding the Design and Blueprint Development Process

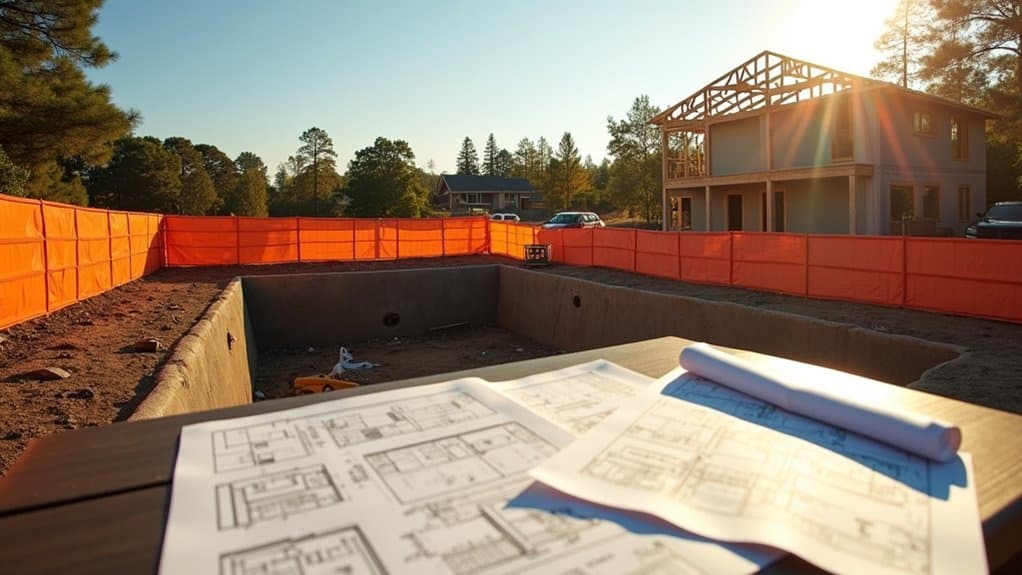
Every fiberglass pool begins with precise design specifications that outline shape, size, depth, and integrated features like entry steps and seating arrangements. You’ll need to guarantee compliance with local codes through proper permits before proceeding.
Advanced software generates digital models that serve as manufacturing blueprints. These models incorporate detailed measurement calculations for dimensions, slopes, and shell compatibility. Your dig sheet provides exact length, width, and depth measurements to guide production.
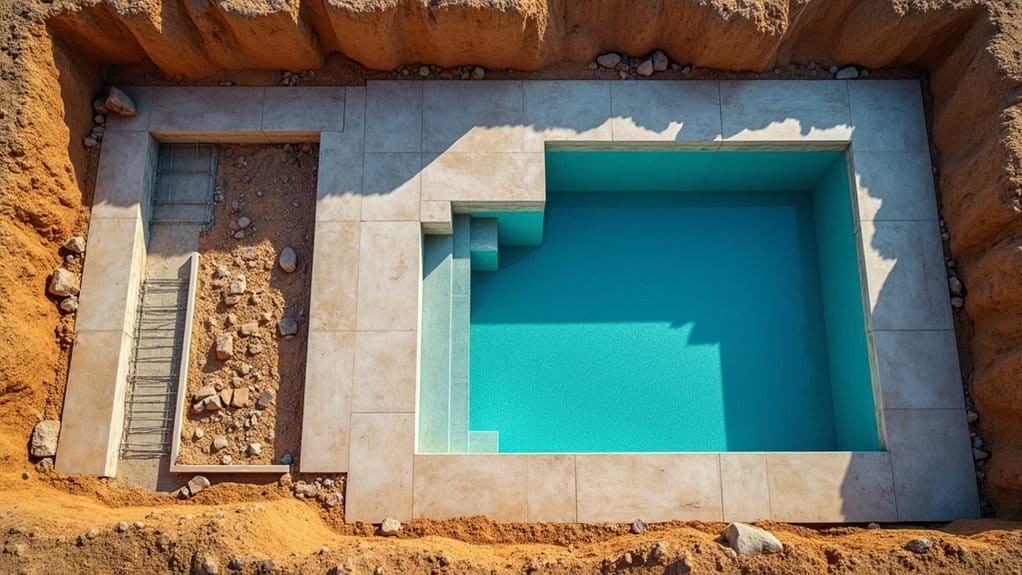
Precise excavation planning requires matching dimensional specifications to the fiberglass shell while allowing overdig space for plumbing and accessories. You’ll use stakes, string, and laser levels to confirm layout precision. Site evaluation must also assess soil and drainage conditions to ensure a stable foundation for the pool shell.
This thorough upfront planning minimizes production errors and certifies every specification integrates seamlessly with surrounding features like decking and landscaping. The design phase also optimizes functionality and aesthetics by carefully balancing practical considerations with visual appeal throughout the entire pool structure. Design specifications must account for structural comb materials that will be added under steps and benches during the manufacturing process.
Creating the Master Mold for Pool Shell Production
Master mold construction consistently requires the most demanding precision of any phase in fiberglass pool manufacturing. You’ll begin with material preparation by building a pattern from wood, fiberglass, body filler, and primer. Using laser leveling tools, you’ll maintain tolerances within 1/8 inch deviation to achieve the pool’s exact shape. Pattern making typically takes 3-6 months to complete before mold production can begin.
Once your pattern’s complete, you’ll apply orange tooling gelcoat as the initial layer, creating a smooth, waterproof surface. Next, you’ll laminate multiple fiberglass layers with alternating weave directions, saturating each with resin and rolling out air bubbles. Balsa wood provides thermal cushioning against exothermic curing heat.
Steel framing wrapped in fiberglass guarantees structural integrity for repeated production cycles. Engineers and designers collaborate throughout this phase to ensure the mold captures innovative pool shapes and features accurately. After curing, you’ll flip the mold and begin mold maintenance, sanding, buffing, sealing, and applying release agents for operational readiness.
Preparing the Mold Surface for Optimal Results
Five critical stages transform a cured master mold into a production-ready surface: cleaning, sanding, polishing, sealing, and release agent application. You’ll begin surface preparation techniques with 3500 psi power washing to dislodge debris, followed by TSP cleaning to eliminate residues. Proper surface preparation is the most important aspect of achieving quality results in any coating application.
| Stage | Specification |
|---|---|
| Sanding | 60-80 grit progressing to 600-1000 grit |
| Polishing | Aqua Blue 100 and 200 agents |
| Sealing | Orca Mold Sealer post-polish |
| Wax Layers | Three to five coats, buffed between applications |
| PVA Application | Three layers at 2-4 mils total thickness |
Your release agent application methods require buffing each wax layer before spraying PVA in thin coats. Allow 15-30 minutes drying time per layer. This process seasons new molds for consistent part release. Power buffing significantly decreases the time spent between wax layer applications compared to manual buffing methods. Well-conditioned polyester molds can often produce 20-40 parts before the surface requires additional maintenance or attention.
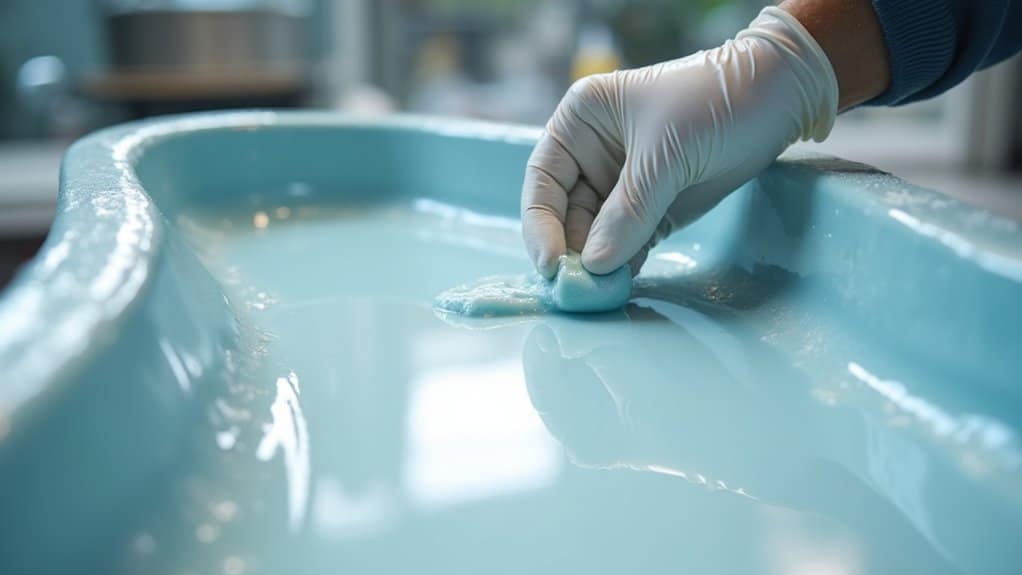
Applying the Gelcoat Layer for a Waterproof Finish
Once you’ve properly prepared and sealed your mold surface, applying the gelcoat layer establishes the waterproof barrier that’ll protect your fiberglass pool for decades. This protective layer is essential because UV rays and chemicals can harm fiberglass surfaces over time, breaking down the gelcoat and causing discoloration.
The gelcoat layer is your pool’s first line of defense, a waterproof shield built to last for generations.
Begin by catalyzing your gelcoat with 1.75% MEKP when using Duratec Clear Hi-Gloss additive. Perform gelcoat viscosity adjustment by adding 5% styrene wax for all submerged surfaces below the waterline. Remember that one gallon of gelcoat typically covers 40-80 square feet depending on your application technique and desired thickness.
Follow these critical application parameters:
- Spray 4-5 thin passes at 5 mils each, targeting 20-24 mils total thickness
- Maintain 15-20 minutes between layers with 50% overlap patterns
- Keep spray distance at 8-12 inches from the mold surface
- Work wet edges continuously to prevent lap marks
After 24-48 hours of curing, verify completion by sanding to fine powder. Complete polishing procedures using 400-grit wet sanding before filling. During curing, use fans or rotate the mold to prevent styrene vapor pooling in low spots, as these heavier-than-air vapors can inhibit proper cure and lead to non-uniform gelcoat performance.
Building the Fiberglass Structure With Vinyl Ester Resin
After your gelcoat has fully cured and passed the powder-sanding test, you’ll begin building the structural laminate using vinyl ester resin, a modified epoxy variant that delivers 111% stronger construction than standard polyester-based fiberglass pools.
Understanding vinyl ester resin properties is essential: this premium-grade material creates a watertight barrier that prevents osmotic blistering while providing superior resistance to water absorption, chemical damage, and corrosion. Its enhanced flexural and tensile characteristics outperform traditional polyester alternatives. Manufacturers offer a variety of blended vinyl esters that are specially formulated to maximize blister protection for different pool applications.
For vinyl ester resin application, you’ll use a chop gun that combines chopped strand roving with catalyzed resin, spraying directly onto the cured gelcoat. This hand-laid process saturates each fiberglass layer thoroughly, incorporating multiple layers of fiberglass mat and woven roving to ensure consistent thickness and strength throughout the pool shell. The resin acts as a heating blanket, driving the underlying gelcoat’s cure while establishing your pool’s critical barrier layer. While standard fiberglass pool manufacturers typically use only one layer of vinyl ester resin to reduce costs, full vinyl ester construction throughout the entire shell provides maximum protection and structural integrity.
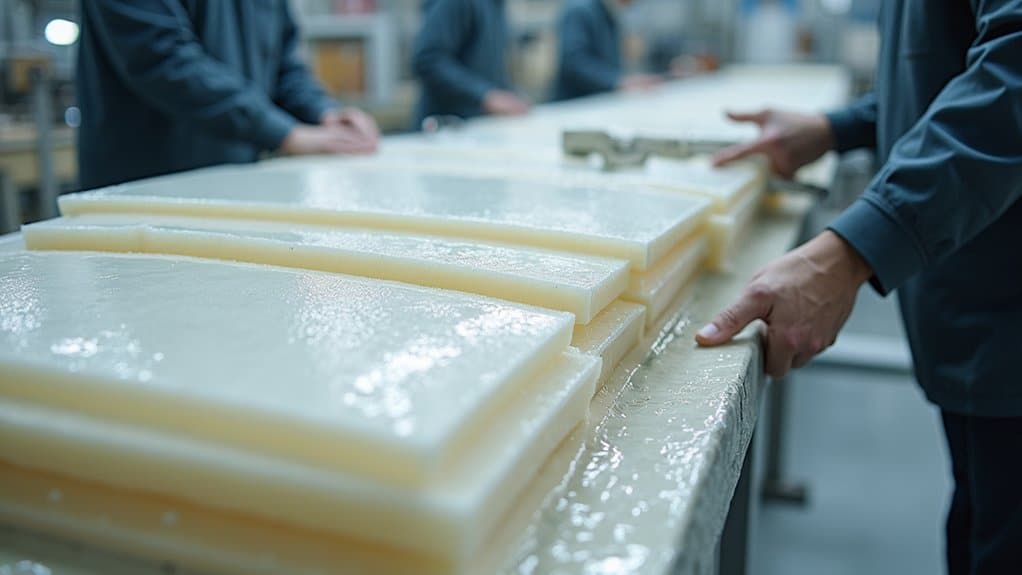
Adding Woven Roving and Mat Layers for Strength
While the vinyl ester barrier coat establishes your pool’s waterproof foundation, the real structural strength comes from layering woven roving and fiberglass mat in a deliberate sequence.
You’ll apply 36 oz woven roving directly over the skim coat, followed by alternating mat layers using precise reinforcement placement optimization techniques. Each 20-mil mat layer requires complete resin saturation method protocols, rolling eliminates air pockets and guarantees full impregnation.
Your layering sequence should follow this pattern:
- Apply woven roving at stress points where sidewalls meet the floor
- Alternate three layers of 36 oz woven mat with fiberglass mat
- Overlap all layers to prevent thin spots in the laminate
- Roll each layer thoroughly before adding subsequent reinforcements
Deep pools require additional layers for enhanced crack resistance and structural rigidity. This combination of hand-laid woven materials and sprayed roving provides superior durability, allowing the shell to withstand shifting soil or temperature changes over time. Once layering is complete, a final curing process solidifies the entire pool shell into a unified, rigid structure ready for transport and installation.
Installing Structural Reinforcements and Stiffeners
Beyond the alternating mat and roving layers you’ve already applied, structural reinforcements transform your pool shell from a flexible laminate into a rigid, self-supporting structure.
You’ll install half-round schedule 40 PVC pipe sections as structural ribs, notching them to conform precisely to wall contours. Laminate these ribs using four alternating layers of mat and roving, increasing total fiberglass thickness to nine layers in rib areas. Next, apply honeycomb core materials to sidewalls for additional stiffening against environmental stresses.
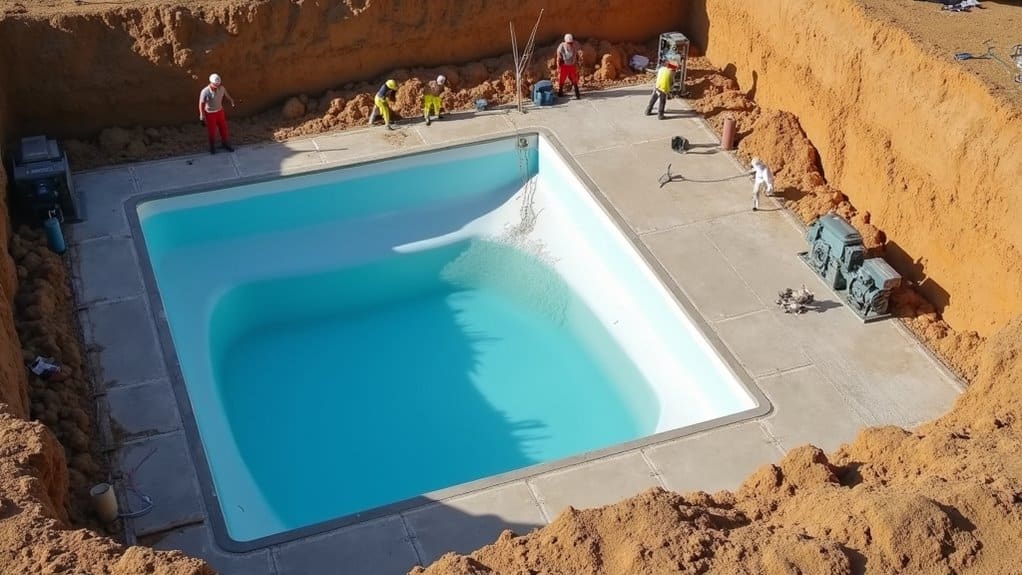
For site installation, you’ll pour a perimeter bond beam around the pool’s edge using 32MPa concrete with SL82 mesh and N12 galvanised bar reinforcement. Maintain minimum 120mm footing thickness. The concrete curing duration spans 14-28 days before shell placement. Cut expansion joints every 4-5 meters to prevent cracking.
Curing the Pool Shell Under Controlled Conditions
Once you’ve installed the structural reinforcements, you’ll need to maintain precise temperature and humidity levels inside the factory to guarantee ideal gelcoat hardening and prevent curing defects. The pool shell must cure for at least one full day in the mold, allowing both the gelcoat and fiberglass laminate to fully set before you attempt removal. When demolding, you’ll use chains to lift the cured shell evenly, inspecting for any sticking that could indicate incomplete curing or gelcoat adhesion problems.
Temperature and Humidity Control
Because fiberglass resin systems rely on exothermic chemical reactions to cure properly, manufacturers maintain strict environmental controls throughout the entire shell production process. You’ll find that factory manufacturing processes incorporate precisely calibrated climate systems that regulate both temperature and humidity levels during each layer application.
These controlled conditions deliver specific advantages:
- Specially blended catalysts guarantee gelcoat sets at ideal speeds under regulated temperatures
- Low humidity levels maximize evaporation rates during resin curing
- Consistent environmental controls prevent osmotic blisters in shell layers
- Proper temperature regulation supports complete polymerization of vinyl ester barriers
Regular equipment maintenance keeps climate systems functioning within tight tolerances. You achieve a non-porous, watertight shell because temperature and humidity work together to guarantee each layer, from initial gelcoat to final fiberglass application, cures without defects or structural compromise.
Minimum Curing Duration
Every fiberglass pool shell requires a minimum curing duration of at least one day within the mold before demolding can occur. During this critical phase, the polyester resin layers fully harden, developing the structural integrity necessary for handling and transport. You’ll find that minimum curing time impacts the shell’s resistance to gelcoat separation and laminate defects.
The curing process occurs under controlled conditions after you’ve applied the final resin layer. Temperature fluctuations can affect cure uniformity, so manufacturers maintain consistent environmental parameters throughout this period. Once curing completes, technicians attach chains for demolding and trim excess fiberglass to finalize dimensions.
Site installation timelines account for fully cured shells upon delivery. Unlike concrete pools requiring weeks of on-site curing, your fiberglass shell arrives ready for immediate placement, enabling total installation within 2-4 weeks.
Demolding Process Steps
After the final resin layer’s been applied, you’ll move the pool shell into a controlled curing environment where temperature sensors maintain readings between 70-80°F throughout the hardening process.
Once curing completes over several days, you’ll initiate demolding safety protocols by gently testing plug separation points. Follow these critical steps:
- Apply controlled pressure at predetermined release points around the mold perimeter.
- Use wedge tools to gradually break the seal between shell and mold surface.
- Lift the shell evenly to prevent stress fractures or warping.
- Transfer immediately to inspection stations for evaluation.
Your post demolding inspection criteria must verify uniform cure without cracks, confirm no white spots indicating resin saturation issues, and check for surface defects. You’ll document any anomalies before clearing the shell for finishing operations.
Demolding and Final Quality Inspection Procedures
Once you’ve maintained controlled curing conditions that allow the fiberglass pool shell to fully harden, you’re ready to begin the shell removal process. You’ll cut away excess material around the edges with a sharp knife or scissors, then insert a large wedge at the separation line between the shell and mold. After removal, you’ll conduct post-demolding quality checks to verify the shell’s structural integrity and surface finish meet production standards.
Controlled Curing Conditions
When the curing process reaches completion under controlled environmental conditions, the demolding phase begins with a series of rigorous structural and visual inspections. You’ll find that climate-controlled facilities guarantee uniform gelcoat thickness while minimizing surface defects throughout production.
Before demolding, technicians perform these critical assessments:
- Structural integrity tests verify the shell can withstand handling stresses
- Visual inspections confirm surface smoothness and absence of bubbles
- Documentation review ensures all curing parameters meet specifications
- Adhesion checks validate proper bonding between layers
Your facility’s temperature and humidity controls directly impact curing speed and final quality. Factory settings provide quicker, more dependable results than onsite applications. The 24 to 48-hour minimum hardening period allows the gelcoat to achieve optimal optimal durability before any manipulation occurs.
Shell Removal Process
How do you guarantee a clean shell release without damaging your mold’s production surface? Start by applying release agents multiple times with shop rags, creating a super slick barrier. Power wash thoroughly, scrub with soap, then apply mold cleaner and sealer in multiple passes.
When addressing mold separation challenges, cut excess material around edges using a sharp knife. Insert a large wedge or paint stirrer at the plug-mold separation line, never use sharp tools that could scratch the surface. If resistance occurs, lightly tap edges with a mallet before pulling the plug away.
Post-demolding, wet sand from 220 to 600 grit, polish with Aqua Blue compounds, and apply Orca Mold Sealer. Proper mold release techniques certify your finished mold displays a mirror-smooth, defect-free gelcoat surface ready for production.
Post-Demolding Quality Checks
After your pool shell separates from the mold and you’ve completed surface finishing, the quality inspection process begins with a thorough wash of the shell’s interior and exterior surfaces. This washing removes debris and guarantees clear visibility for detecting cracks, blemishes, or gelcoat inconsistencies.
You’ll position the shell upside down on sawhorses, using sunlight to identify thin spots and honeycomb remnants through light transmission analysis.
Your inspection protocol includes:
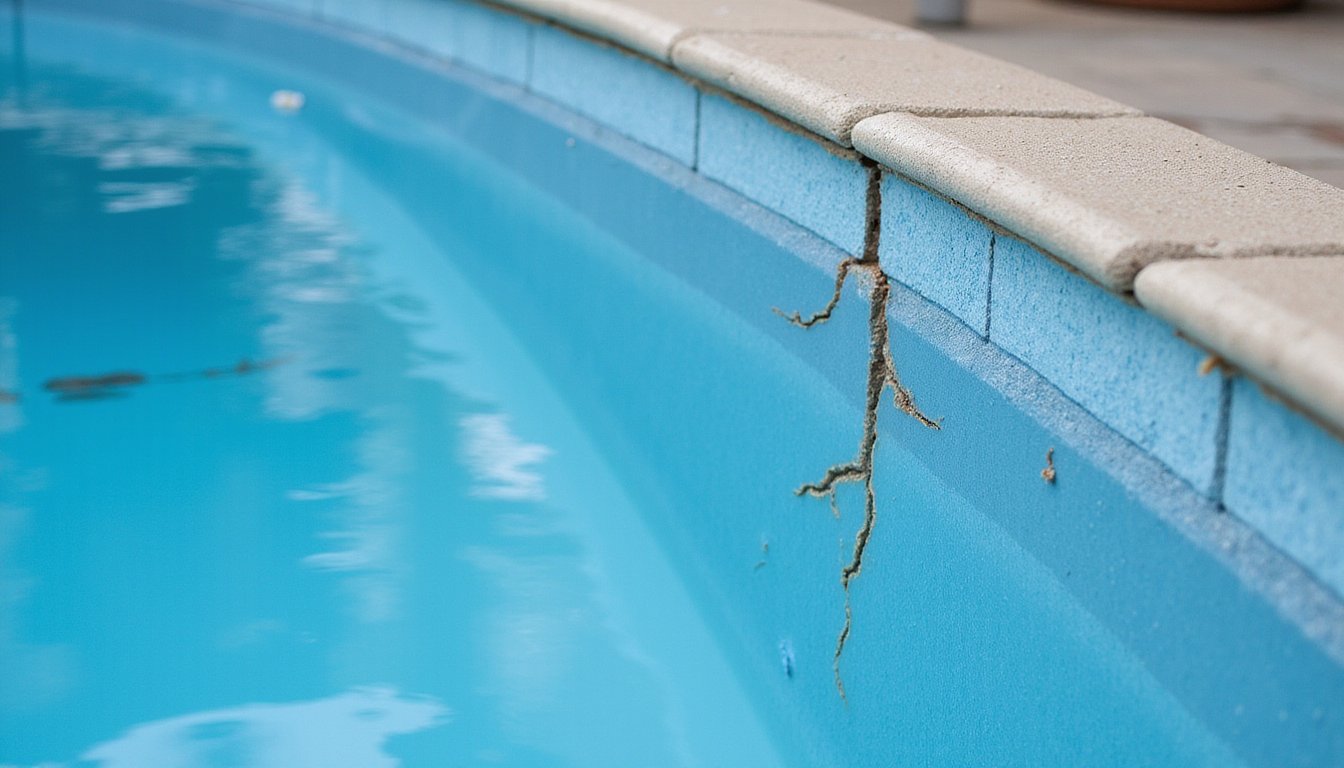
- Visual examination for spider cracks at stress points like copings and tanning ledge edges
- Detection of red flecks indicating mold gelcoat breakdown
- Weight consistency verification against design specifications within 5% tolerance
- Dimensional verification comparing actual measurements to dig sheet logs
After flipping the shell right-side up, you’ll buff the gelcoat to achieve a high-gloss finish while confirming all quality benchmarks are met.
Frequently Asked Questions
How Long Does the Entire Fiberglass Pool Shell Production Process Typically Take?
You’ll find the manufacturing timeline for fiberglass pool shell production typically spans 3 to 5 days from gel coat application to final curing. Each layer requires precise cure times, rushing compromises structural integrity. Production efficiency depends on controlled temperature conditions, proper resin-to-fiberglass ratios, and systematic lamination techniques. You’re looking at approximately 24-48 hours for initial curing, followed by demolding, trimming, and quality inspection before the shell’s ready for shipment.
What Is the Average Lifespan of a Fiberglass Pool Shell?
You can expect your fiberglass pool shell to last 25-30 years on average, though manufacturing quality directly impacts this timeline. With superior material durability from multiple fiberglass and resin layers, well-maintained shells reach 40-50+ years. The factory-controlled molding process guarantees consistent structural integrity, while the gel coat protects against fading and degradation. You’ll maximize longevity by maintaining proper chemical balance, running daily filter cycles, and addressing minor surface imperfections promptly.
Can Fiberglass Pool Shells Be Customized With Different Interior Colors?
Yes, you can customize your fiberglass pool shell with different interior colors through customized gel coat options applied during the manufacturing process. Manufacturers offer a wide range of color palettes, from standard finishes like Admiral and Crystal to premium options including Sapphire, Peacock, and Titanium. The color integrates directly into the fiberglass structure during production, ensuring permanent retention. You’ll find specialty shimmer formulations that create light-reflecting sparkle effects for enhanced visual appeal.
How Are Fiberglass Pool Shells Transported to Installation Sites?
You’ll find fiberglass pool shells transported on flatbed trucks with custom-designed trailers featuring reinforced support beams and air-ride suspension. Shipping requirements classify these as nondivisible, oversized freight, necessitating special permits and escort vehicles for long-distance hauls. Transport logistics involve securing shells with three to four heavy-duty straps per side, while the nesting design allows stacking up to 12 pools per truck. Cranes handle loading, and tilt trailers facilitate unloading at your installation site.
What Maintenance Is Required for Fiberglass Pools After Installation?
You’ll need to perform routine chemical treatments weekly, checking chlorine and pH levels to prevent corrosion, scaling, and algae growth. Skim debris daily, brush surfaces twice weekly with a soft-bristle brush, and vacuum floors and walls consistently. Run your filter 6-7 hours daily during peak season and empty baskets weekly. Conduct regular visual inspections monthly, examining for cracks, stains, and waterline discoloration to protect the gelcoat and maintain structural integrity.