To repair fiberglass pool walls effectively, you’ll first drain the pool with hydrostatic relief valves open, then cut out damaged sections and remove any backfill causing pressure. Apply three layers of fiberglass mat with epoxy resin, rolling out air bubbles with a finned aluminum roller for a solid bond. Once cured, grind the patch smooth, feather the edges, and apply color-matched gelcoat. Each step below breaks down the exact techniques and materials you’ll need.
Why Fiberglass Pool Walls Crack, Bulge, and Blister?

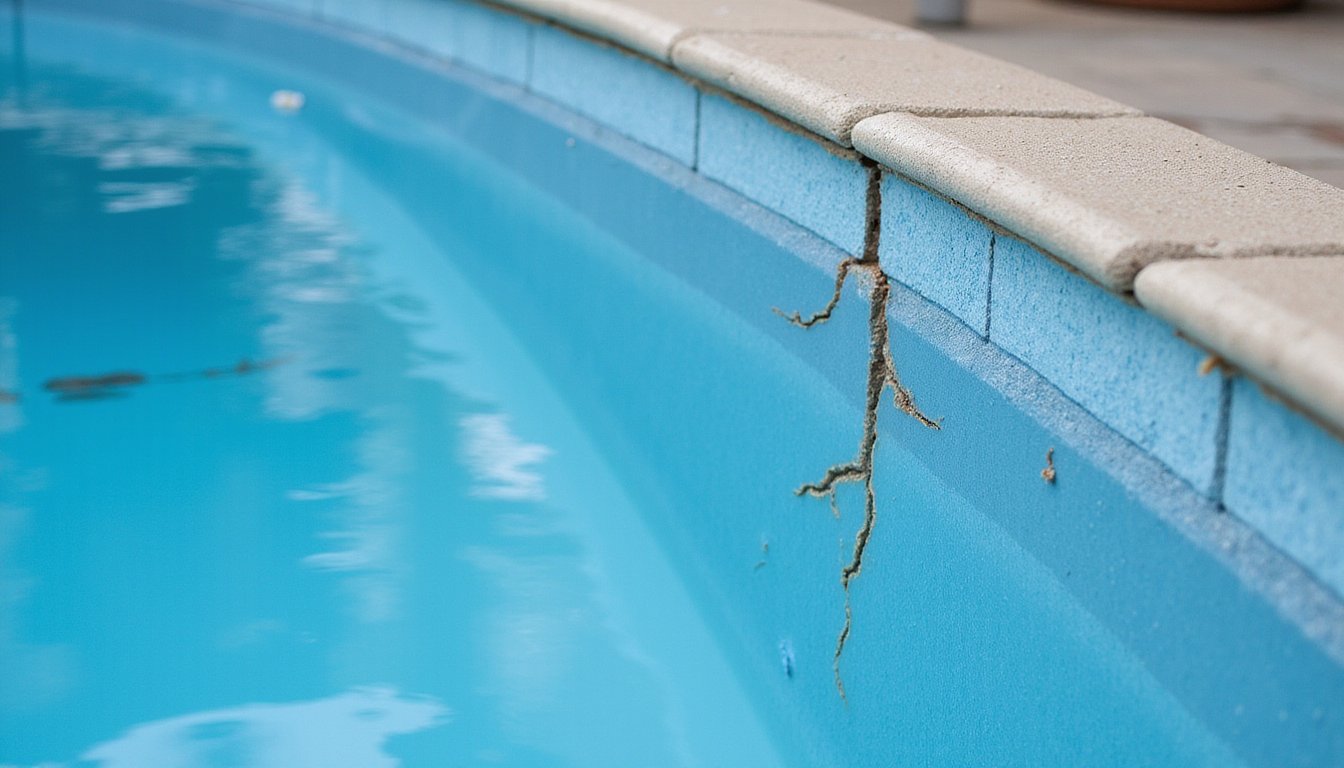
When fiberglass pool walls develop cracks, bulges, or blisters, the root cause almost always traces back to one of three factors: installation defects, external pressure, or chemical degradation of the shell’s laminate. Loosely compacted backfill creates uneven support beneath the shell, producing spider cracks that demand fiberglass pool wall crack sealing before they penetrate the laminate. Groundwater pressure and shifting sand backfill push against the exterior, causing visible bulging. Freeze-thaw cycles intensify this stress without proper drainage.
Blistering results from osmosis, water molecules pass through the gelcoat, react with glass fibers, and generate gas that forces the surface outward. Pools built with polyester resins between the 1970s and 1990s are especially vulnerable. High chlorine levels and warm water accelerate this process. Modern manufacturers combat this by applying a vinyl ester barrier coat behind the gelcoat, which lacks glass fibers and creates an impermeable layer that prevents water from reaching the laminate.
Gather Your Pool Wall Repair Tools and Materials
Identifying the cause of your wall damage, whether it’s osmotic blistering, structural cracking, or backfill-related bulging, directly determines which tools and materials you’ll need for a lasting repair. Every fiberglass pool wall repair demands precise surface preparation, structural reinforcement, and a sealed gelcoat finish.
| Category | Essential Items |
|---|---|
| Surface Preparation | Orbital sander with variable speed control, coarse-grit sandpaper, hand-sanding tools for tight areas |
| Structural Repair | AQUA-GLASS™ Premium gelcoat resin, structural polyester filler compound, fresh MEKP catalyst, fiberglass repair kits |
| Application Equipment | HVLP spray gun, air compressor delivering 4, 6 CFM at 40 PSI, digital scales, clean separate mixing containers |
Use digital scales for accurate resin-to-catalyst ratios, improper proportioning creates soft spots that compromise long-term wall integrity. Beyond tools and materials, don’t overlook safety gear such as respirators and protective clothing to shield yourself from harmful fumes and chemical exposure during the repair process. Cost factors for fiberglass pool repair can vary significantly based on the extent of damage and the materials required. It’s essential to get multiple quotes from professionals to ensure you’re not overspending.
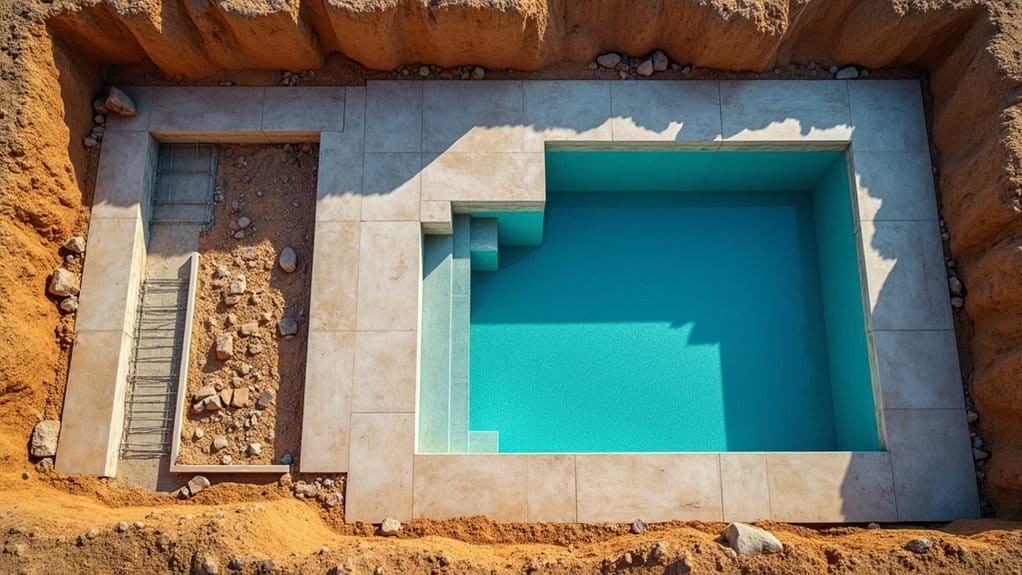
Drain the Fiberglass Pool and Assess All Damage
Draining a fiberglass pool exposes the shell to significant structural risk, so you’ll need to manage every step carefully to avoid compounding existing wall damage. Open hydrostatic relief valves before removing water to prevent the shell from floating. Turn off all equipment, protect electrical connections, and install three braces across the pool width at 18, 24 inches down the side walls.
Place a submersible pump at the deepest point and direct water to approved drainage areas. Never leave the process unattended. Set 6, 8 large plastic trash cans inside the pool to apply downward pressure on the floor. Ensure dry weather persists throughout the entire drainage and repair process to prevent groundwater complications.
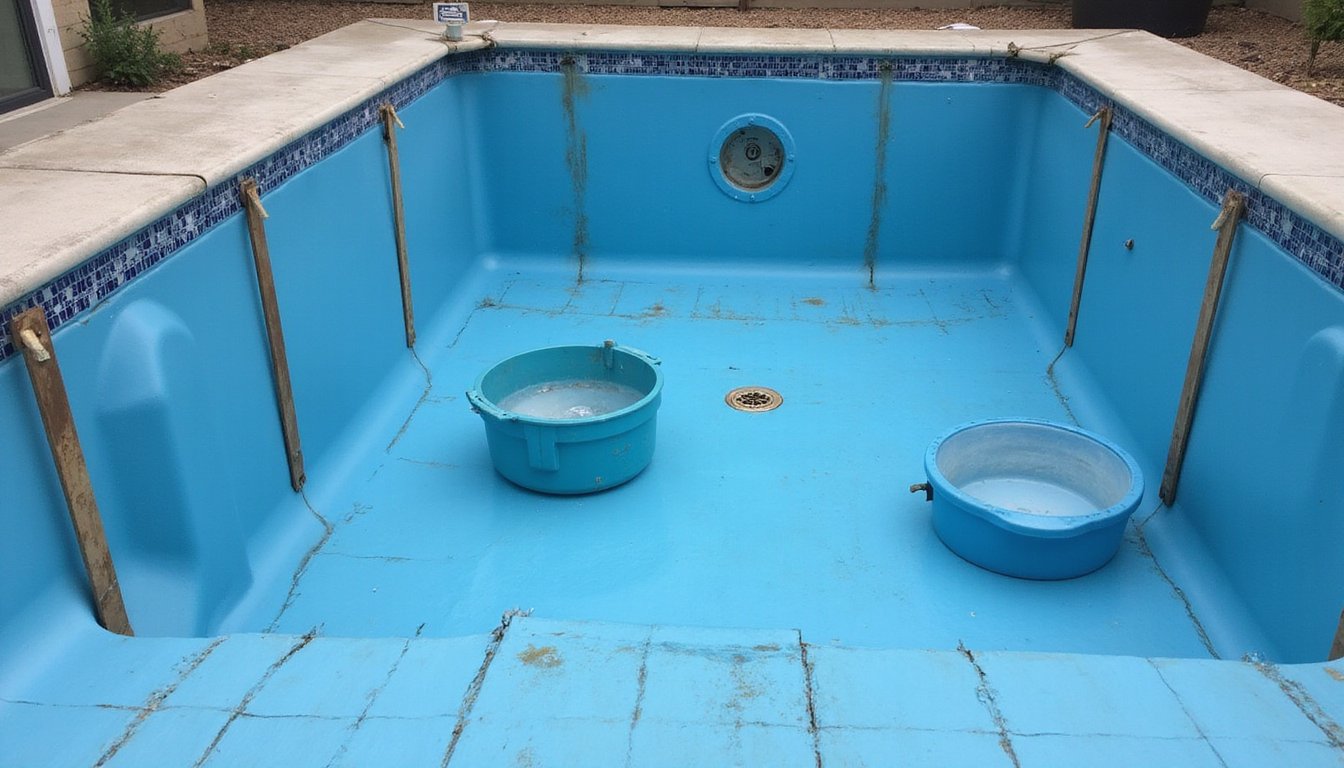
Once drained, begin your pool structural damage assessment immediately. Inspect walls and flooring for cracks, blisters, spongy spots, or uplift. Document and measure all deterioration to guide your repair plan.
Cut Out the Damaged Pool Wall Section
Once you’ve assessed all damage, mark the boundaries of the affected section precisely along the full length of any cracks or bulges using an Xacto knife or similar scoring tool. Cut out the deformed wall material from the inside of the pool, removing the entire compromised area while avoiding over-cutting that could weaken the surrounding structure. If the wall lacks stability during removal, brace it with two-by-fours to maintain structural support throughout the cutting process.
Mark Damage Boundaries First
Before cutting into the damaged fiberglass, you’ll need to define the full extent of the problem using three diagnostic methods: visual inspection, tap testing, and flexibility checking.
Start with a visual scan. Fine web-like cracks indicate gelcoat crazing, while jagged spiderweb patterns reveal stress fractures. Discoloration signals water seepage into the laminate.
Next, perform a tap test across the surrounding area. A sharp, solid sound confirms well-bonded layers, whereas a dull thud detects delamination. Mark hollow zones with a grease pencil, damage often extends beyond visible boundaries.
Then press gently around the area to check flexibility. Excessive flex confirms fractured inner laminate.
Before pool wall sanding and surface preparation, wash the area with mild soap, dry it completely, and outline all damage boundaries using masking tape for a precise cutting guide.
Remove Deformed Wall Material
Cut through the damaged fiberglass along your taped boundaries using an angle grinder fitted with a diamond blade, keeping the tool steady against a straightedge to produce clean, vertical lines. Brace the surrounding wall with 2×4 lumber immediately after removing each section to prevent structural collapse.
| Step | Action |
|---|---|
| 1 | Cut full length of bulge or crack from inside the pool |
| 2 | Remove deformed section and clear underlying backfill or voids |
| 3 | Brace exposed area with lumber for wall stability |
During fiberglass pool delamination repair, you’ll need to vacuum debris continuously while cutting. Wear a respirator, goggles, and gloves to guard against airborne fibers. Monitor adjacent areas for stress fractures that could compromise the top lip or surrounding shell.
Remove Excess Backfill Behind the Wall
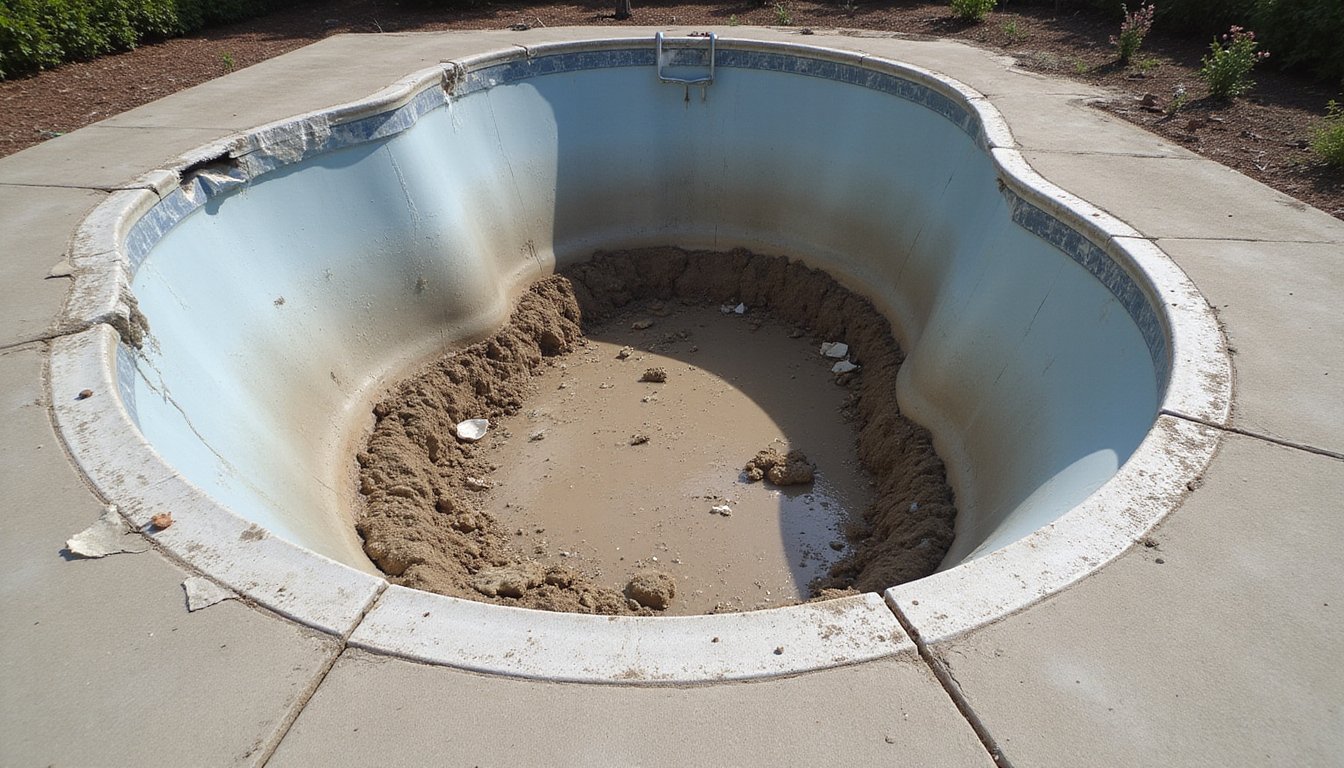
Excess backfill material, typically dirt or clay used during the pool’s original installation, shifts and settles unevenly over time, creating pressure points that push against the fiberglass shell and cause visible bulges or cracks along the pool wall. Because excess backfill causes sidewall bulges in fiberglass pools, you’ll need to cut along the length of the bulge to expose the area behind the wall and manually extract the problematic material.
- Loosen compacted backfill by spraying water directly into the void, avoid mechanical packers that risk damaging buried pipes.
- Replace unsuitable material with crushed gravel, which provides even compaction and superior drainage compared to sand or dirt.
- Inspect for remaining voids behind the wall after extraction, ensuring no gaps persist that could cause future deformation.
Clean all debris before proceeding to void filling.
Reinforce the Pool Wall With Concrete and Wire
Reinforcing a fiberglass pool wall with concrete and wire requires integrating two distinct materials, poured concrete for structural support and a #8 AWG solid copper conductor bonding grid for electrical safety compliance under NEC Article 680. You’ll pour concrete within or under the pool structure, connecting it to reinforcing steel at four equidistant points to form an equipotential bonding grid.
For fiberglass pool structural reinforcement, drive an 8-foot copper-clad grounding rod near your equipment pad. Connect it to the bonding grid and all metal components using approved clamps. Bond ladders, handrails, light niches, and pump motors, anything within 5 feet of the pool wall. Since fiberglass shells lack structural steel, you’re supporting the wall by integrating concrete with the existing structure while maintaining continuous earth contact throughout.
Apply Fiberglass Mat and Epoxy in Three Layers
Once the reinforced wall is ready, you’ll build up structural strength by layering fiberglass mat in three successive coats, allowing each layer to reach a tacky cure before applying the next. For each layer, brush a light coating of mixed epoxy onto the surface, position the pre-cut fiberglass cloth or mat over the wet resin, then saturate it fully by spreading additional epoxy from the center outward with a plastic spreader or roller. You’ll use a foam roller to work out all air bubbles and voids, ensuring each layer becomes transparent and bonds seamlessly to create a watertight, high-strength repair.
Layering Fiberglass Mat Properly
Layering fiberglass mat in three successive applications builds the structural thickness needed to restore a damaged pool wall to its original strength. Each layer must reach a tacky state before you apply the next, ensuring proper interlaminar bonding without sanding between coats. These fiberglass laminate repair techniques require full resin saturation until each mat turns transparent, confirming complete wet-out.
- First layer: Lay cut mat over your pre-coated surface, spread mixed resin from center outward, and roll thoroughly to eliminate trapped air pockets.
- Second layer: Position over the tacky first layer on a bias angle to prevent wrinkles, using a thin resin coat for wet-out.
- Third layer: Build similarly, then apply fill coats to voids and tip off with a foam brush for a smooth finish.
Saturating With Epoxy Resin
Each fiberglass mat layer requires full epoxy resin saturation to achieve the chemical bonding and structural integrity needed for a lasting pool wall repair. You’ll apply epoxy using a fiberglass resin patch repair system, building three distinct layers. Work resin into each mat with a roller, ensuring penetration into microscopic pores for molecular-level adhesion.
| Parameter | Specification |
|---|---|
| Epoxy thickness per layer | 0.5mm, 1mm |
| Total layers required | 3 |
Don’t exceed the recommended thickness per layer, overlapping too thickly causes pin holes during curing. You’ll want to maintain consistent coverage across the entire repair area, as insufficient thickness prevents adequate curing. Each layer must fully saturate before applying the next, creating chemical bonds that resist delamination under years of pool use and chemical exposure.
Rolling Out Air Bubbles
Air bubbles trapped between fiberglass mat layers weaken the laminate by creating voids that compromise structural bonding, so you’ll need to roll them out systematically as you build each of your three layers.
- First layer: Apply the fiberglass mat, then roll firmly with a finned aluminum roller to expel air outward from the center.
- Second layer: Use overlapping strokes with a bristle roller to guarantee intimate contact between layers without trapping pockets.
- Third layer: Consolidate fully, avoiding resin puddling that conceals hidden voids beneath the surface.
Among fiberglass pool shell repair methods, proper rolling technique matters most. Pour resin at the fabric’s center, work outward with a squeegee, and maintain controlled resin volume per layer. This prevents dry spots and guarantees complete fiber wet-out throughout the repair. Repairing fiberglass pool cracks requires patience and precision to ensure a lasting fix. It’s important to monitor the curing process closely, as improper handling can lead to further issues.
Roll Out Air Bubbles for a Solid Bond
Once you’ve wet out the fiberglass cloth with resin, a finned aluminum bubble roller is your primary tool for consolidating the laminate into a solid, void-free bond against the pool wall. Apply firm, overlapping strokes to force trapped air toward the edges. This step is critical in fiberglass pool renovation procedures, skipping it causes delamination and structural weakness.
| Factor | Poor Technique | Proper Technique |
|---|---|---|
| Air Removal | Bubbles trapped beneath layers | Air pushed outward to edges |
| Layer Contact | Gaps between fiberglass and wall | Intimate bond throughout laminate |
| Long-Term Durability | Delamination and blistering risk | Solid structural integrity |
| Resin Distribution | Dry spots remain in weave | Full saturation achieved |
| Repair Longevity | Premature failure likely | Lasting, reliable bond |
Roll out air bubbles for a solid bond immediately after resin application, before curing begins.
Smooth and Feather the Cured Fiberglass Patch
Once your fiberglass patch has fully cured, you’ll need to grind the surface smooth and feather the edges into the surrounding pool wall to create a seamless shift. Start by sanding from the center of the patch outward, using progressively finer grits beginning at 80 grit for leveling, and taper the edges at a 12:1 ratio to guarantee ideal bonding for the topcoat. This careful sanding and feathering prepares a uniform surface that allows the gelcoat finish to adhere properly and blend invisibly with the original shell.
Grind Cured Surface Smooth
After the fiberglass patch has fully cured, typically several hours to overnight depending on resin type and ambient temperature, you’ll need to grind the hardened surface flush with the surrounding pool wall. Use a high-speed grinder with a flat coarse disc to grind cured surface smooth, removing excess material quickly. Switch to a Dewalt orbital sander to eliminate aggressive marks left by heavy grinding.
- Start with 80-grit to level high spots without compromising patch integrity.
- Progress through finer grits, finishing at 600+ for a uniform scratch pattern.
- Tape a shop vacuum hose nearby to capture fiberglass dust during sanding.
These steps align with sound fiberglass pool maintenance practices, ensuring structural integrity while preparing the surface for gelcoat application.
Feather Patch Edges Evenly
Because the cured fiberglass patch likely sits slightly above or below the surrounding pool wall, you’ll need to feather its edges evenly to create a seamless blend that won’t telegraph through the final gelcoat. Apply light pressure with a flexible trowel, working edges into the surrounding surface restoration area. Re-trowel every 5 minutes for 30 minutes to eliminate trapped air and guarantee smooth changes on your pool walls. Repairing a pool filter effectively ensures that the entire system runs smoothly, which is essential for maintaining clean water. Regular maintenance, such as checking for clogs and replacing filter media, can prolong the lifespan of your equipment.
| Step | Action |
|---|---|
| Clean | Remove dust and debris post-smoothing |
| Feather | Taper edges gradually into surrounding gelcoat surface |
| Inspect | Verify blend under natural daylight |
| Refine | Apply multiple thin coats over feathered areas |
| Test | Sand a small area to confirm full cure |
Avoid sharp corners on patch shapes, they’ll promote peeling and compromise long-term adhesion.
Sand Before Topcoat Application
Grab a flexible sanding block and run it across the cured fiberglass patch to confirm it’s fully hardened before you start leveling. Begin with 80, 150 grit to knock down high spots, then progress to 220, 400 grit to smooth the weave texture without cutting through the laminate. When you sand before topcoat application, you’re creating the mechanical bond essential for the gelcoat refinishing process.
- Use 600, 1200 grit wet sanding for final pre-topcoat refinement, applying even pressure with a towel-wrapped block on contoured wall sections.
- Check fairness by placing a stiff ruler across the patched area to identify remaining low spots.
- Build low areas with thickened epoxy rather than over-sanding surrounding highs, which risks cut-through and compromises structural integrity.
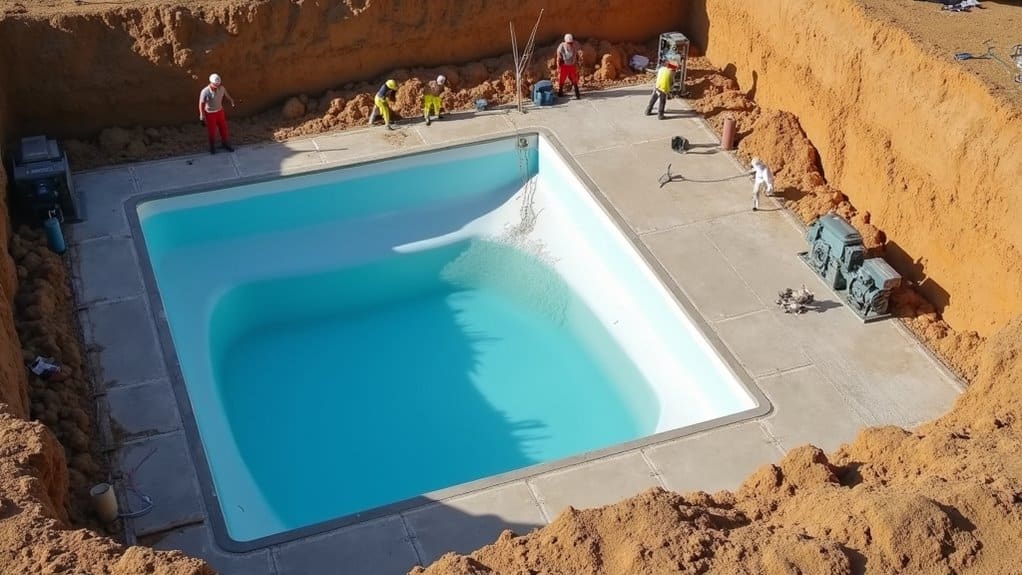
Match Gelcoat, Backfill, and Refill the Pool
Once the fiberglass laminate has fully cured, you’ll need to apply a color-matched gelcoat to restore the pool wall’s waterproof barrier and smooth finish. To match gelcoat accurately, select a product identical to your pool’s original color and sheen. Apply it evenly with a brush or roller, then allow it to cure overnight. Sand with fine-grit sandpaper and polish to blend seamlessly.
Before backfilling, clean the repaired surface with acetone and inspect for defects. Use gravel backfill placed evenly around the exterior, compacting in layers while controlling water levels to prevent pressure imbalances.
Gradually refill the pool, monitoring repaired areas for leaks or bulging. Once full, test and balance water chemistry, then inspect periodically for hairline cracks to maintain long-term structural integrity.
Ready to Transform Your Backyard?
Your dream pool is closer than you think. At Schiller Pools, our experienced team brings over 40 years of expertise to every project, delivering stunning fiberglass pool installations and custom pool construction that turn ordinary backyards into extraordinary outdoor retreats. With flexible financing options and lifetime warranty backing, there has never been a better time to get started. Call (561) 475-5997 today for your free estimate.
Frequently Asked Questions
How Long Should Fiberglass Pool Wall Repairs Cure Before Refilling With Water?
You should allow your fiberglass pool wall repairs to cure for 2-3 days after gelcoat application before refilling with water. Environmental factors like temperature and humidity can extend this to 4-7 days. Don’t rush the process, verify curing by lightly sanding a test area; properly cured material will sand to a fine powder without sticking. Once you’ve refilled, avoid adding chlorine for the first 48 hours to protect the new surface.
Can Fiberglass Pool Wall Repairs Be Done Underwater Without Draining Completely?
Yes, you can perform minor fiberglass pool wall repairs underwater using specialized products like AquaBond UW-5000 adhesive or Pratley’s putty. You’ll need to lightly sand the damaged area underwater, apply the product, and secure it with weights during curing. These adhesives reach functional bonds in 2, 4 hours and full strength in 24 hours at 70°F. However, extensive structural repairs still require draining for proper fiberglass laminate restoration.
What Water Chemistry Levels Help Prevent Future Fiberglass Pool Wall Damage?
You’ll protect your fiberglass pool walls by maintaining pH between 7.2 and 7.6, total alkalinity at 80, 120 ppm, calcium hardness at 200, 400 ppm, and free chlorine at 1.0, 3.0 ppm. Stabilize chlorine with cyanuric acid at 30, 50 ppm. Low pH etches gelcoat, while excess chlorine degrades it over time. Test pH weekly, alkalinity monthly, and calcium quarterly. These balanced levels prevent osmotic blistering, scaling, and structural deterioration.
How Much Does a Professional Fiberglass Pool Wall Repair Typically Cost?
You’ll typically pay $300 to $400 for basic gelcoat repairs addressing dings, scratches, and cracks. Structural repairs involving cracks and leaks add $1,000 to $5,000 to your project costs, while professional labor runs $45 to $65 per hour. If you’re facing extensive wall damage, expect bills ranging from $6,000 to $8,000. Early detection keeps your costs closer to the $500 range for minor cosmetic fixes.
How Often Should Fiberglass Pool Walls Be Inspected for Early Damage Signs?
You should inspect your fiberglass pool walls during regular daylight walkarounds to catch surface changes like spider cracks, blistering, or discoloration early. Perform visual checks weekly during swimming season, focusing on color and texture shifts that indicate gelcoat deterioration. Schedule monthly equipment assessments to identify circulation issues affecting wall integrity, and arrange annual professional evaluations for thorough diagnosis. Early detection through consistent inspections greatly reduces your risk of costly structural repairs.